Canva design becomes much more powerful when users learn to customize elements beyond the basic templates. While Canva offers thousands of pre-made graphics, icons, and layouts, adding personal touches helps designs stand out from the crowd. Users can transform any Canva element by adjusting colors, fonts, effects, and even uploading their own custom graphics to create truly unique designs.
Many people stick to default settings because they don’t know how easy it is to personalize their work. The platform includes built-in tools for changing everything from basic colors to advanced animations and effects. Whether someone needs a social media post, presentation, or marketing material, they can make it reflect their personal or brand style.
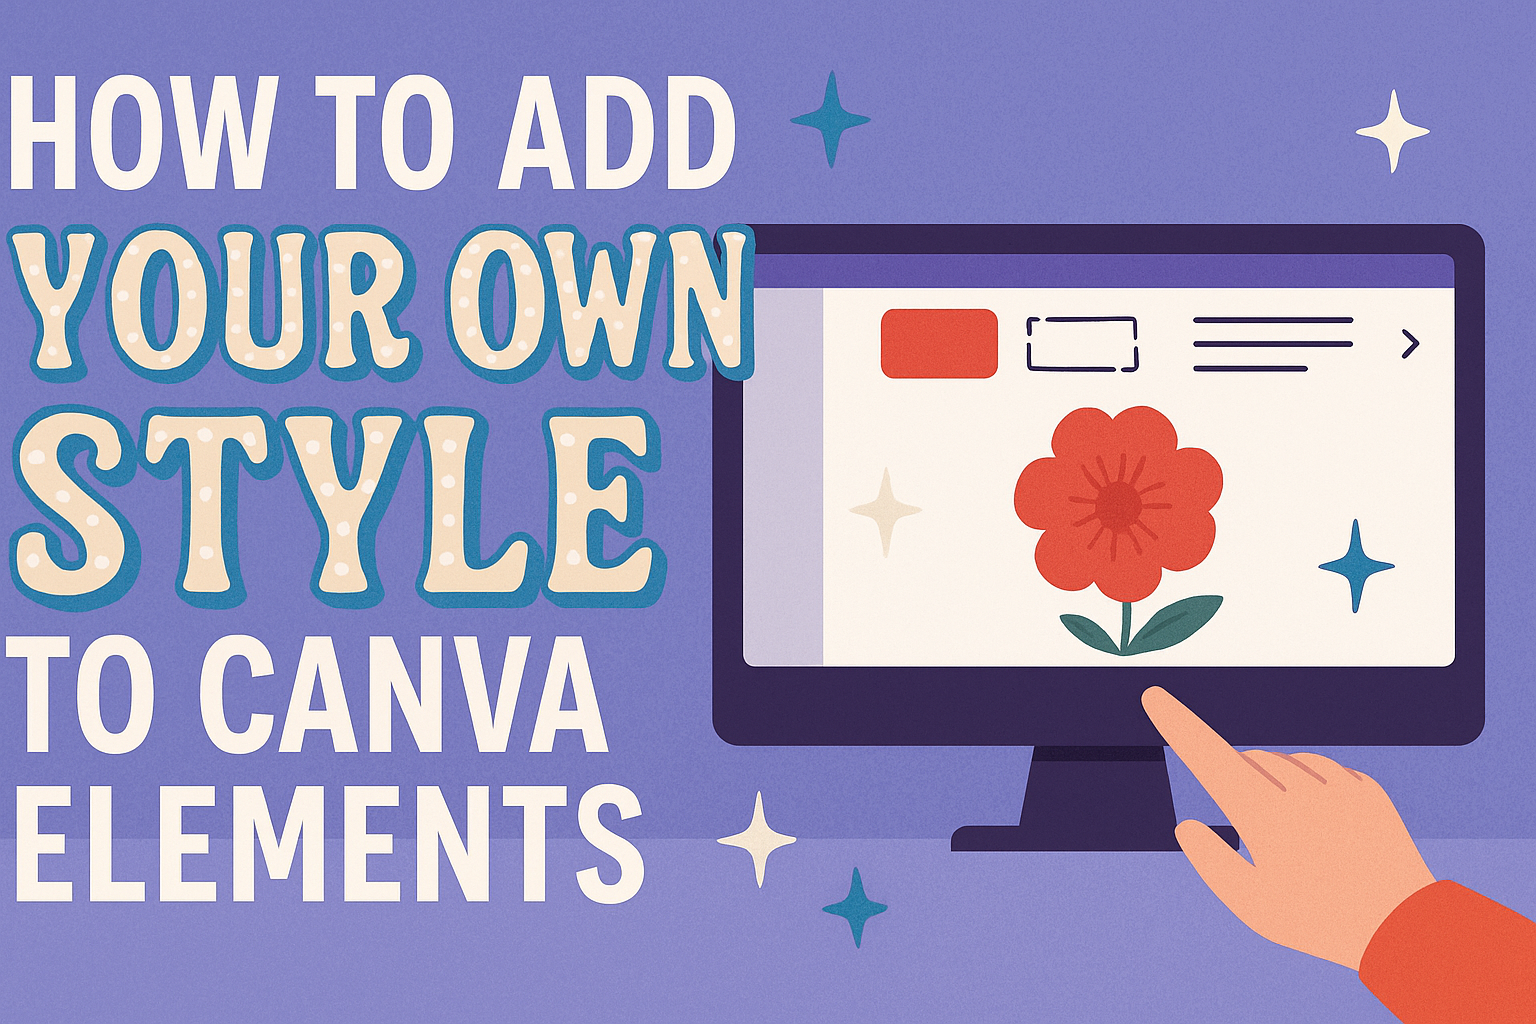
This guide walks through the complete process of customizing Canva elements, from simple color changes to creating original graphics. Readers will discover how to work with shapes and frames, apply consistent styling across multiple templates, and even upload their own custom elements.
Getting Started with Canva Elements
Canva elements are the building blocks that transform basic designs into personalized creations. Users can access thousands of customizable graphics, icons, and shapes through the Elements tab, then modify colors, sizes, and styles to match their vision.
Accessing and Searching for Elements
Users can find design elements by clicking the Elements tab in the left sidebar of any Canva design. This opens a library with categories like graphics, photos, videos, audio, charts, and frames.
The search bar at the top helps users find specific items quickly. They can type keywords like “arrow,” “heart,” or “business” to see related options.
Filter options include:
- Style (hand-drawn, minimal, bold)
- Color (specific color families)
- Orientation (horizontal, vertical, square)
- Animation (static or animated)
Users can also browse by category using the menu below the search bar. Categories like “Lines & Shapes,” “Graphics,” and “Photos” organize elements by type.
The “Recommended” section shows elements that work well with the current design. This feature helps maintain visual consistency across the project.
Types of Elements You Can Customize
Canva offers several types of elements that users can personalize for their designs. Graphics include icons, illustrations, and decorative images that can change color and size.
Shapes and lines provide structure and can be modified in color, transparency, and thickness. Users often combine these with text or photos for professional layouts.
Charts and tables help display data and can match brand colors. Frames hold photos in creative shapes like circles, hearts, or geometric forms.
Text elements come with preset styles but allow font, color, and size changes. Stickers and badges add playful touches to social media posts.
Each element type offers different customization options. Graphics typically allow color changes, while frames focus on shape and border adjustments.
Understanding Design Elements vs. Templates
Design elements are individual pieces like icons, shapes, or graphics that users add to their canvas. Canva templates are complete layout designs with text, images, and elements already arranged.
Elements give users more creative control. They can build designs from scratch or enhance existing templates with additional pieces.
Templates provide structure and inspiration but limit customization to text changes and image swaps. Elements offer unlimited positioning and styling options.
Key differences:
- Elements: Individual graphics, unlimited placement
- Templates: Complete layouts, structured design
- Flexibility: Elements offer more creative freedom
Users often combine both approaches. They might start with a Canva template for layout ideas, then add custom elements to create their unique style.
Personalizing Elements: Colors, Fonts, and More
Making elements truly your own means adjusting colors to match your brand, choosing fonts that reflect your style, and positioning elements perfectly. These changes transform basic Canva elements into custom designs that stand out.
Applying and Customizing Color Palettes
Colors make the biggest impact on how people see your design. Canva makes it easy to change any element’s color with just a few clicks.
Click on any element to see the color options at the top of the screen. The color picker shows preset colors and lets you create custom ones.
Creating Custom Colors:
- Enter hex codes for exact brand colors
- Use the color wheel to find new shades
- Save colors to your brand palette for later use
Canva Pro users get access to more color tools. They can upload their brand colors and use the color palette feature to keep designs consistent.
Brand colors help people recognize your work. Save your main colors so you can use them across all your designs.
The eyedropper tool lets you copy colors from other elements. This keeps your color scheme matching throughout the design.
Selecting and Pairing Fonts
Fonts shape how people read and feel about your message. Good font choices make text easy to read and match your style.
Canva offers hundreds of fonts in different categories. Browse through serif, sans-serif, and decorative options to find what works best.
Font Pairing Tips:
- Use one main font for headings
- Pick a simpler font for body text
- Avoid mixing more than two font families
- Make sure fonts match your brand personality
Custom fonts can be uploaded if you have Canva Pro. This lets you use your exact brand fonts in every design.
Text hierarchy helps readers understand what’s most important. Make titles bigger and bolder than regular text.
Consider where your design will be used. Social media posts need fonts that are easy to read on small screens.
Changing Sizes, Positions, and Arrangements
Where you place elements affects how people look at your design. Good positioning guides the viewer’s eye to the most important parts.
Drag elements around the canvas to move them. Corner handles let you resize while keeping the shape proportional.
Position and Size Controls:
- Hold Shift while resizing to keep proportions
- Use alignment guides to line up elements
- Layer elements by bringing them forward or back
- Group related elements to move them together
White space around elements makes designs look cleaner. Don’t crowd everything together in one area.
The alignment panel helps position multiple elements perfectly. You can center them or space them evenly with one click.
Try different arrangements before settling on one. Moving a few elements can completely change how your design feels and flows.
Advanced Customizations: Effects and Animations
Visual effects, transparency adjustments, and motion animations transform basic Canva elements into professional-looking designs. These advanced features help create depth, movement, and visual interest that captures viewers’ attention.
Adding Visual Effects to Elements
Canva offers several built-in effects that can enhance any design element. Users can access these by selecting an element and clicking on the effects panel.
Shadow effects add depth to text and graphics. The drop shadow option creates a subtle background shadow, while the lift effect gives elements a floating appearance.
Glow effects make elements stand out against busy backgrounds. Users can adjust the glow intensity and color to match their design theme.
Outline effects work well for text that needs to pop. This feature adds a colored border around letters, making them more readable over images.
For Canva Pro users, additional effects become available. These include background blur and duotone filters that create more sophisticated looks.
The key is using effects sparingly. Too many effects can make designs look cluttered and unprofessional.
Using Transparency and Layering
Transparency controls how see-through an element appears in the design. This feature helps blend elements naturally and create visual hierarchy.
To adjust transparency, select any element and use the transparency slider. Values range from 0% (completely transparent) to 100% (fully opaque).
Layering lets users stack elements on top of each other. The arrangement panel controls which elements appear in front or behind others.
Common layering techniques include:
- Placing text over semi-transparent shapes for better readability
- Creating background textures with multiple transparent elements
- Overlapping images at different opacity levels
Users can also adjust images and graphics by combining transparency with color overlays. This creates cohesive color schemes across different elements.
The send to back and bring to front options help organize complex designs with many layers.
Animating Your Design Elements
Canva’s animation tools bring static designs to life with movement and timing effects. Users can animate individual elements or entire pages.
Basic animations include fade in, slide, and bounce effects. These work well for social media posts and presentations that need extra engagement.
Advanced animation features let users create custom motion paths. Elements can follow specific routes across the screen, creating more dynamic storytelling.
Animation timing controls when each element appears. Staggering animations prevents everything from moving at once, which can feel overwhelming.
Custom animation paths work by dragging the cursor to create routes for elements to follow. Users can then adjust movement speed and style.
Animation works best when it serves a purpose. Movement should guide viewers’ eyes to important information rather than just adding flashy effects.
Different animation styles work better for different element types. Text animations often use fade or typewriter effects, while graphics benefit from slide or zoom animations.
Working with Shapes, Grids, and Frames
Shapes, grids, and frames are powerful tools that help users create organized and visually appealing designs in Canva. These elements provide structure and creative flexibility for any project.
Editing and Styling Shapes
Adding shapes to Canva designs starts by selecting the Elements tab and choosing from various options. Users can quickly add a circle by pressing “C” on their keyboard.
Once a shape is added, customization becomes simple. The Shape option in the toolbar allows users to transform circles into other forms. They can easily switch between squares, triangles, and other geometric shapes.
Border customization offers several styling options:
- Adjust border thickness
- Change border style
- Round corners for softer looks
- Remove borders completely
Color changes happen through the Color tab. Users can add or remove fill colors to match their design theme. Shape borders can be edited with different thickness and style options.
Text can be placed inside shapes for creative combinations. This technique works well for buttons, callouts, and highlighted information. Users simply click inside the shape and start typing.
Utilizing Grids for Layout Precision
Grids in Canva help organize multiple images and create balanced layouts. They provide structure for collages and photo arrangements.
Users can access grids through the Elements tab. Different grid styles offer various photo arrangements. Options include simple two-photo grids and complex multi-image layouts.
Grid benefits include:
- Even spacing between images
- Professional appearance
- Easy image placement
- Consistent alignment
Images drop into grid sections automatically. Users simply drag photos onto the grid spaces they want to fill. The grid crops images to fit perfectly within each section.
Customization options let users adjust spacing between grid sections. They can also change the overall grid size to fit their canvas. Some grids allow different sized sections for featured images.
Incorporating Frames for Unique Compositions
Frames in Canva crop images into specific shapes for creative effects. They offer alternatives to standard rectangular photos.
The Elements tab contains various frame options. Users can search for “Frame” to find different shapes and styles. Popular options include circles, hearts, and decorative borders.
Frame applications:
- Profile pictures with circular crops
- Polaroid-style photo effects
- Heart-shaped romantic images
- Star frames for highlights
Images automatically adjust when dragged into frames. The frame crops the photo to match its shape perfectly. Users can reposition images within frames by dragging them around.
Frame resizing and positioning works like other Canva elements. Corner handles adjust frame size while maintaining the shape. This flexibility helps frames fit into any design layout.
Multiple frames can create photo collages with varied shapes. Mixing circular and square frames adds visual interest to designs.
Creating and Uploading Your Own Elements
Making custom elements in Canva lets designers create unique graphics that perfectly match their brand. Users can design elements directly in Canva, save them for later projects, and upload various file formats including SVGs for scalable graphics.
Designing Custom Elements in Canva
Creating custom elements starts with opening a new blank design in Canva. Users should avoid templates when making elements since they need a clean workspace. The blank canvas gives them full control over their creation.
Designers can use Canva’s built-in tools to create shapes, combine text, and add graphics. They can access these tools through the Elements tab on the left sidebar. Simple shapes like circles, rectangles, and lines work well as building blocks.
Key steps for custom element creation:
- Start with basic shapes and modify colors
- Add text overlays with custom fonts
- Combine multiple elements using the group function
- Adjust transparency and layering for depth
Users can also create color-editable elements by designing them properly. The group function helps keep multiple parts together as one element.
Saving Elements for Future Use
Once an element is complete, saving it correctly ensures easy access later. Users need to select their finished element and use the copy function to duplicate it to other projects. This creates a reusable design piece.
Canva allows users to save custom elements in their uploads folder. They can drag the element to the uploads section to store it permanently. This makes the element available across all future designs.
Benefits of saving custom elements:
- Maintains brand consistency across projects
- Saves time on repetitive design tasks
- Creates a personal library of graphics
The uploads folder stores elements indefinitely for both free and Canva Pro users. Users can organize their custom elements by creating folders within uploads. This helps them find specific elements quickly when working on new projects.
Uploading SVGs and Other File Types
Canva accepts multiple file formats for custom elements beyond what users create internally. SVG files work especially well because they scale without losing quality. PNG files with transparent backgrounds also make excellent custom elements.
Users can upload their own elements through the uploads section. They simply click the upload button and select files from their computer. Canva processes the files and makes them available immediately.
Supported file types for elements:
- SVG (best for scalable graphics)
- PNG (good for images with transparency)
- JPG (standard photos and graphics)
- PDF (documents and vector files)
Professional designers often create elements in other software first. They can design in Adobe Illustrator or similar programs, then upload to Canva. This gives them access to more advanced design tools while still using Canva’s easy interface.
Applying Your Style Across Canva Templates
Once you master styling individual elements, the next step is applying that same look across multiple Canva templates consistently. This process involves setting up brand elements that work seamlessly across different design formats and managing multiple pages efficiently.
Customizing Canva Templates for Brand Consistency
Brand consistency starts with establishing a clear visual identity across all Canva designs. Users should begin by uploading their brand colors, fonts, and logo to create a cohesive foundation.
Key Brand Elements to Establish:
- Primary and secondary brand colors
- Logo variations (horizontal, vertical, icon)
- Two complementary fonts maximum
- Consistent image filters or effects
When selecting a Canva template, designers should look for layouts that accommodate their brand elements naturally. Templates with too many competing colors or fonts may require extensive modification.
The brand kit feature in Canva Pro allows users to save these elements permanently. Free users can manually apply brand colors by noting hex codes and reusing them across designs.
Brand Application Checklist:
- Replace template colors with brand colors
- Swap default fonts with brand typography
- Add logo in consistent placement
- Adjust image styles to match brand aesthetic
Batch Editing Multiple Pages
Managing multiple pages or designs becomes much easier with Canva’s batch editing features. The copy style tool allows users to transfer formatting from one element to many others quickly.
To use copy style effectively, designers select an element with the desired formatting. They click the copy style icon in the toolbar, then select target elements to apply the same formatting. This works for text, shapes, and other design elements.
Batch Editing Steps:
- Format one element completely
- Select the styled element
- Click copy style from toolbar
- Select multiple target elements
- Apply formatting instantly
For multi-page documents, users can duplicate pages and modify content while keeping the same styling. This approach saves significant time compared to starting each page from scratch.
Social media managers benefit most from batch editing when creating content series. They can maintain visual consistency across posts while changing only the specific content elements needed.
Tips for Social Media Post Designs
Social media post designs require specific considerations for different platforms and audience engagement. Each platform has unique dimensions and user expectations that affect design choices.
Platform-Specific Considerations:
- Instagram: Square formats work best, bright colors perform well
- Facebook: Horizontal layouts accommodate longer text
- LinkedIn: Professional color schemes and clean layouts
- Twitter: Simple designs with clear focal points
When adapting one design across platforms, users should create templates that work at multiple sizes. Starting with the largest format and scaling down typically produces better results than scaling up.
Text readability becomes crucial for social media posts viewed on mobile devices. Designers should use larger font sizes and high contrast color combinations. Testing designs at actual viewing size helps identify potential readability issues.
Social Media Design Workflow:
- Create master template with brand elements
- Adapt dimensions for each platform
- Test readability on mobile devices
- Save platform-specific templates for future use
Color psychology plays an important role in social media engagement. Warm colors like red and orange tend to increase engagement, while cool colors like blue convey trust and professionalism.