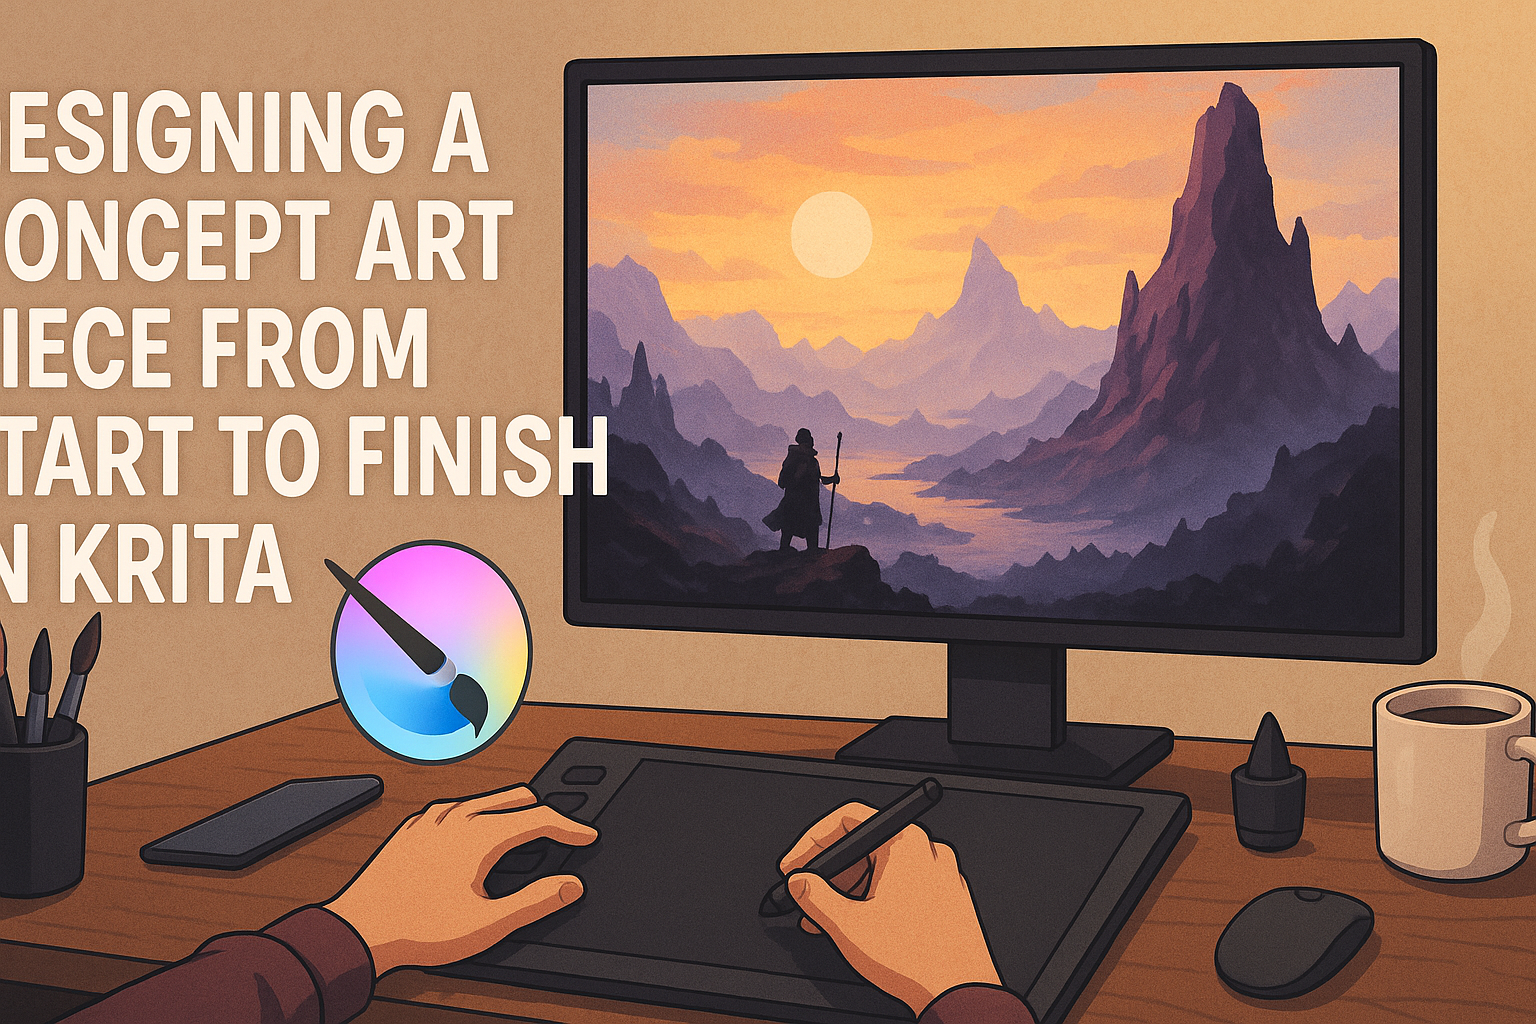
Creating concept art can feel intimidating, especially for beginners. Using Krita, a free and open-source digital painting tool, makes the process more accessible and enjoyable.
Krita’s intuitive interface and rich set of features support artists in bringing their ideas to life. From customizing the interface to mastering brush tools, Krita offers everything needed for detailed illustrations. Beginner-friendly tutorials and resources online make learning easier.
Understanding the workflow from sketching to final touches is key for success. It involves ideation, composition, and storytelling elements, which are essential for creating compelling art. Resources like Udemy offer structured guidance, helping artists at any level improve their skills.
Understanding Concept Art
Concept art is a crucial element in creative projects, such as movies and video games. It involves transforming ideas into visual designs, guiding the direction of a project.
Definition & Purpose
Concept art serves as a visual representation of ideas. It acts as a blueprint for visual storytelling, playing a key role in bridging the gap between imagination and reality. Artists create these initial designs to establish the look and feel of characters, settings, or items. These pieces help guide production teams in bringing the concept to life. Concept art not only illustrates potential outcomes but also helps communicate the designer’s vision clearly to others involved in the project. It sets the foundation for subsequent development stages.
Scope in the Industry
Concept art is vital across multiple creative industries like film, animation, and gaming. It is the first step in creating unique characters, intricate environments, or futuristic technology for these platforms. Concept artists collaborate with directors and other creatives to ensure designs align with the project’s goals. As the industry expands, demand for skilled concept artists continues to grow. They often work on pre-visualization, providing a roadmap for what the final product will resemble. This process is essential for effective storytelling and immersive experiences. Concept art’s role is to inspire and provide clarity during production, making it an indispensable tool.
Inspirational Sources
Concept artists draw inspiration from a variety of sources. Nature often influences designs, providing unique color palettes or structural forms. Historical events or cultural artifacts might also inspire artists to incorporate traditional elements into their work. Exploring existing art and design can spark new ideas, leading to innovative creations. Art books, museums, and other visual media, including digital painting tutorials on Krita, provide valuable resources for artists seeking fresh perspectives. Engaging with these materials can enhance artistic skills and broaden the creative outlook. The ability to blend these sources into cohesive and stunning visuals is what sets apart a talented concept artist.
Setting Up Krita
Setting up Krita involves ensuring your hardware is suitable, downloading and installing the software, and customizing the workspace to suit your artistic needs. These steps will help you optimize your experience with this digital painting tool.
Required Hardware
Before using Krita, it’s important to have the right hardware for smooth performance. A graphics tablet is highly recommended, as it allows for pressure sensitivity and precise control. A computer with at least 8GB RAM will handle Krita effectively, though more memory is beneficial for larger projects.
For processors, a multi-core CPU helps in managing multiple tasks simultaneously. A dedicated graphics card will further enhance performance, especially for complex artwork. Ensuring you have sufficient disk space also allows you to save larger files without issues.
Software Installation
Installing Krita is a straightforward process. First, visit the official Krita website to download the latest version compatible with your operating system. The site provides options for Windows, macOS, and Linux systems.
Once downloaded, simply follow the on-screen instructions to complete the installation. After installation, it’s a good idea to browse through Krita’s user manual to familiarize yourself with basic features and tools. This will help in getting started with creating and editing artworks efficiently.
Customizing the Workspace
Customizing the workspace in Krita is key to enhancing productivity and comfort. Krita allows users to arrange their workspace according to personal preferences, making tools and palettes easily accessible. Start by opening Krita and navigating to the “Window” menu.
Here, you can choose from pre-defined workspaces like “Digital Painting” or “Animation.” Alternatively, you can manually drag and drop panels to create a custom layout. Krita also offers the option to save your configuration as a workspace, enabling quick switching between different setups tailored for specific tasks. Personalizing these settings helps streamline your workflow, making the art creation process more intuitive.
Starting Your Sketch
Beginning a concept art piece in Krita involves understanding composition, selecting the right tools, and establishing initial lines. Each step helps in building a strong foundation for the artwork.
Composition Fundamentals
Composition is key in guiding the viewer’s eye across the artwork. It involves arranging the elements in a way that creates balance and interest. Artists often start by considering the focal points and how different parts will interact. A common method is using the rule of thirds, where the canvas is divided into nine equal parts.
This helps in placing important elements. Other techniques include leading lines and framing to draw attention to specific areas. Experimenting with different compositions can lead to more dynamic and engaging art.
Choosing the Right Brushes
Selecting the right brushes in Krita can influence the texture and feel of the sketch. Krita offers a range of brushes from basic pencil to textured brushes that can mimic traditional media. Artists might start with a simple brush for clean lines and then switch to a textured one for more detailed work.
Each brush can be customized for opacity, size, and pressure sensitivity, which provides flexibility in sketching. Adjusting brush settings helps in creating lines that express emotions and narratives vividly. Testing various brushes can reveal new and exciting possibilities.
Laying Down the Initial Lines
Starting with initial lines sets the tone and layout of the piece. It’s common to begin with loose, light sketches to outline major shapes and compositions. This phase is about exploring ideas without getting bogged down in details. Keeping gestures fluid can help capture the motion and energy of the subject.
As the sketch progresses, these lines can be refined to become more defined. Layer management is crucial at this stage, allowing artists to separate different elements for easy adjustment later. Using layers effectively can save time and aid in organizing thoughts as the concept develops.
Color Theory in Concept Art
Color plays a vital role in concept art, helping to set mood and guide the viewer’s experience. Proper use of color enhances storytelling and adds depth to artwork.
Understanding Color Schemes
In concept art, using color schemes is essential. Artists choose from monochromatic, analogous, complementary, or triadic schemes to create harmony. Each scheme evokes different emotions and balances the piece.
Complementary colors, like blue and orange, offer strong contrast. Analogous colors provide a soothing flow, perfect for serene scenes. A triadic scheme, with colors evenly spaced on the color wheel, brings vibrant energy. Choosing a scheme early in the design process helps unify and strengthen the art’s message.
Applying Base Colors
Applying base colors sets the foundation of any artwork. Start with broad strokes to cover large areas, focusing on the overall mood or light source.
Artists often use layers in digital tools to separate elements and adjust them individually. This technique allows for non-destructive editing and easy experimentation. When working in software like Krita, maintaining layer organization is key, making adjustments smoother and more flexible.
Manipulating Color Dynamics
Once the base is set, color dynamics add depth. Artists tweak hue, saturation, and value to highlight and shade different areas. This enhances visual interest and guides the viewer’s eye.
Dynamic shifts in color can create focus or suggest movement. For instance, warmer hues can be used to bring elements forward, while cooler tones recede. Adding subtle gradients and highlights can also simulate lighting effects, adding a realistic touch to the concept piece.
Developing Details
Bringing a concept art piece to life in Krita involves refining shapes, adding realistic textures, and creating a sense of depth and atmosphere. These steps help transform a basic sketch into a polished work of art.
Refining Shapes and Forms
Refining shapes is an essential part of developing your artwork. After sketching the initial concept, artists can use Krita’s tools to smooth out lines or adjust proportions. The brush tool is especially helpful for this task because of its precision.
For sharper details, the path tool allows for creating and adjusting curves easily. Adjusting the brush size and opacity settings can help in creating subtle transitions and details in the piece. Refinement often involves revisiting different parts of the artwork to ensure coherence throughout.
Adding Textures
Textures contribute a lot to the overall realism and feel of the artwork. In Krita, artists have access to a variety of texture brushes that can be customized. Brushes with different patterns and opacities can simulate surfaces like wood, fabric, or metal. Adding textures requires artists to think about how different materials interact with light.
For a consistent look, texture elements should be scaled to match the perspective of the piece. This can enhance the visual story. To explore this further, check out tips for professional artists.
Creating Depth and Atmosphere
Creating depth makes the artwork more engaging by guiding the viewer’s eye through different layers. Techniques include using perspective grids and layering objects to form a sense of distance. Atmosphere can be achieved through lighting and shading.
Experimenting with blending modes can add a sense of light and shadow, making some areas pop. Adjusting the opacity of different layers can also add depth without overcrowding the composition. Digital tools allow for quick adjustments, so artists are encouraged to experiment. For beginners, Krita tutorials provide insights into mastering these techniques.
Lighting and Shadow
Lighting and shadow can transform the mood of a concept art piece. By considering factors like light sources and shading techniques, artists can create depth and focus. Highlights and reflections add realism to the final work.
Light Sources
Understanding where light comes from is crucial in art. Light sources can be natural, like the sun, or artificial, such as lamps. Each type casts shadows differently.
Artists should consider the direction and intensity of light. For example, if the light comes from above, shadows will be short and beneath objects. Side lighting creates longer, more dramatic shadows. Experimenting with different light sources can give a piece unique character and depth. Observing real-world lighting helps artists replicate these effects in their work.
Shading Techniques
Shading adds dimension to flat images. It’s important to recognize how shadows fall and affect objects. For beginners, understanding light as straight lines can help in shading an object accurately.
A common technique is to first sketch basic shapes lightly. This can aid in visualizing where light and shadow will interact. Blending is key; smooth transitions make shadows appear more natural. Some prefer photo bashing to set up compositions, which involves painting over photographs to achieve realistic textures and depth.
Highlights and Reflections
Highlights bring attention to specific areas. They show the viewer where light strikes directly and can make elements appear shiny or wet. Reflections can be tricky, as they must mirror their surroundings but also consider light angles.
Reflective surfaces, like water or metal, require careful observation. Artists should study how colors and shapes alter when reflected. It’s useful to use a lighter shade of the object’s color for highlights. Subtle touches often have a significant impact, adding to the realism and interest of the artwork.
Final Touches
Refining a concept art piece in Krita involves several important steps. These include polishing the details, adding special effects, and preparing it for presentation. Each step enhances the artwork’s appeal and ensures it’s ready for display or sharing.
Polishing the Piece
Polishing is all about refining the small details. Artists often start by zooming in on the artwork to address any rough edges or imperfections. In Krita, the brush tool can be adjusted for precision, making it easier to smooth out lines and enhance texture.
Attention is given to lighting and shadows, which play a crucial role in adding depth to the piece. Using Krita’s blending modes can help achieve the right balance of light and dark, bringing the artwork to life.
Adding highlights and color adjustments also helps to enhance the vibrancy of the image. Krita offers color adjustment filters like contrast and hue to fine-tune the piece.
Adding Special Effects
Special effects can dramatically elevate an artwork. Krita provides a wide range of effects through its layer styles and filters.
One can start by experimenting with textures and gradients to add complexity. Soft light layers or overlays can give a piece a more dynamic range and interest.
Incorporating elements like glows or shadows enhances realism. Artists often use Krita’s Gaussian blur to soften edges or create subtle shadows, adding a three-dimensional feel.
Particle effects, such as stars or rain, can be added by using custom brushes. These little touches make the scene more engaging and captivating for the viewer.
Preparing for Presentation
The final step is preparing the artwork for presentation. This requires checking the image resolution to ensure it’s suitable for printing or digital display.
Saving the file in different formats is important, as certain formats like PNG retain high quality, while others like JPEG are more suitable for web use.
Adding a watermark can protect the artwork from unauthorized use. It’s usually placed in a subtle area so it doesn’t distract from the overall piece.
Krita offers export settings that allow artists to choose the appropriate file type and quality settings, ensuring the piece looks its best wherever it’s showcased.