Cinematic color grading can transform your photos by giving them a professional and engaging look. Using tools like GIMP, a free and versatile photo editor, anyone can achieve this stunning effect without needing expensive software. By mastering cinematic color grading in GIMP, photographers can enhance the mood and feel of their images, making them stand out.
Those curious about the process will find that GIMP provides various tools and plugins to help create these effects. For instance, the G’MIC plugin offers an easy way to apply LUTs and other adjustments to achieve the desired cinematic style. These simple techniques open up new possibilities for photographers looking to elevate their work.
For beginners and experienced users alike, experimenting with these tools in GIMP can be a fun and creative process. Whether it’s for personal projects or professional work, learning to apply cinematic color grading adds a new dimension to photo editing, making images more captivating to the audience.
Understanding Color Grading
Color grading is an essential part of filmmaking and photography that adjusts the hues and tones in an image to create a particular mood or aesthetic. It enhances visual storytelling by guiding the audience’s emotions and attention through careful color manipulation.
History and Application
Color grading has roots in the early days of cinema. During the film era, colorists would physically tint sections of film to evoke certain emotions or highlight specific elements.
As technology evolved, digital tools like GIMP made this process more accessible. Color grading is now used in everything from big-budget movies to social media content.
Grading helps create dramatic effects, adjust lighting differences between shots, and ensure a consistent look across a film or photo set.
Color Theory Basics
Color theory is about how colors interact and affect each other, especially in visual art. Three main elements are crucial: hue, saturation, and brightness.
- Hue refers to the main color, like red or blue.
- Saturation measures the intensity or purity of the color.
- Brightness shows how light or dark a color is.
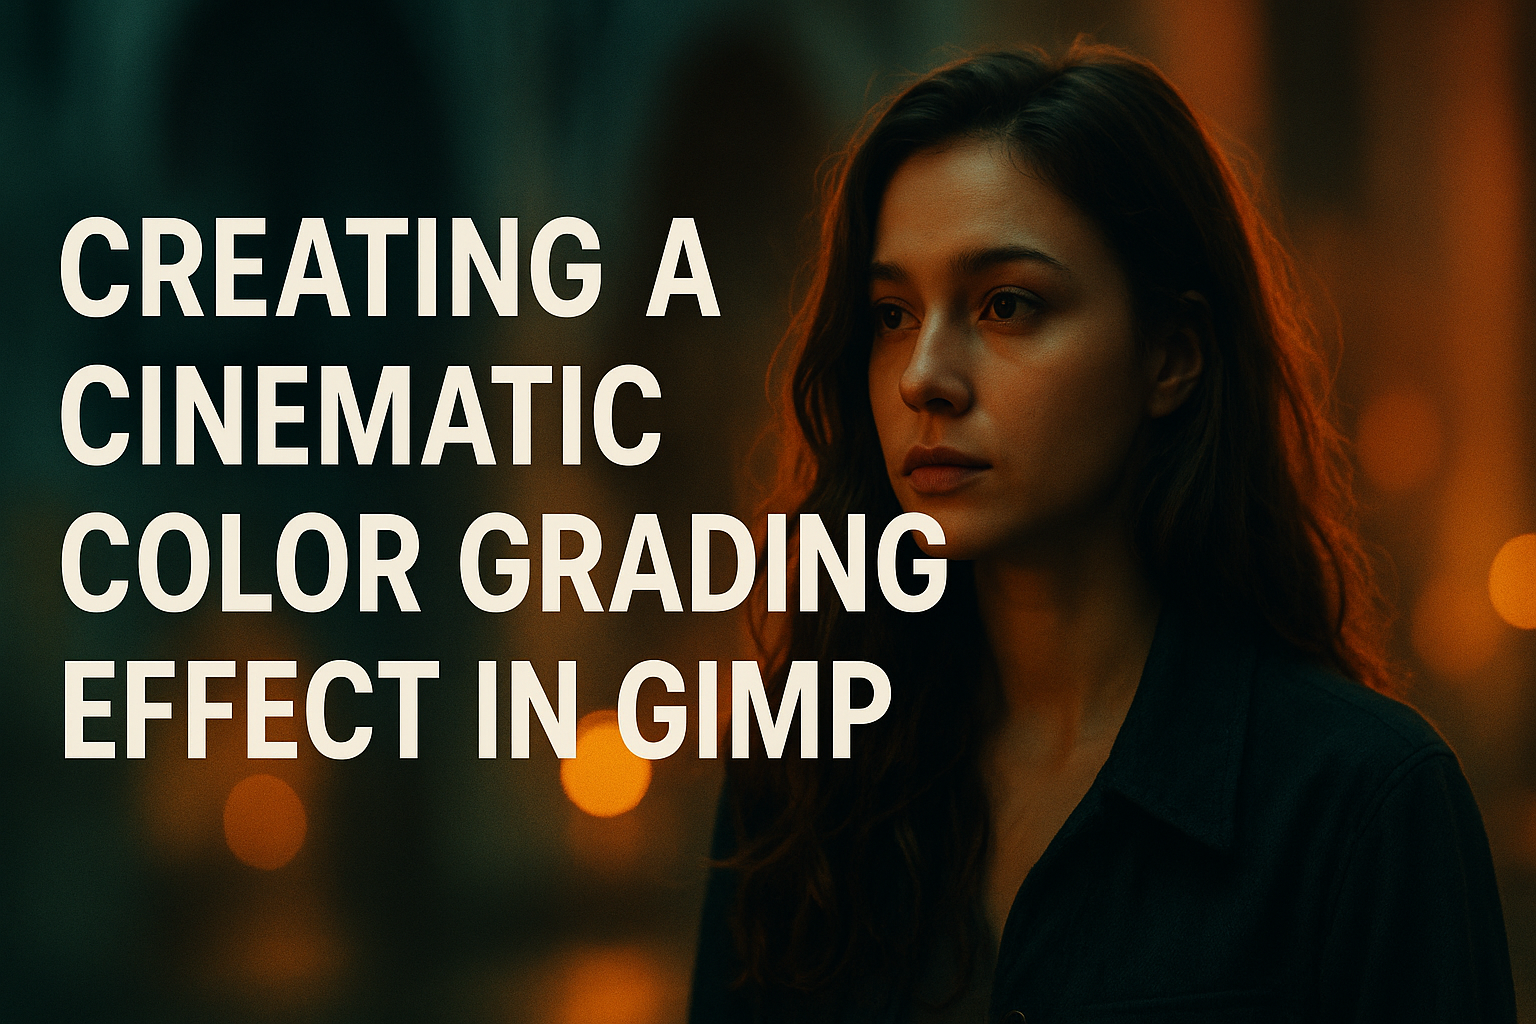
Understanding these elements allows creators to combine colors effectively for enhanced visual impact. Teal and orange are popular choices for cinematic color grading, as they provide strong contrast and mood.
Color Grading vs. Color Correction
Color grading and color correction are often confused. However, they serve different purposes. Color correction involves adjusting colors to look natural and consistent. This step fixes exposure issues, white balance, and color shifts.
On the other hand, color grading is more about creativity and aesthetics. It enhances the story by establishing a specific mood or feeling.
For example, a warm color grade can create a sense of nostalgia, while cooler tones might make a scene feel tense or distant. Both processes are vital in post-production to deliver a polished final product.
Getting Started with GIMP
GIMP offers powerful tools for photo editing and creating cinematic effects. To begin your journey with GIMP, you’ll need to install the software, get familiar with its interface, customize your workspace, and learn how to import your media files.
Installing GIMP
To start using GIMP, first, download the software from its official website. It supports major operating systems like Windows, macOS, and Linux. Ensure that your system meets the minimum requirements for smooth performance.
Once downloaded, follow the installation instructions. On Windows, run the installer and follow the prompts. For macOS, drag the application into the Applications folder. Linux users can typically find it in their software center.
Exploring the GIMP Interface
The GIMP interface may look complex at first, but it’s quite user-friendly once you’re familiar with it. The main workspace includes a menu bar at the top, tool options on the left, and layers, channels, and paths to the right.
Each tool in GIMP has distinct features. The toolbar includes important selections like the paintbrush, pencil, and bucket fill. Understanding these tools helps in achieving the desired effects in your projects.
Setting Up Your Workspace
Customizing your workspace in GIMP can streamline your workflow. Begin by arranging panels to fit your editing style. You can move or hide panels like the layers tab or toolbox to save space.
Consider using single-window mode for a more organized interface. This feature consolidates all open windows into one manageable frame. Access it through the Windows menu for easier navigation and editing efficiency.
Importing Your Footage
Importing images or videos into GIMP is simple. Click on the File menu and select Open to browse your files. Choose the desired media and click Open again to load it into the workspace.
For projects with multiple images, using Open as Layers can be beneficial. This function imports all selected images into one project, each as a separate layer. This is helpful for tasks like creating composite images or applying consistent edits across multiple files.
Basic Adjustments
Creating a cinematic color grading effect in GIMP involves adjusting various image properties. These adjustments help in controlling the mood and style of the images, achieving the desired cinematic look.
Levels and Curves
Adjusting the levels and curves can significantly impact the photo’s appearance. Levels control the shadows, midtones, and highlights. Users can tweak these to set the brightness and contrast according to the desired look. The curves tool offers more precision, allowing adjustments to specific tones.
S-curves are popular as they add contrast and depth, enhancing the image. By controlling the shape, users can deepen shadows and highlight areas more vividly. It’s about balancing these elements to get that cinematic feel.
Experimenting here can create dynamic and striking effects.
Color Balance
The color balance tool is crucial for adjusting color tones across shadows, midtones, and highlights. In cinematic grading, you can infuse warmth by adding reds or enhance cooler scenes with blues and greens.
Managing the color tone helps emphasize the desired mood. For instance, enhancing green can give a fresh look, perfect for natural settings, while more reds can add warmth.
It’s a powerful method to alter how emotions are conveyed through the color palette.
Brightness and Contrast
Brightness and contrast settings help in defining the visual impact of an image. Adjusting brightness controls overall lightness while maintaining critical details.
Increasing contrast between light and dark areas can make images pop. It helps in highlighting essential parts of the image and creating dramatic effects.
Finding the right balance is key. Too much brightness can wash out an image, while excessive contrast might lose details. Experimenting with these settings lets users craft visually stunning photos.
Advanced Color Grading Techniques
Advanced color grading techniques in GIMP can elevate your images by adding depth and a distinctive look. These methods use masks, gradient maps, and hand-painting to refine the image’s colors, giving them a professional touch.
Using Masks for Selective Color Grading
Masks allow precise control over where effects are applied in an image. By using masks, editors can target specific areas, affecting only chosen parts of the photo. In GIMP, users can create a mask on a duplicate layer and adjust it to suit their needs.
For instance, they can make skies more vibrant while keeping foregrounds unchanged. Creating a mask involves selecting the layer, adding a layer mask, and painting the mask to reveal or hide effects. Using masks makes it simple to apply different color adjustments without affecting the entire picture, allowing for creative and focused editing.
Gradient Maps
Gradient maps are helpful tools in GIMP for color grading. This technique involves mapping colors based on brightness levels in an image. Users apply a gradient map to adjust the look and feel, adding a unique color scheme.
With GIMP, creating a gradient map is straightforward. Users choose “Colors” and then “Map” followed by “Gradient Map” to apply it. Custom gradients can be created or existing ones modified. By adjusting the gradient, various moods and tones can be achieved. This technique is beneficial for adding creative hues and enhancing the emotional impact of a scene.
Hand-Painting Color Effects
Hand-painting color effects is a more artistic approach to color grading. This method involves manually painting over an image to add or change colors as desired. Artists often use this technique to add emphasis or artistic flair.
In GIMP, users can create a new layer for painting. They choose a brush and color, then paint over areas to add effects. This method provides exceptional creative freedom. A photographer can paint warmth into a sunset or cool tones into shadows. The key is to use a separate layer which allows adjustments without altering the original photo.
By using masks, gradient maps, and hand-painting, editors can creatively enhance their images, making them stand out.
Creating a Cinematic Look
Creating a cinematic look with GIMP involves adding elements that enhance the mood and style of your images. These key techniques include applying film grain for texture, using vignettes to focus attention, and utilizing plugins for deeper effects.
Applying Film Grain
Film grain adds a textured look to photos, giving them an analogue feel that many associate with traditional cinema. To add this effect in GIMP, start by duplicating your image layer. Then, apply a noise filter and adjust settings to achieve the desired graininess.
It’s useful to play with the opacity of this grain layer. By lowering it, the grain becomes more subtle and natural, resembling the authentic film texture that many photographers and filmmakers value.
Adding Vignette
A vignette darkens the corners of an image, drawing the viewer’s eye to the center. In GIMP, you can create a vignette by selecting the elliptical marquee tool and feathering the edges. Then, invert the selection to focus on the corners.
Afterward, use the curves tool to darken these areas. This not only enhances focus but also adds a dramatic flair. Adjust the feathering and curve strength for a softer or more intense effect, depending on the desired look. Small tweaks can greatly influence the final result, so experimentation is key.
Utilizing Plugins for Enhanced Effects
Plugins can expand GIMP’s capabilities, providing advanced tools for color grading. The G’MIC plugin is popular for its wide range of presets designed to mimic cinematic styles. To use G’MIC, download and install it from G’MIC’s website.
Once installed, explore the different filters under the “Film Emulation” category. Each filter can imitate various film stocks, giving images an artistic touch. Experiment with contrast and saturation settings within these filters for varied effects. This allows for a tailored cinematic look, customized to the particular mood or aesthetic desired.
Workflow Tips
When working with GIMP for cinematic color grading, it’s crucial to maintain flexibility in your editing process. This involves using non-destructive techniques, organizing layers, and customizing the workspace with shortcuts for streamlined work.
Non-Destructive Editing
Non-destructive editing helps keep the original image intact. In GIMP, this can be achieved by using adjustment layers and masks instead of directly altering the image. One technique is to duplicate the original layer and apply changes to the duplicate. This method ensures that the original details are preserved.
Another approach involves using the Curves tool. By applying it through a layer mask, you can tweak colors without affecting the base image. This flexibility allows for experimentation without fear of permanent changes.
Using Layers Effectively
Layers are a powerful tool in GIMP that aid in organizing and managing different elements of an image. By stacking layers, users can apply various effects like brightness or color adjustments separately.
Naming each layer according to its function keeps the workspace organized, making edits easier. Grouping related layers can also simplify the workflow. For instance, all color adjustment layers can be grouped together.
Layer opacity settings are useful for blending effects smoothly. This helps in achieving the desired cinematic look without overdoing it.
Shortcuts and Customization
Customizing shortcuts speeds up the editing process. GIMP allows users to set keyboard shortcuts for frequently used tools and actions. By dedicating time to set these up, users can transition between tasks quickly, boosting efficiency.
Another way to enhance workflow is by arranging the interface to suit personal preferences. Docking favorite tool panels in accessible locations makes the process smoother. GIMP also supports plugins, like G’MIC, which expand its functionality further, providing additional tools for color grading.
Final Touches
After applying your initial color grading in GIMP, it’s important to refine the image to make it truly stand out. This involves sharpening details, reducing any unwanted noise, and effectively exporting the final product for the best quality and compatibility.
Sharpening the Image
Sharpening helps enhance the clarity of the image by making edges more distinct. It’s key to use sharpening carefully to avoid making the photo look unnatural. Start with the “Unsharp Mask” in GIMP. This tool allows you to adjust the amount, radius, and threshold.
The amount determines the intensity of the sharpening effect. The radius specifies how many pixels surrounding the edges will be affected. The threshold avoids sharpening less important areas like smooth surfaces. Experiment with different settings to see what looks best.
Noise Reduction
Even with careful editing, digital noise can sometimes become more noticeable during color grading. Reducing noise is essential for a clean, professional finish. GIMP offers a “Reduce Noise” filter found in the “Filters” menu under “Noise.”
Set the sliders according to the level of noise you see. For luminance noise, which appears as black and white speckles, adjust the severity slider. For color noise, tweak the red, green, and blue sliders accordingly. Applying these adjustments restores smoothness without sacrificing important image details.
Exporting the Final Product
Once your image looks just right, exporting it correctly ensures it maintains quality when shared or printed. In GIMP, choose “File” then “Export As.” Select the appropriate file format. JPEG is suitable for online use, balancing file size and quality, while PNG is ideal for preserving high detail and transparency.
Consider the resolution and file size based on how you intend to use the image. Use the quality slider for JPEGs to control compression. With PNGs, maintaining the original quality typically enhances professional prints.
Pay special attention to color profiles, especially if you’ve used LUTs for color grading. Make sure to use a widely accepted profile like sRGB to maintain accuracy across devices.