Creating engaging videos has never been more accessible, especially with tools like CapCut. For those looking to enhance their video editing skills, it is easy to create a split-screen video in CapCut using a few simple steps. This feature allows content creators to show multiple perspectives or combine different clips effortlessly.
With CapCut’s user-friendly interface, even beginners can dive into video editing. Users can experiment with various layouts to tell their stories more dynamically. By mastering the split-screen effect, they can elevate their videos and captivate their audience in ways they hadn’t imagined.
Whether for personal projects or professional content, learning how to utilize CapCut’s split-screen feature can make a significant difference. As viewers increasingly seek more immersive experiences, creators can stand out by incorporating this technique into their work.
Getting Started with CapCut
CapCut is a user-friendly video editing tool that offers many features for beginners and experienced editors. Knowing how to download, install, and navigate the interface will help users create their split-screen videos more effectively.
Downloading and Installing CapCut
To get started, the user needs to download CapCut. He or she can find it on the official website or app stores for their device.
For Windows or Mac, visit the CapCut website to download the software. Users just need to click on the download button and follow the on-screen instructions to install it on their computers.
For mobile devices, the app is available in the Google Play Store for Android and the Apple App Store for iOS. Simply search for “CapCut,” tap the install button, and the app will be ready in a few moments.
Understanding the CapCut Interface
After installation, familiarity with the CapCut interface is essential. The main screen features key areas like the timeline, preview window, and toolbar.
- Timeline: This is where users can arrange their video clips and audio tracks.
- Preview Window: It allows users to see how their edits affect the video in real-time.
- Toolbar: This area provides tools for cutting, adding effects, and adjusting clips.
Navigating the interface is straightforward, as most tools are easily accessible. Users can hover over icons for helpful tips to enhance editing efficiency.
Setting Up a New Project
To start a new project, the user should click the “New Project” button on the main screen. It opens a new workspace for editing videos.
Next, the user can import videos and photos by selecting them from their device’s library. Dragging and dropping files into the timeline makes organizing clips easy.
After importing media, users can set the project’s aspect ratio according to their needs, such as 16:9 for YouTube. Setting this up ensures the final video displays correctly on the chosen platform.
Basic Video Editing Techniques
Getting started with video editing in CapCut involves a few essential techniques. Understanding how to import clips, trim or split, and adjust audio levels will make the editing process smoother and more efficient.
Importing Your Video Clips
To begin, users can easily import video clips into CapCut. First, they open the app and create a new project. Then, they tap on “Import” to access their device’s media library.
Once in the library, users can select the clips they want to use. They can choose multiple clips at once. After selection, tapping “Add” will bring the clips into the project timeline.
This process is quick and straightforward, allowing for easy access to video materials. Once clips are imported, users can see a visual representation of them in the timeline, ready for editing.
Trimming and Splitting Clips
After importing, users often need to trim or split their clips to focus on key moments. To trim, they select a clip and use the handles on either side to shorten its length. Dragging the handles inward removes unwanted sections.
For splitting, they position the playhead where they want to cut the clip. Tapping on the “Split” button divides the clip into two parts. This feature is useful for removing mistakes or creating transitions.
Both trimming and splitting are simple operations that refine the video and keep the audience engaged. Users can repeat these steps as needed to achieve the desired flow of their story.
Adjusting Audio Levels
Audio quality is crucial in video editing. CapCut allows users to adjust audio levels for clarity and balance.
Users start by tapping on the audio track associated with their video clips.
They can then access audio controls to raise or lower the volume. For background music or sound effects, users can adjust the levels separately to maintain a good mix.
Additionally, users can apply audio effects to enhance sound quality. These steps help ensure that the audio does not overpower the visuals, creating a polished final product. Audio adjustments play a key role in delivering an engaging viewing experience.
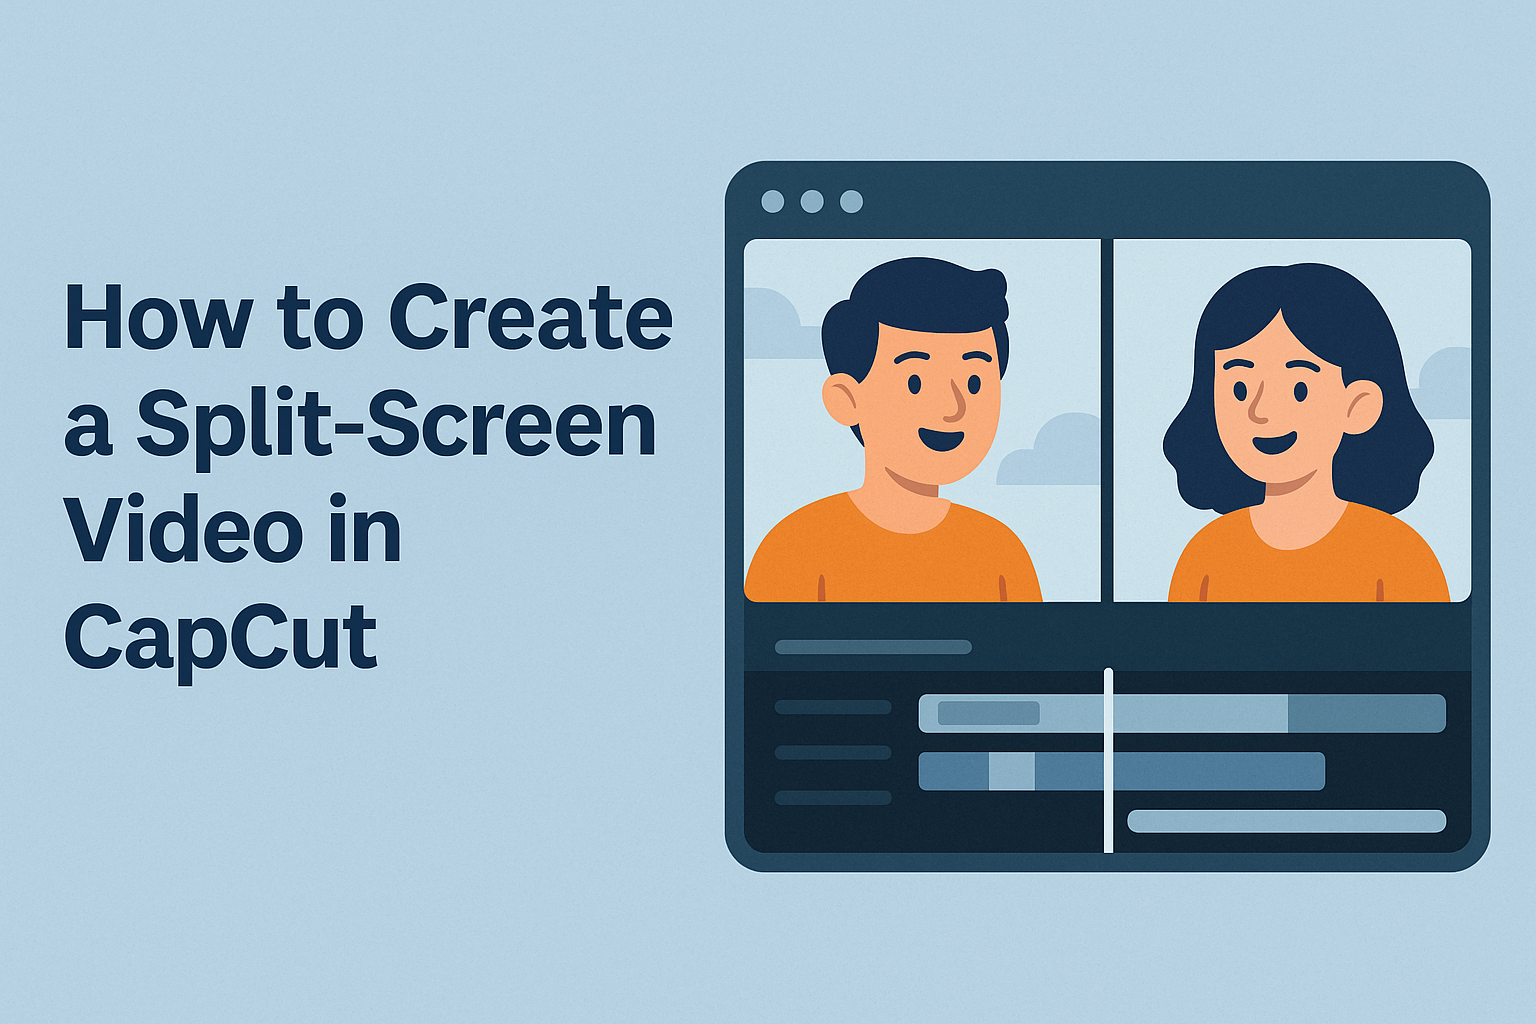
Creating a Split-Screen Effect
Creating a split-screen effect in CapCut can add depth and interest to videos. It helps to display multiple perspectives simultaneously, making the content more engaging for viewers.
Selecting Split-Screen Templates
To start, users can select from various split-screen templates available in CapCut. These templates offer different layouts that can fit any style.
- Open CapCut and create a new project.
- Navigate to the “Templates” section.
- Choose a split-screen design that suits the desired look.
Selecting the right template is crucial as it sets the tone for the video. CapCut provides a mix of options, allowing for creativity while keeping the viewer’s focus on the content.
Positioning Your Videos
Once a template is chosen, the next step is positioning the videos. Users can easily drag and drop clips into the designated sections of the split-screen.
- Adjust the size of each video for balance.
- Make sure both videos are visible without obscuring important details.
Positioning is not just about aesthetics; it helps convey the message clearly. Users should pay attention to how each clip interacts within the frame. This keeps the audience engaged with both parts of the split screen.
Applying Borders and Effects
Adding borders and effects can enhance the split-screen look. CapCut allows users to customize the edges of each video.
- Users can choose from solid colors, gradients, or patterns for the borders.
- Effects like shadows or glowing edges can also be added for emphasis.
These adjustments give each section a more polished appearance. Effects should complement the video, not distract from it. Taking the time to apply these finishing touches can significantly improve the overall quality of the video.
Customizing the Split-Screen Layout
Customizing the split-screen layout allows creators to enhance their videos with unique designs. By adjusting proportions, using keyframes, and adding overlays, users can create engaging and professional-looking content.
Adjusting the Split-Screen Proportions
To adjust the split-screen proportions, users can select the clips they want to edit in CapCut. In the editing interface, they can drag the edges of each video to change how much space it occupies.
CapCut allows for several layout options, including vertical and horizontal splits. It’s essential to maintain a balance between the clips so that neither one overshadows the other.
To make the split-screen more effective, users can set custom aspect ratios. This feature enhances the visual appeal and ensures that each clip aligns well with the overall theme of the video.
Using Keyframes for Dynamic Splits
Keyframes help creators add movement to their split-screen layouts. By using keyframes, users can animate the clips, making them transition smoothly between different positions.
To set keyframes, users can select a clip and move it to a different position over time. This movement can create engaging effects, such as zooming in on one clip while keeping another in view.
It is vital to adjust the timing of the keyframes to match the video’s rhythm. This synchronization enhances the viewers’ experience and keeps their attention focused on the content.
Adding Text and Graphic Overlays
Text and graphic overlays bring additional context to any split-screen video. CapCut has a variety of text styles and fonts that users can choose from to match their video’s theme.
When adding text, it’s best to position it where it complements rather than distracts from the clips. Users should consider using contrasting colors to ensure the text stands out.
Graphics, such as icons or shapes, can also be added to highlight specific areas of the video. By customizing these elements, users can direct viewer attention and enhance storytelling within their split-screen layout.
Final Touches
After creating a split-screen video in CapCut, it’s time to enhance it further. This can involve color correction, adding smooth transitions, and exporting the final product. These steps can significantly improve the overall look and feel of the video.
Color Correction and Grading
Color correction is essential for any video. It adjusts brightness, contrast, and saturation to make the footage more visually appealing. In CapCut, users can easily access these features.
Using adjustment sliders, one can fine-tune each element separately. For example, increasing the brightness can make dark scenes more vibrant. Conversely, reducing saturation can help in creating a more subtle look.
Grading is the artistic choice of colors that sets the mood. CapCut offers presets that users can apply to achieve different styles, like cinematic or vintage. It’s important to choose a grade that complements the video’s theme.
Adding Transitions Between Clips
Transitions create smooth movement from one clip to another. In CapCut, multiple transition effects are available, transforming the viewer’s experience.
To add a transition, simply select the spot between two clips. Users can choose from options like fade, wipe, and slide. Each transition has its effect and can change how the video flows.
It’s wise to keep transitions subtle. Too many flashy effects can distract from the content. Finding the right balance ensures the audience stays focused on the video message.
Exporting Your Final Video
After editing, exporting is the last step. CapCut allows users to export videos in various resolutions, including 1080p and 4K. Choosing the right resolution depends on where the video will be shared.
Before exporting, review all settings for the best quality. Selecting the appropriate format, such as MP4, ensures compatibility with most platforms.
Once everything looks good, hit the export button. The process may take a moment, but the final product will be worth the wait.