Creating stunning videos can elevate any project, and adding slow-motion effects is a great way to enhance cinematic quality. To create cinematic slow-motion effects in CapCut, users can easily adjust the speed of their footage to transform ordinary scenes into dramatic moments. This technique not only captivates viewers but also adds a professional touch to videos.
For those looking to learn simple steps to achieve this effect, CapCut provides user-friendly tools that make the editing process enjoyable. Whether it’s for action sequences or capturing a special moment, slow motion can make all the difference. With just a few taps, anyone can turn their videos into visual masterpieces that stand out.
Understanding Slow-Motion Effects
Slow-motion effects can add unique depth to videos, making moments feel more dramatic and impactful. This section explores the basics of slow motion and the importance of frame rates in achieving stunning visuals.
Basics of Slow Motion
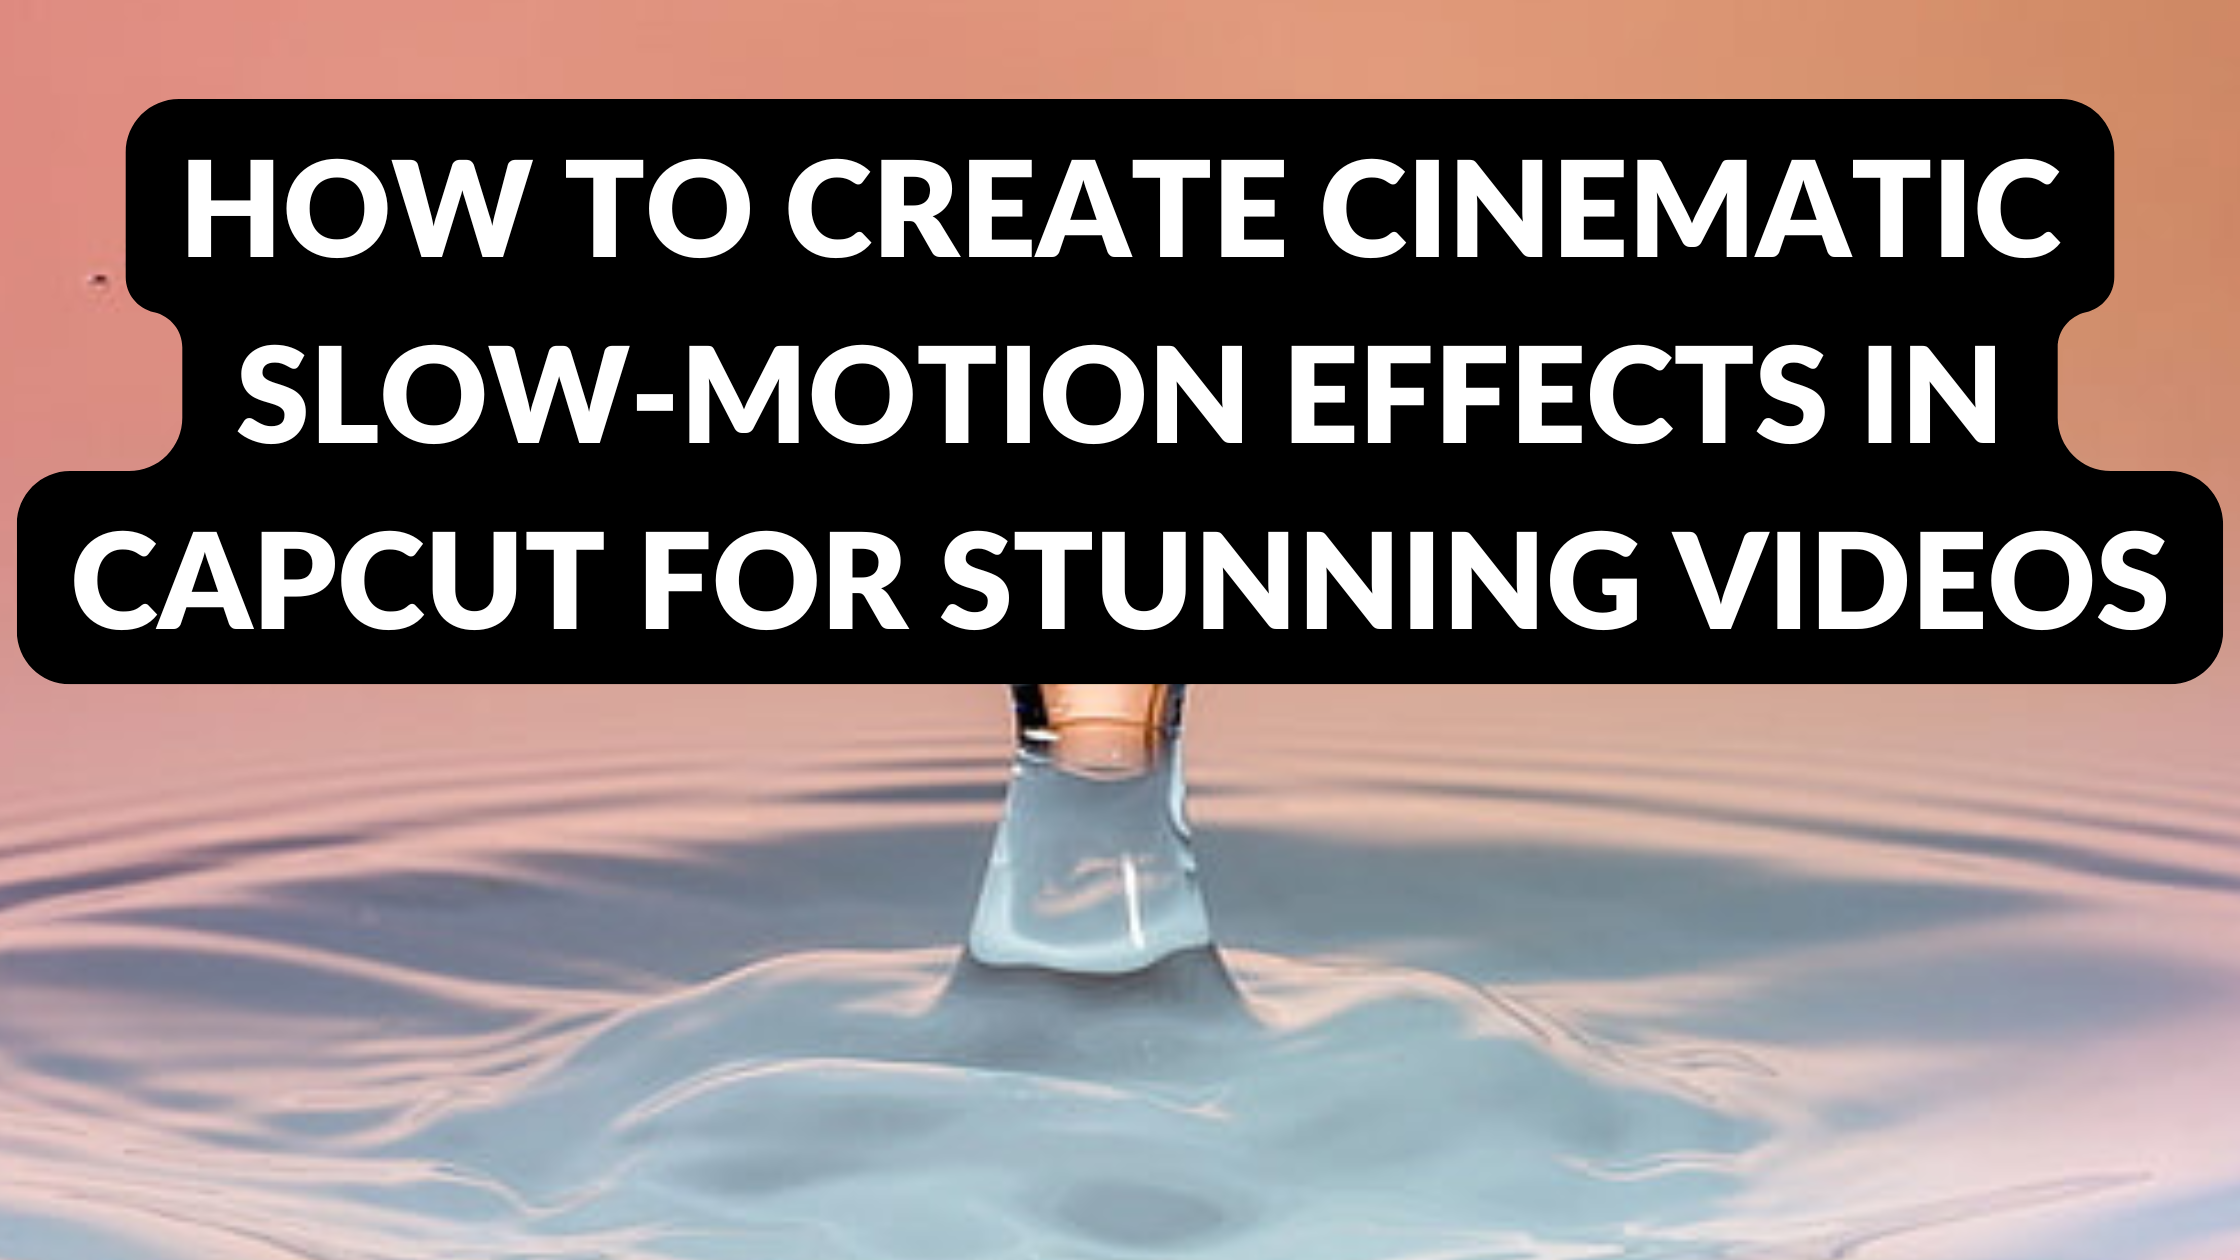
Slow motion is a technique that allows viewers to see action at a much slower speed than normal. This can highlight details that would otherwise go unnoticed. For instance, a drop of water splashing can transform into a mesmerizing visual.
To create slow motion, the video is recorded at a higher frame rate and then played back at a standard rate. Common frame rates for slow motion include 60fps, 120fps, or even higher. This technique captures more frames per second, resulting in smoother slow-motion footage. It’s essential to choose the right speed to match the desired effect in the video.
Frame Rates and Time Stretching
Frame rate is crucial for achieving effective slow-motion effects. Higher frame rates provide smoother and clearer slow-motion sequences. For example, shooting at 120fps allows for very smooth playback at 30fps, stretching time effectively.
Time stretching alters the speed of a video without losing quality. In CapCut, users can adjust speed settings to create the desired slow-motion effect. By selecting parts of the video to slow down, creators can emphasize key moments, enhancing the storytelling in their content.
Getting Started with CapCut
CapCut is a user-friendly video editing app that offers a variety of features, including slow-motion effects. Understanding how to download, install, and navigate the app will help users get the most out of their editing experience.
Downloading and Installing CapCut
To begin using CapCut, the first step is to download the app. It is available for both iOS and Android devices. Users can find it in the Apple App Store or Google Play Store.
Once located, tap the “Install” button. After the download is complete, the app will appear on the device’s home screen.
Simply click on the CapCut icon to open it. The installation process is straightforward and takes just a few minutes.
Navigating the CapCut Interface
When users open CapCut for the first time, they are greeted by a simple and intuitive interface. The home screen displays options to create a new project or access existing ones.
At the bottom, there are tabs for different tools, such as editing, effects, and exporting. Users can easily tap these tabs to navigate through the app.
On the right side, there are options for adding text, music, and effects. By exploring these features, they will quickly become comfortable using CapCut for their creative projects.
Preparing Your Video for Editing
Before diving into creating slow-motion effects, it’s important to set up everything properly. This includes importing your video clips and arranging them on the timeline. These steps ensure a smooth editing experience.
Importing Video Clips
To start, open CapCut on your device. Tap on the “New Project” button to create a fresh workspace. From there, you can import your video clips by selecting them from your device’s gallery.
When choosing clips, it’s wise to select footage that has fast-moving subjects or moments that evoke emotion. This selection allows for more striking slow-motion effects later on. After selecting the clips, they will appear in the project as thumbnails, making it easy to review and edit them.
Setting Up the Timeline
After importing the clips, it’s time to set up the timeline. This is where the real magic happens. The timeline shows the video clips arranged in sequence. Users can drag and drop video clips into the timeline for easy organization.
To prepare for slow motion, it’s helpful to trim clips to focus on the key moments. He or she can use the scissor tool to cut clips down to size. It’s also effective to order the clips so that the most impactful moments are highlighted. Arranging clips thoughtfully lays the groundwork for an impressive slow-motion effect.
Creating Slow-Motion Effects
Creating slow-motion effects in CapCut is an exciting way to enhance videos. Key steps include choosing the right clip, adjusting speed settings for that perfect look, and using keyframes for smooth transitions.
Selecting the Right Clip Segment
To start, it’s essential to pick the right part of the video. Look for moments that have action or impact. Fast movements or dramatic scenes work well for slow motion.
Tips for selecting clips:
- Choose segments with clear motion.
- Avoid static scenes that won’t benefit from slowing down.
- Consider clips where slowing the action adds drama.
Once a segment is chosen, it becomes easier to determine how slow motion will enhance it. CapCut allows users to preview sections before applying effects, aiding in the selection process.
Adjusting Speed Settings
After selecting the clip, the next step is to adjust the speed settings. CapCut provides a speed control feature that lets users slow down video footage.
- Normal Speed: The default setting where the video plays at regular speed.
- Slow Motion: This can go to as low as 0.1x, effectively creating that cinematic feel.
Users can play around with different speeds to find the right balance. Slower speeds often highlight intricate details that viewers might miss at normal speed. Finally, he or she should preview the effect to ensure it matches their vision.
The Role of Keyframes
Keyframes are crucial for creating smooth slow-motion effects. They allow users to control speed at different points in the video.
Using keyframes effectively:
- Place a keyframe at the start and another where the desired slow motion should end.
- Adjust the speed between these keyframes to create gradual changes.
This technique can help emphasize specific actions, such as a dancer’s leap or a ball breaking through the air. By refining the positions and speed at each keyframe, the effect becomes much more engaging for viewers.
Enhancing Your Slow Motion
To make slow-motion effects truly cinematic, it’s important to enhance them with additional elements. This includes incorporating appropriate music and sound effects, using smooth transitions, and applying color correction. These techniques will help set the tone and elevate the overall quality of the video.
Adding Music and Sound Effects
Music and sound effects play a big role in making slow-motion scenes more engaging. A well-chosen soundtrack can heighten emotions and draw viewers into the story. For example, using soft instrumental music can add a dreamy quality, while intense beats may increase tension.
Adding sound effects like whooshes or echoes during critical moments can emphasize the visual impact. CapCut allows users to easily import and sync music, making it simple to match the audio with the visuals. This combination is vital for creating a powerful moment within the slow-motion footage.
Using Transitions for Smooth Slow Motion
Transitions can significantly enhance the flow of slow-motion scenes. Using the right transitions can help create a seamless viewing experience. For instance, fades or cross-dissolves can soften the shift from one clip to another.
CapCut offers a variety of transitions that can be applied between clips. This helps maintain continuity and avoids abrupt changes that disrupt the storytelling. It’s crucial to experiment with different transitions to find the ones that best complement the slow-motion segments.
Color Correction for Mood
Color correction is essential for setting the mood in a video. Adjusting brightness, contrast, and saturation can dramatically influence how viewers perceive a scene. For slow-motion clips, creating a specific atmosphere is important.
Bold colors can add excitement, while softer tones can evoke calmness. CapCut provides various tools to fine-tune colors, so he can enhance the visuals effectively. Investing time in color correction will ensure that the slow-motion effects resonate well with the audience.
Exporting Your Final Video
After creating a stunning slow-motion effect in CapCut, it’s time to export the video. Exporting is a crucial step that ensures the final product meets the desired quality and format for sharing.
Choosing the Right Export Settings
When exporting a video, it’s important to select the right settings. First, the format is key. MP4 is widely used and compatible with most platforms.
Next, consider the resolution. 1080p is a great choice for high-quality videos. It balances file size and clarity. For those wanting the highest quality, select 4K.
Bitrate affects video quality too. A higher bitrate results in better quality but a larger file size. Choice of frame rate is also vital. Aim for 30fps for a smooth visual experience.
Saving and Sharing Your Work
After selecting export settings, CapCut allows users to save their work easily. Click on the export button in the top right corner. The app will process the video based on the selected settings.
Once exported, users can share their video in multiple ways. Options include directly posting to social media or saving it to the device. Use the share button for quick access to sharing options.