Creating an engaging before-and-after graphic can greatly enhance visual storytelling in any project.
Using Snappa, anyone can easily design a professional-looking graphic that highlights transformations or changes effectively. This approach not only captures attention but also allows viewers to quickly grasp the differences being showcased.
Snappa offers a range of templates and tools to help simplify the design process. With a user-friendly interface, it enables users to drag and drop images, customize text, and adjust colors without needing extensive design skills.
This makes it perfect for anyone looking to make a striking impression with minimal effort.
By following simple steps, creators can produce stunning visuals that stand out on social media or websites. The possibilities are endless when it comes to using before-and-after graphics to tell a compelling story or highlight a significant change.
Getting Started with Snappa
Getting started with Snappa is simple and enjoyable. Users can easily create an account and learn the interface for designing stunning graphics.
Creating Your Snappa Account
To begin using Snappa, a user must first create an account. This is done by visiting the Snappa website and clicking on the “Sign Up” button.
They can sign up using their email address or link their Google or Facebook accounts for faster access.
Once the user fills out the required information, they may need to verify their email. This process ensures account security.
After signing in, they can start exploring the platform and its features. Snappa offers a free tier, which is perfect for beginners aiming to develop their graphic design skills.
Navigating the Snappa Interface
After signing in, users will encounter a clean and intuitive interface. This environment is designed for ease of use.
The main dashboard features template options and design tools prominently.
Users can find various templates sorted by category, like social media posts, ads, and more. On the left side, there is a toolbar that allows access to graphics, text, and photo options.
Users can drag and drop elements easily, making graphic design straightforward and fun.
Additionally, there are features for resizing, cropping, and editing images directly from the toolbar. This makes customizing designs quick and efficient.
As users become familiar with the interface, they will find it easy to create attractive before-and-after graphics.
Designing Your Before-and-After Graphic
Creating a compelling before-and-after graphic requires careful selection of templates and a good layout. The images play a crucial role in capturing attention and conveying the desired message effectively.
Choosing the Right Template
Selecting the right template is vital for an eye-catching graphic. Snappa offers a variety of templates that cater to different styles and purposes.
When browsing templates, look for designs specifically labeled for before-and-after comparisons. These templates often feature clear divisions and are designed to showcase contrasting images effectively.
Check the colors and fonts as well. They should match your branding and appeal to your target audience. A clean template helps highlight the differences in the images, making the message strong and clear.
Customizing the Layout
Once a template is chosen, customizing the layout becomes the next step. Snappa allows users to drag and drop elements easily, which helps in arranging images and text as needed.
He or she should focus on key areas like alignment and spacing. Keeping a symmetrical layout often makes the visual more appealing.
Consider using grids or guides to help with placement. A balanced layout ensures the viewer’s eyes are drawn evenly across the graphic. This method highlights the changes being presented.
Adding Your Before-and-After Images
Adding images is where the magic happens. Ensure that the before-and-after images are high-quality to maintain a professional look.
When uploading images, use the Image Manager in Snappa. This feature allows for easy drag-and-drop placement into the template.
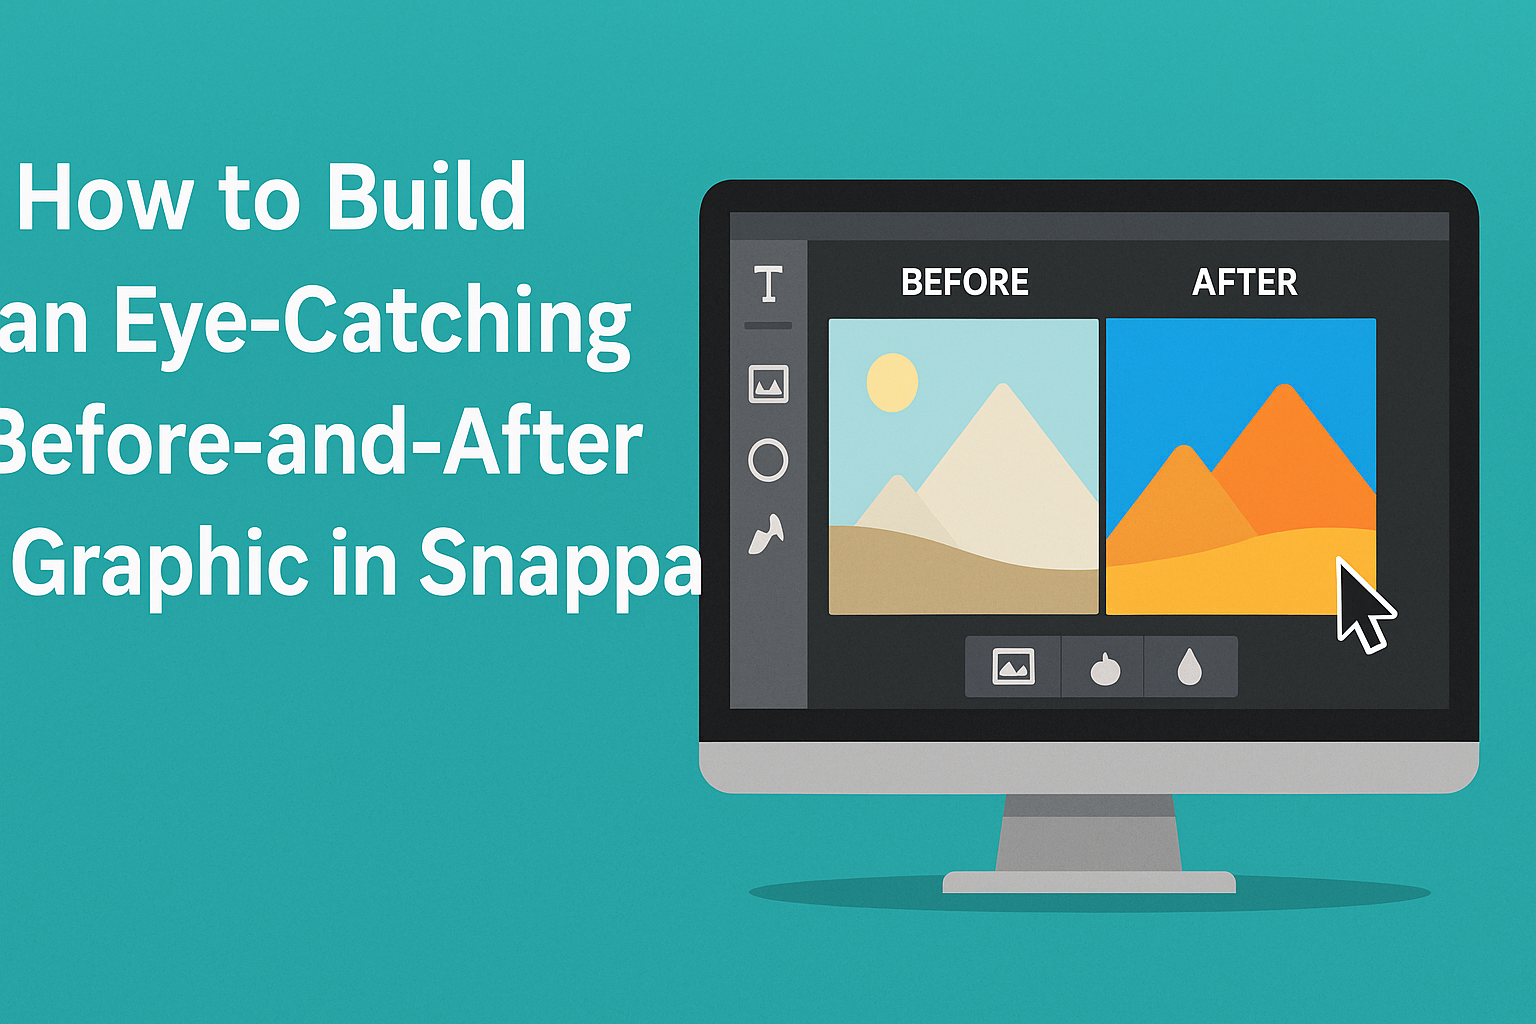
Position the “before” and “after” images side by side for immediate comparison. Provide captions if needed. Labels can clarify which image is which, enhancing understanding for viewers. Adjust image sizes to fit the layout correctly. Properly sized images create a polished final product.
Enhancing Your Graphic
To make a before-and-after graphic stand out, it’s essential to use filters, effects, and text wisely. Each element plays a vital role in drawing attention and clearly communicating the message.
Using Filters and Effects
Filters can dramatically change the look of a graphic. They help enhance the colors and mood of an image. For example, applying a soft blur can create depth, while a brightening filter can emphasize improvements in the “after” image.
Effects like drop shadows or glows add dimension. These techniques can make elements pop, helping viewers focus on key details.
It’s important to experiment with different filters and effects to find what complements the overall design.
When using filters, keep them consistent across both images to maintain a cohesive feel. A well-chosen filter can unify the graphic while highlighting changes.
Incorporating Text and Icons
Text is crucial for conveying information quickly. Clear, bold headings can label each image, such as “Before” and “After.” Using a clean, easy-to-read font helps ensure clarity.
Incorporating icons can also enhance understanding. Simple icons next to text, like arrows or checkmarks, visually guide the viewer. They can represent progress or highlight specific improvements.
Choosing contrasting colors for text makes it stand out against the background. This ensures the message is easy to grasp at a glance. Balancing text and visuals prevents clutter and keeps the focus where it matters most.
Finalizing and Sharing Your Creation
After creating a before-and-after graphic in Snappa, it’s essential to ensure it’s polished and ready for sharing. This process includes a thorough preview and understanding the best ways to share it on social media.
Previewing and Downloading
Before sharing, the graphic should be previewed carefully. This step allows the creator to check for any visual errors or misalignments. Snappa provides a preview feature that simulates how the graphic will look on various platforms.
Once satisfied, the creator can download the graphic. It’s crucial to choose the right file format. Options include PNG for high quality or JPEG for smaller file sizes.
Selecting the resolution appropriately will ensure the graphic maintains its clarity when posted online.
Best Practices for Sharing on Social Media
When sharing the graphic on social media, timing and format matter. It’s best to post during peak engagement times specific to each platform.
He or she should also consider using the correct dimensions for each social media site to avoid cropping issues.
Using engaging captions can enhance the post. Adding relevant hashtags will help to reach a wider audience.
Additionally, sharing the graphic in a series of posts can create anticipation and keep followers engaged.