Creating a product label can seem challenging, but with the right tools, it becomes an enjoyable task.
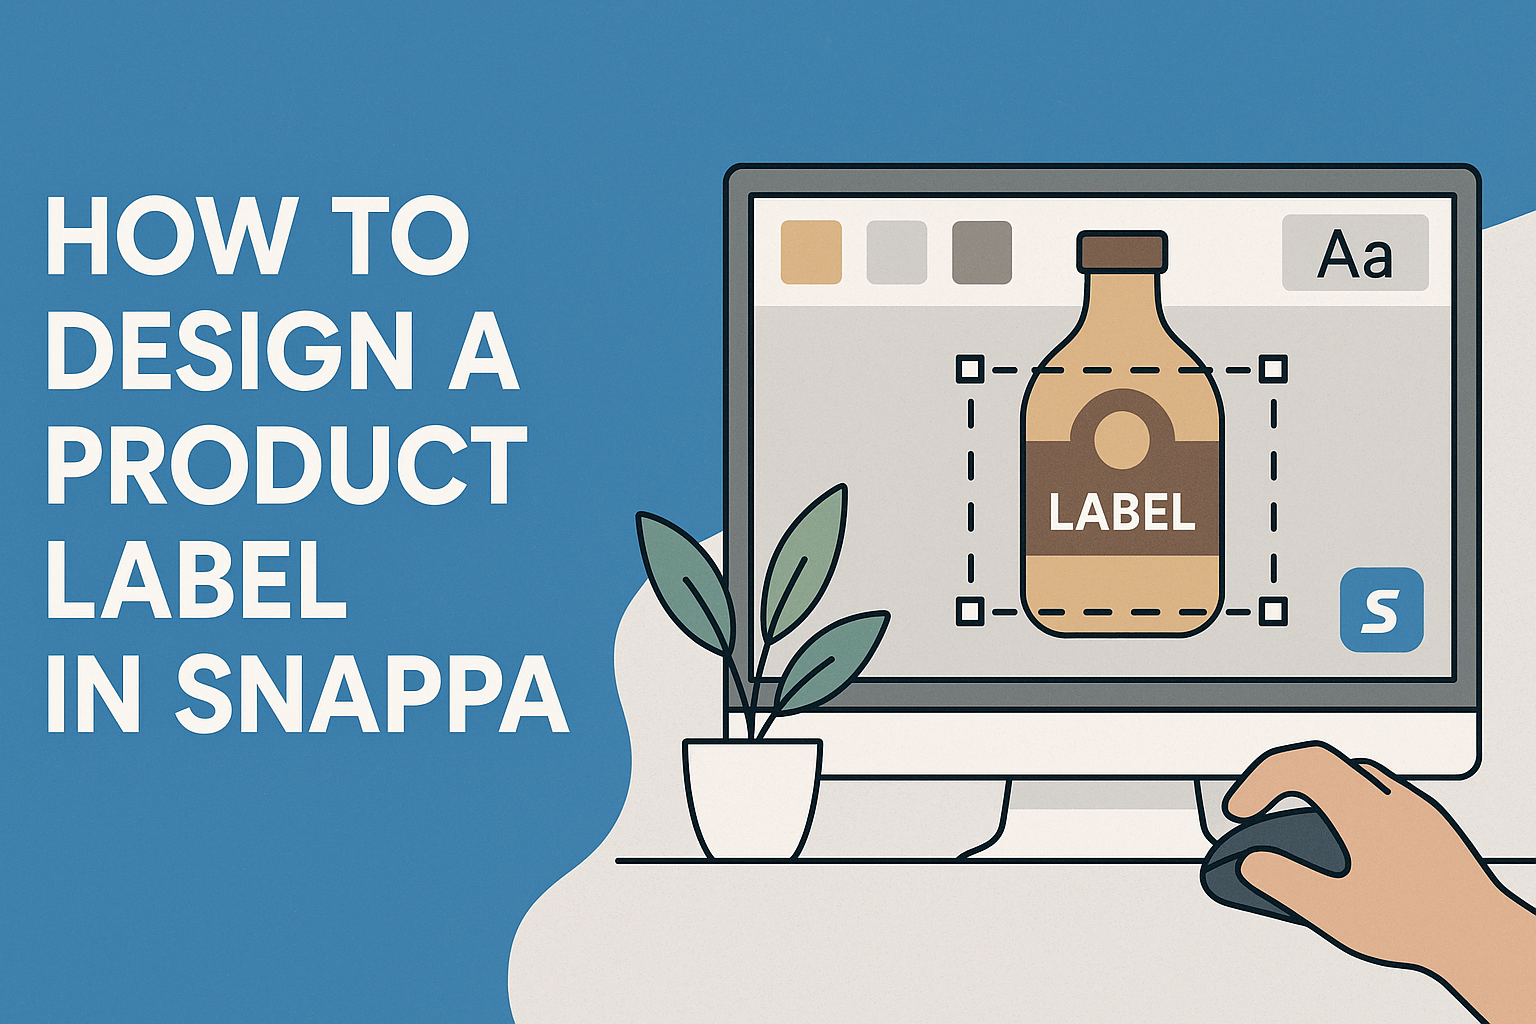
Snappa makes the design process simple and efficient, allowing users to craft beautiful labels quickly. This user-friendly graphic design software offers a variety of templates and customization options that cater to everyone, from beginners to experienced designers.
Many entrepreneurs and small business owners may wonder how to make their product stand out on shelves.
By using Snappa’s extensive library of graphics, fonts, and customizable templates, they can create eye-catching labels that grab attention. With just a few clicks, it’s possible to design a professional label that reflects the brand’s identity and appeals to customers.
Engaging visuals play a key role in marketing a product effectively. Snappa ensures that anyone can produce high-quality designs without needing extensive design skills, making it a go-to choice for those looking to elevate their branding efforts.
Understanding the Basics of Product Label Design
Product labels play a crucial role in marketing and branding. They provide essential information about the product while also attracting potential customers. Knowing how to design a product label effectively can make a significant difference in a product’s success.
The Role of a Product Label
A product label serves various important functions. First, it identifies the product and distinguishes it from competitors. This is vital in crowded markets where many similar items vie for consumer attention.
Second, it conveys key information such as ingredients, usage instructions, and product benefits. This informs customers and helps them make purchasing decisions.
Lastly, a label helps establish brand identity. It uses colors, fonts, and imagery that reflect the brand’s personality, making it memorable. A well-designed label can create an emotional connection with customers, encouraging loyalty and repeat purchases.
Key Elements of an Effective Label
Several key elements must be included for a label to be effective. Clarity is essential; text should be easy to read, with appropriate font sizes.
Next, the color scheme should align with the brand and appeal to the target audience. Colors can evoke emotions and influence buying behavior.
Imagery is also impactful. Images related to the product can create visual interest and convey information at a glance.
Additionally, including a call to action can encourage customers to buy. It could be a simple phrase like “Try it now!” or “Discover the benefits!”
Finally, ensuring proper label placement on the product is crucial. Misaligned or poorly placed labels can detract from the overall look and feel of the product.
Getting Started with Snappa
Starting with Snappa is simple and fun. Users can quickly create an account, explore the interface, and choose a template that fits their design needs. Here are some important steps to get started.
Creating an Account
To use Snappa, the first step is to create an account. Users can sign up for a free plan, which offers many features to get started.
- Visit the Snappa website.
- Click on the “Sign Up” button.
- Users can register with their email or log in using a Google account.
Once signed up, users can access various tools and templates. This makes it easy to start designing right away without any complicated setup.
Navigating the Snappa Interface
After creating an account, users should familiarize themselves with the Snappa interface. The main dashboard presents several options at first glance.
Key Features of the Interface:
- Templates: Users can find pre-designed layouts to jumpstart their projects.
- Graphics Library: Access a rich selection of royalty-free images and icons to use in designs.
- Editor: The editing tool allows users to drag-and-drop elements easily.
Taking time to explore these features can help users maximize their design efficiency. It’s a user-friendly platform perfect for both beginners and more advanced designers.
Choosing the Right Template
Selecting the right template is essential for effective label design. Users should think about the product and its branding when making this choice.
Here’s how to choose:
- Consider the Size: Snappa offers various dimensions for labels. Users can select the one that suits their packaging.
- Design Style: Whether modern, vintage, or minimalist, there are many templates available.
- Purpose and Emotion: Think about the message the label should convey.
Once a template is chosen, users can customize it easily with text, colors, and images. This flexibility allows for a personalized touch while keeping the overall design coherent.
Designing Your Label in Snappa
Creating a product label in Snappa is both simple and fun. With various tools available, designers can craft labels that stand out on shelves and attract customers. The following will explain how to add text, customize images, adjust colors and fonts, and use branding elements effectively.
Adding and Editing Text
Text is a vital part of any label. It conveys important information about the product. To start, users can select the “Text” option in Snappa.
They can choose from various font styles and sizes. Customizing the text for clarity is essential. Bold, clear fonts work best for visibility. Designers should also consider text placement, ensuring it is legible against the background.
Using contrasting colors can help the text pop. Snappa allows editing tools to change the text’s size, alignment, and shade, making adjustments straightforward. She can preview changes instantly, ensuring everything looks perfect.
Customizing Images and Graphics
Images play a crucial role in label design. They catch the eye and represent the product. In Snappa, users can upload their own images or choose from a library of graphics.
To adjust images, they can crop or resize as needed. A clean, well-cropped image enhances the overall look. Snappa also provides options to add filters or effects to make images unique.
Consider incorporating graphics that match the brand’s theme. This consistency reinforces brand identity. It’s good practice to keep the images relevant and appealing to target customers.
Adjusting Colors and Fonts
Colors and fonts set the mood of the label. Choosing the right colors can attract attention while conveying the product’s message. Snappa provides a wide range of colors to experiment with.
Designers can use the color picker tool to select hues that resonate with the brand. Maintaining a color scheme helps create harmony in the design.
Fonts should align with the product’s personality. A playful font may suit a children’s product, while a sleek font offers a modern feel. Users can combine different fonts for headings and body text, ensuring a balanced design.
Utilizing Branding Elements
Incorporating branding elements is key to establishing identity. Logos, taglines, and consistent colors should be present on the label. Snappa makes it easy to upload and position logos.
Branding elements create familiarity. Customers often recognize products by their packaging.
Designers should also consider space around these elements. Adequate white space can improve readability and aesthetic. This approach allows the label to breathe, making it visually appealing without overwhelming the viewer.
Finalizing and Exporting Your Design
Once the label design is complete, it’s important to review and prepare it for use. This includes checking for errors and ensuring that the design meets all requirements for both print and digital formats.
Reviewing Your Label Design
Before exporting, take a moment to carefully review the label. Check for spelling and grammatical mistakes. Each element, such as text, images, and colors, should be clear and aligned properly.
It’s also helpful to see how the label looks in real size. Use the preview feature in Snappa to get a realistic view. This can highlight any design flaws that are not obvious in a smaller format.
Consider getting feedback from others. Sometimes, a fresh set of eyes can spot issues that might have been overlooked. Ensure that everything looks professional and meets your branding needs.
Exporting for Print and Digital Use
After the review, it’s time to export the design. Snappa allows users to save their designs in multiple formats.
Common options include PNG and PDF. For print, a high-resolution PDF is often best.
This ensures that colors stay vibrant and the image remains sharp. For digital use, PNG is a good choice due to its quality and transparency options.
Choose the appropriate size and resolution based on where the label will appear. Using the correct settings will help avoid any scaling issues when printed or displayed online.
Always double-check your settings before finalizing the export.