Creating eye-catching graphics for a blog post can be challenging, but with the right tools, it becomes much easier.
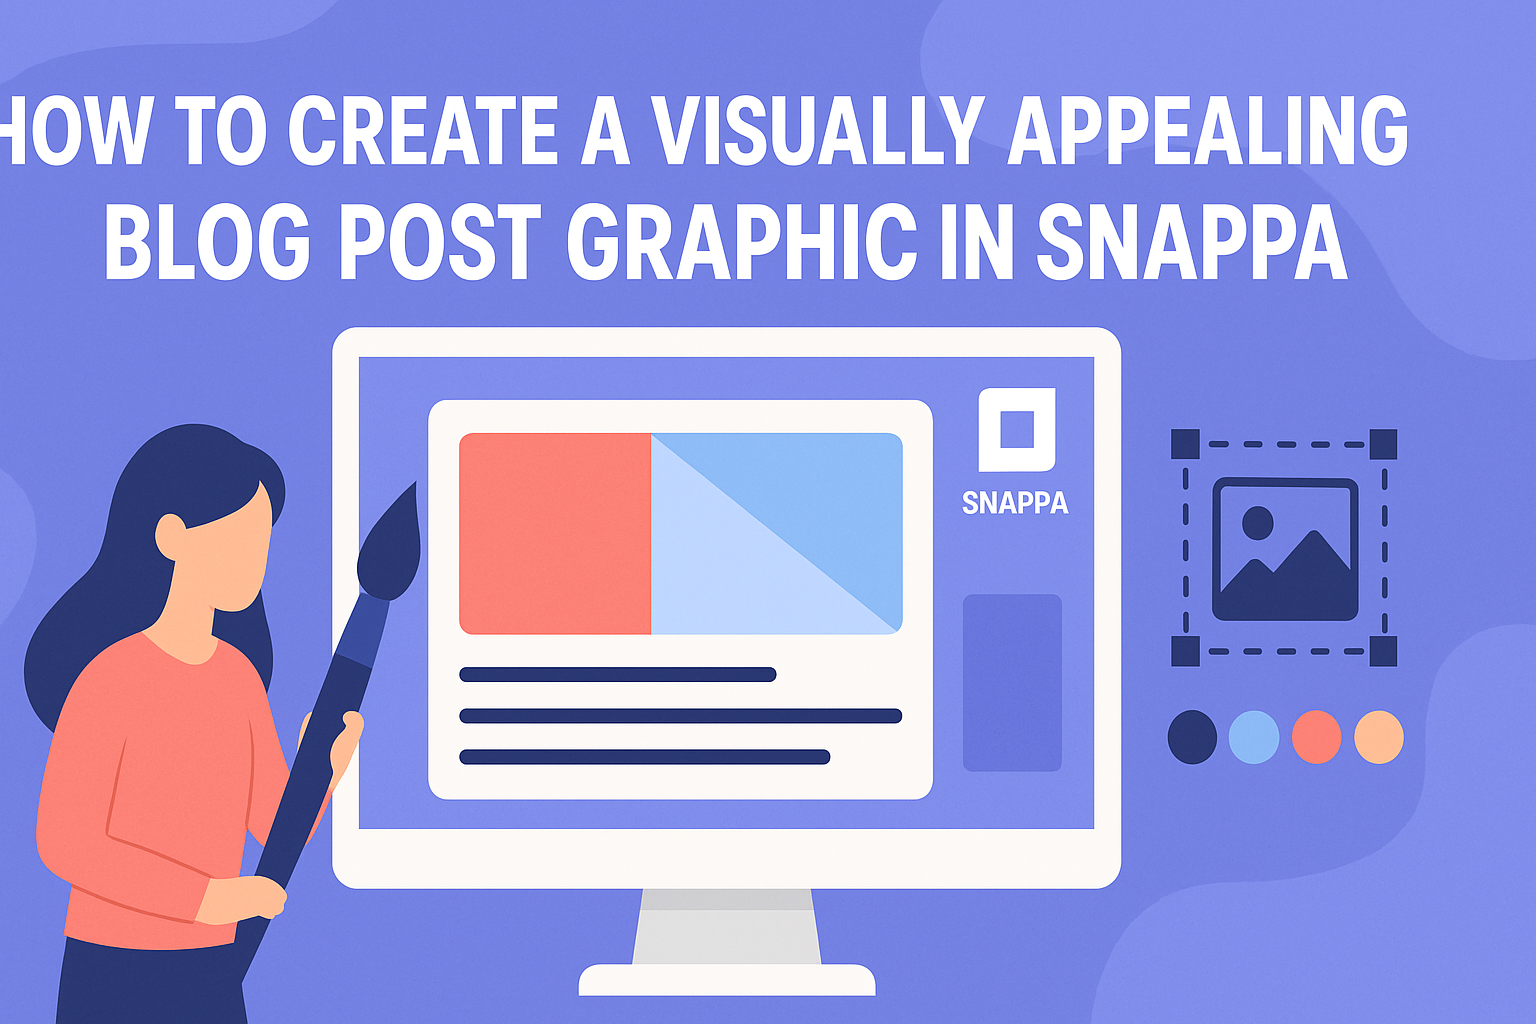
Snappa is an online graphic design platform that helps users craft stunning visuals quickly. By following simple steps within Snappa, anyone can create professional-quality blog post graphics that engage readers and enhance the content.
Visual content plays a crucial role in attracting and retaining readers’ attention. Studies show that posts with images receive significantly more views, making it essential to integrate appealing graphics into blog posts.
Snappa offers a variety of templates and design elements that make this process straightforward for both beginners and experienced designers.
Whether it’s for social media or blog promotion, a well-designed graphic can elevate a piece of writing. With Snappa’s user-friendly interface and diverse options, creating a graphic that stands out is just a few clicks away.
Readers will discover how to make their posts visually appealing, helping to draw in an audience that keeps coming back for more.
Understanding Snappa
Snappa is a user-friendly graphic design tool that simplifies creating eye-catching visuals for blog posts and social media. It offers a range of features that make designing graphics easy, even for those without prior design experience.
What Is Snappa?
Snappa is an online platform designed to help users create stunning graphics quickly. It caters to bloggers, marketers, and business professionals who want to elevate their content with visuals.
Users can choose from thousands of templates tailored for different social media platforms and blog sizes.
With Snappa, it’s possible to customize these templates with images, text, and colors. This flexibility allows users to maintain brand consistency while producing attractive graphics. Additionally, collaboration features enable teams to work together seamlessly on projects.
Key Features of Snappa
Snappa comes packed with features that enhance the design process. Some key features include:
- Templates: Thousands of customizable templates for various purposes.
- Drag-and-Drop Editing: Simple tools to make adjustments easily.
- Image Library: Access to over 5 million high-quality stock photos and graphics.
- Social Media Resize: Quick resizing options to fit specific platform requirements.
These features enable users to create professional-looking graphics without complexity. Snappa’s intuitive interface ensures that even beginners can navigate the tool effectively while producing appealing designs.
Design Principles for Blog Graphics
Creating attractive blog graphics involves understanding essential design principles. These principles help in making graphics that not only catch the eye but also communicate messages clearly.
Color Theory Basics
Color plays a significant role in graphic design. It can evoke emotions and influence a viewer’s perception.
Using a color wheel can help in selecting complementary colors.
Warm colors like red and orange can create excitement, while cool colors like blue and green often promote calmness. A balanced color scheme should include a primary color, a secondary color, and an accent color.
Tip: Aim for a maximum of three main colors to keep the design cohesive. This approach makes it easier for the viewer to focus on the message without distraction.
Typography and Readability
Typography is crucial for effective communication. The right font choices can enhance readability and set the tone of the graphic.
Headings should be bold and large enough to grab attention, while body text needs to be clear and easy to read. A common rule is to use no more than two or three different fonts in a single design.
Important: Always consider font contrast with the background. For instance, dark text on a light background is often easier to read. Using fonts that match the theme of the blog can also strengthen its overall aesthetic.
Importance of Visual Hierarchy
Visual hierarchy guides the viewer’s eyes to the most important elements first. Through size, color, and placement, a designer can make specific elements stand out.
Larger elements naturally attract more attention. For example, using a bold headline at the top of the graphic can quickly inform the viewer about the content.
Additionally, using contrasting colors can help highlight key information. Proper spacing between elements also contributes to a clean design.
Reminder: Effective visual hierarchy leads to better communication and ensures that viewers do not miss essential details.
Creating Your Blog Post Graphic
Creating a visually appealing blog post graphic involves selecting the right template, customizing design elements, and adding text. Each step plays a crucial role in ensuring the final graphic captures attention and conveys the intended message.
Selecting the Right Template
Choosing a template is the first step in creating a blog post graphic. Snappa offers a variety of pre-made templates that cater to different industries and styles.
When selecting a template, consider the theme of your blog and the message you want to convey. Look for designs that align with your content and brand image.
Templates often provide a good starting point. They are structured to save time and help create a polished look. Explore different options and find one that excites you.
Customizing the Design Elements
Customization is key to making the graphic unique. This includes adjusting colors, images, and layouts within Snappa.
Start by changing the colors to match your brand. Use your brand’s color palette for a cohesive look. This ensures that the graphic blends well with other materials.
Next, add or replace images. Snappa provides access to a library of stock photos. Choose images that are high-quality and relevant to the content.
Finally, tweak the layout if needed. Ensure that all elements flow nicely and are arranged to draw viewers’ eyes to important information.
Adding Text and Fine-Tuning Your Graphic
The final part of creating a blog post graphic is adding text. Start with a catchy headline that grabs attention.
Then, add any other text that supports your graphic. Keep it concise and focused. Limit the amount of text to ensure it is easy to read.
After adding text, make sure to fine-tune the graphic. Adjust font size, style, and alignment for readability.
Consider the overall balance of the design. Ensure that the text works well with the images and other elements. This helps to create a harmonious and effective graphic.
Best Practices for Social Media Sharing
Social media sharing is crucial for getting blog post graphics noticed. By optimizing images for each platform and maintaining brand consistency, a blogger can increase engagement and build a recognizable presence.
Optimizing Image Sizes for Social Platforms
Each social media platform has its own recommended image sizes. Using the correct dimensions helps graphics display better and improves engagement.
For example, Instagram prefers square images (1080×1080 pixels), while Facebook suggests images of 1200×630 pixels for link shares. Twitter often works best with images sized at 1200×675 pixels.
Here’s a quick reference for popular platforms:
| Platform | Recommended Size |
|---|---|
| 1080×1080 px (square) | |
| 1200×630 px (link share) | |
| 1200×675 px | |
| 1000×1500 px (vertical) |
Using the correct sizes ensures clear visuals and can lead to higher shares and likes.
Utilizing Brand Consistency
Brand consistency is key to creating a recognizable online presence.
This includes using the same colors, fonts, and styles across all graphics. When a blog graphic reflects a brand’s identity, it becomes easier for viewers to connect it with the blog.
Select a color palette that matches the brand and stick to it in all visuals. Additionally, use similar font types for all text within graphics.
A cohesive look keeps branding strong, making it more memorable for the audience.
Creating templates in tools like Snappa can streamline this process. It allows for easy updates while ensuring brand elements remain consistent throughout various posts.