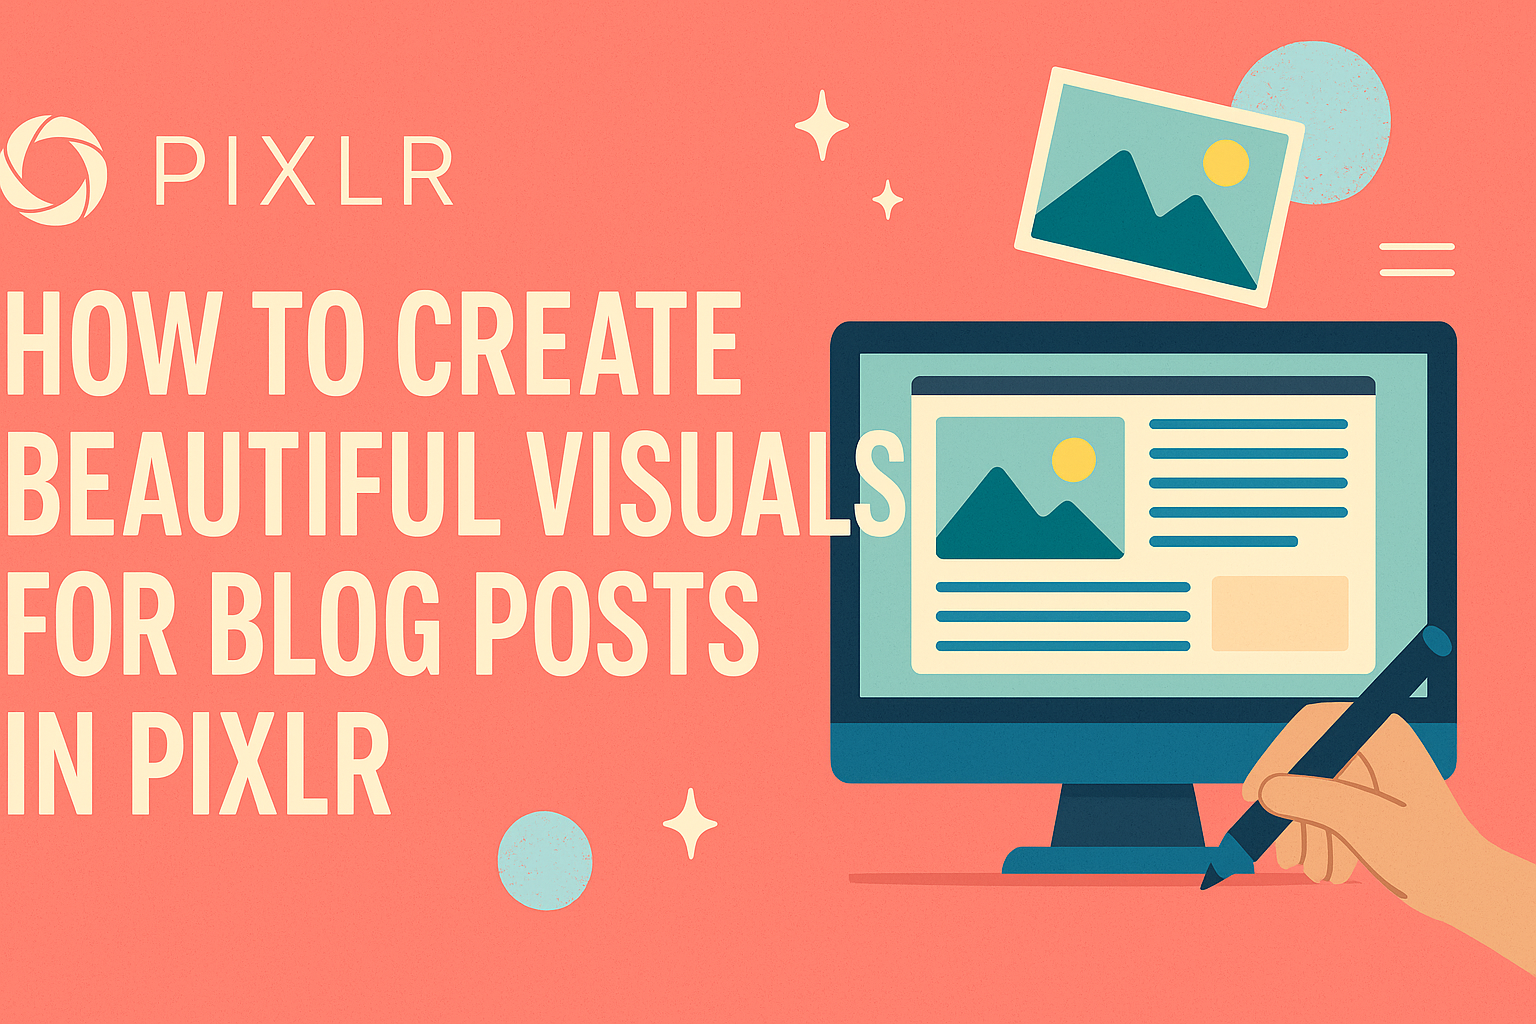
Creating eye-catching visuals for blog posts is essential in attracting readers. Using Pixlr makes the process simple and enjoyable, allowing anyone to design stunning graphics quickly.
With a variety of tools and templates at their disposal, users can bring their creative ideas to life without needing advanced design skills.
Many bloggers know the impact of a great image but may feel overwhelmed by graphic design. Pixlr offers a user-friendly platform that transforms complex design tasks into straightforward steps. This blog post will guide readers through the key features of Pixlr, showing them how to enhance their blog with beautiful visuals.
Whether it’s a striking header image or engaging social media graphics, Pixlr can help elevate any blog. By the end of this article, readers will be equipped with tips and techniques to create visuals that captivate and connect with their audience.
Getting Started with Pixlr
To make beautiful visuals using Pixlr, it’s helpful to become familiar with its interface and tools. This will make the process smoother and more enjoyable.
Here’s how to get started effectively.
Understanding the Pixlr Interface
When a user opens Pixlr, they are greeted with a clean and intuitive interface. On the left side, there’s a toolbar with tools for selection, cropping, and brush features.
The center area is the workspace, where they will create and edit their visuals.
The right side showcases layers and options for adjustments like brightness and contrast. Understanding these sections will help users navigate and optimize their workflow.
Getting comfortable with the layout will make the creation process easier and faster.
Setting Up Your Canvas
To begin a project, the user needs to set up their canvas. They can choose from preset dimensions or create a custom size that fits their needs.
It’s important to select the correct resolution, especially for web use.
Once a canvas is set up, they can choose a background color or image. This sets the tone for the visual.
Users can also adjust the canvas size anytime during their work, which provides flexibility.
Selecting the Right Tools for the Job
Pixlr offers a variety of tools for different tasks. For basic edits, the crop and resize tools are essential.
Users can enhance images with filters and effects, adding unique touches.
The text tool is also key for adding messages and descriptions. Adjusting fonts and colors can make text stand out.
Familiarizing oneself with these tools can lead to more creative and polished visuals efficiently.
Design Principles for Blog Visuals
Creating effective visuals for blog posts involves understanding key design principles. Focusing on color theory, typography, and the use of images can make a blog’s visuals stand out and resonate with readers.
Color Theory Basics
Color plays a crucial role in design. It can evoke emotions and create a connection with the audience.
Starting with the color wheel, understanding primary, secondary, and tertiary colors helps in choosing the right palette.
Using complementary colors creates contrast, while analogous colors provide harmony. A good rule of thumb is to select a dominant color and one or two accent colors. This keeps the design cohesive and visually appealing.
Tools like color generators can help find the perfect palette. Keeping accessibility in mind is also important. Ensure there is enough contrast for readability.
Incorporating Text and Typography
The choice of typography is vital in communicating messages clearly. Different fonts can express different tones; for example, serif fonts often convey tradition, while sans-serif fonts feel modern.
It’s best to use no more than two to three different fonts to maintain a clean look. A hierarchy is essential, with headings larger and bolder than body text. This helps guide the reader’s eye through the content.
Additionally, consider line spacing and letter spacing for readability. Using bold or italic fonts sparingly can emphasize key points without overwhelming the reader.
Using Images and Layering
Images can enhance a blog post and engage readers. Using high-quality images that relate to the content is essential. Stock photos or original images can add value when chosen thoughtfully.
Layering can create depth in a visual. This involves overlapping images and text, making the design more dynamic. For instance, a large background image with bold text on top can be striking.
Using filters or effects can also give a unique touch to images. Remember, consistency in style across visuals helps establish a brand identity. Properly sized images ensure a smooth loading experience for the readers.
Creating Your Visual: A Step-by-Step Guide
Creating eye-catching visuals in Pixlr is simple and fun. This guide will show how to design a graphic and enhance it using filters and effects.
Designing Your First Blog Graphic
To start, Pixlr offers a user-friendly canvas where anyone can create graphics.
First, she needs to choose the right dimensions for her blog graphic. Many blog platforms recommend using 1200 x 630 pixels for a good display.
Next, she can select a background color or image. Pixlr allows her to import images or use solid colors. After the background is set, it’s time to add text.
Using the text tool, she can choose fonts and colors that match her blog’s theme. Making sure the text is readable against the background is important.
Lastly, she should save her design as a PNG or JPG file for easy uploading.
Enhancing Visuals with Filters and Effects
Once the basic design is complete, filters and effects can take it to the next level.
Pixlr offers various filters that can add style and depth. To apply a filter, she can simply click on the “Filter” tab and explore options.
For instance, there are options to blur, sharpen, or add vintage effects. Each filter can dramatically change the feel of the graphic.
Additionally, adjusting brightness and contrast can improve the image’s clarity.
Using tools like “Exposure” can help highlight important elements.
Lastly, adding a subtle shadow or glow effect can make key elements pop. These enhancements help draw attention to the most important parts of the graphic.