Designing an elegant invitation can set the perfect tone for any special event.
Using Gravit Designer enables anyone to create stunning, customized invitations that reflect their unique style and the essence of the occasion. With its user-friendly interface and powerful features, it opens a world of creative possibilities.
Whether planning a wedding, birthday party, or a corporate gathering, a well-designed invitation grabs attention and excites guests.
Gravit Designer allows users to incorporate personal touches, making the invitation feel special. The design process becomes a fun journey of creativity and expression.
In this guide, readers will discover practical steps to craft beautiful invitations that impress. From selecting the perfect templates to customizing every detail, this article will provide valuable insights into using Gravit Designer effectively.
By the end, anyone will feel confident in creating eye-catching invitations for their events.
Getting Started with Gravit Designer
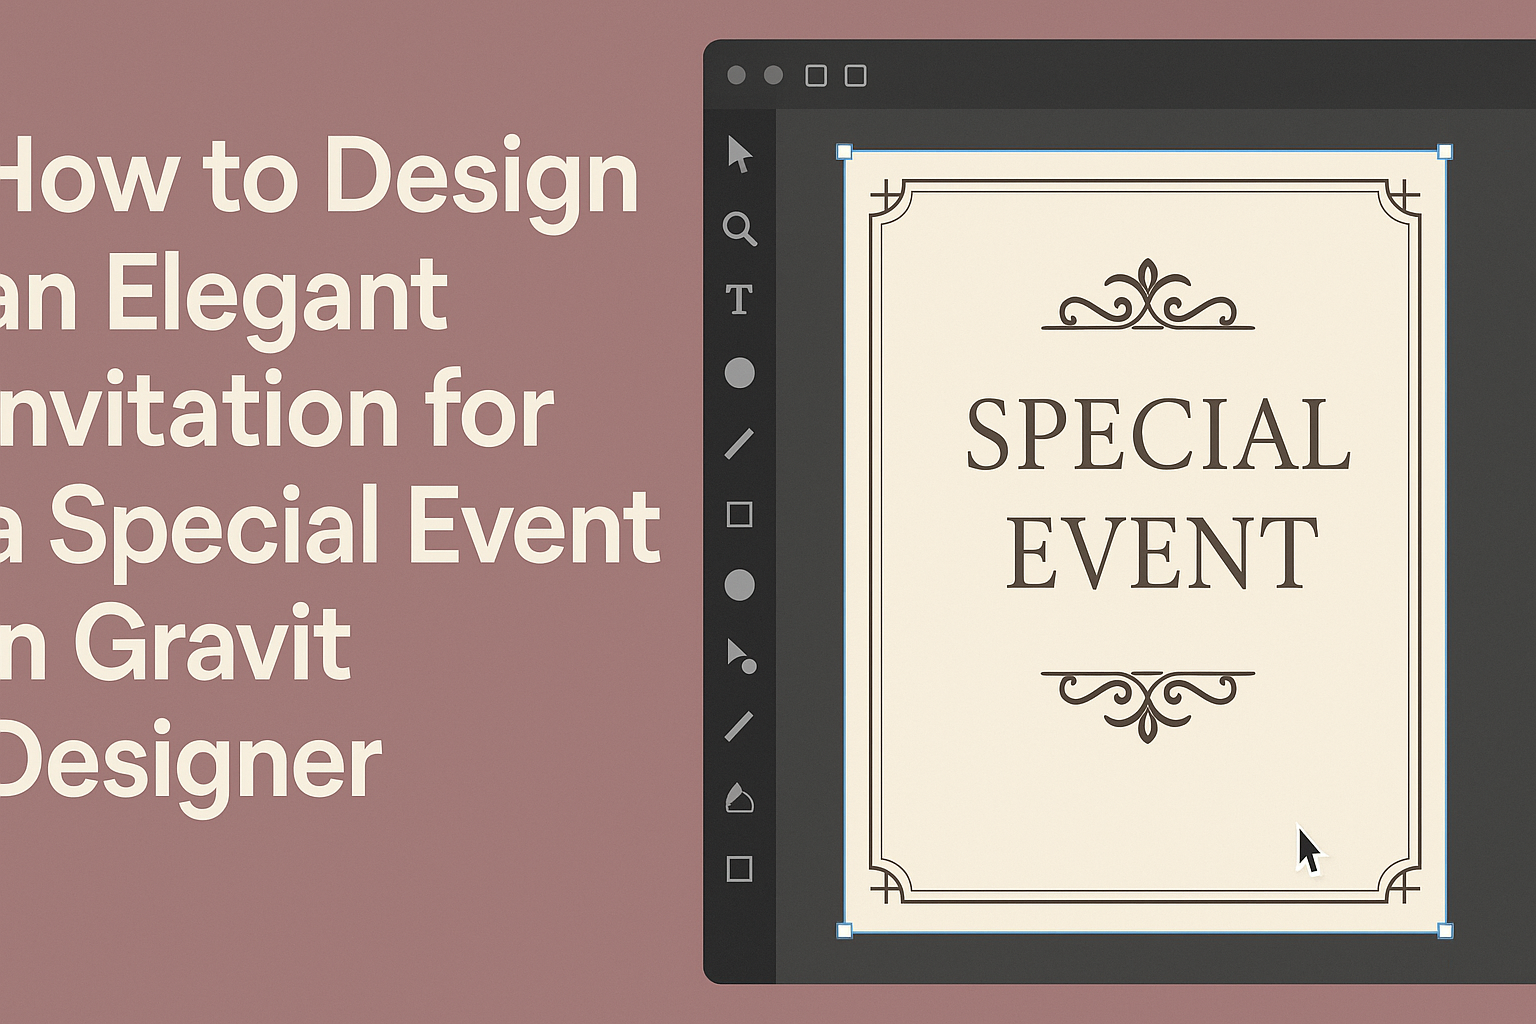
Gravit Designer is a powerful tool for creating elegant invitations. Knowing how to navigate its interface and set up a new document is key for beginners.
This section provides a clear path to start using Gravit Designer effectively.
Understanding the Interface
When opening Gravit Designer, users encounter a clean and organized interface. The main sections include the toolbar on the left, the canvas in the center, and the properties panel on the right.
- Toolbar: This area has tools for selection, shapes, and text. Users will find essential items here.
- Canvas: The workspace where designs come to life, allowing users to see their creations in real-time.
- Properties Panel: This section provides options to customize shapes, colors, and text. It adjusts according to the selected item.
Taking time to explore each part can build confidence.
Setting up a New Document
Creating a new document in Gravit Designer is straightforward.
- Open the app: After starting, click on “File” in the top menu.
- Select New Document: A window opens, allowing users to set the document size. Here, they can choose a preset or customize dimensions.
- Orientation and Units: Users can select portrait or landscape orientation and specify units like inches or pixels.
Once set up, the new document appears ready for design. This initial setup is crucial for a successful project.
Designing Your Invitation
Creating an elegant invitation requires careful attention to various design elements. From choosing the right template to picking colors and fonts, each choice impacts the invitation’s overall look.
Selecting a Template or Starting from Scratch
When designing an invitation, the first decision is whether to use a template or create one from scratch. Templates can save time and provide a polished look. They come in various styles, from formal to casual, so it’s important to choose one that fits the event’s theme.
If starting from scratch, consider the event’s mood. Use simple shapes and layouts to create a clear focal point. This allows personalized touches and unique designs that stand out.
Gravit Designer offers various tools to customize every aspect, ensuring the invitation reflects personal style.
Choosing Your Color Scheme
Color greatly impacts the invitation’s appearance and mood. It’s essential to select colors that complement each other and suit the event. For formal events, muted tones like navy, gold, or silver can evoke elegance. For casual gatherings, brighter shades like coral or teal might be more fitting.
To create a cohesive look, consider using a color palette tool. This helps in picking harmonious colors. A combination of three colors often works well: one dominant, one secondary, and one accent color. This strategy ensures a balanced look while catching the eye.
Adding Text to Your Invitation
Text is crucial in conveying the event details. When adding text, choose fonts that are easy to read and match the invitation’s style. Script fonts can give a touch of elegance, while sans-serif fonts may look modern and clean.
Make sure to include key details like the event’s date, time, location, and RSVP information. It is also helpful to highlight the guest of honor or the theme.
Adjust text sizes to create a hierarchy, ensuring that the most important information stands out.
Incorporating Images and Shapes
Images and shapes can enhance an invitation’s visual appeal. Select high-quality images that represent the event. For example, using floral graphics works well for weddings, while balloons can add fun for children’s parties.
Shapes can also guide the eye and add interest. Consider using circles or borders that frame the text.
Gravit Designer provides various tools to adjust transparency and layering, allowing for even more creativity in the design.
Refining Your Design
Refining a design is a crucial step in creating an elegant invitation. It involves fine-tuning layout, composition, and applying effects to enhance visual appeal. This stage can significantly elevate the quality of the final product.
Adjusting Layout and Composition
First, she should focus on the layout. The arrangement of elements can make a big difference. Consider using grid systems to create balance.
- Margins: Ensure there are consistent margins around the edges of the invitation.
- Alignment: Align text and images clearly. Misaligned elements can make a design look unprofessional.
She should also think about hierarchy. Important details like the event name should stand out, using larger or bolder fonts.
Lastly, negative space is key. It helps guide the eye and allows the design to breathe. Too many elements can overwhelm the viewer.
Applying Effects and Styles
Next, it’s time to apply effects and styles. Subtle effects can add depth to the design.
- Shadows: Using soft drop shadows can create a three-dimensional look.
- Gradients: Gradients can provide a smooth transition of colors, enhancing the visual interest.
Textures can also be helpful. Incorporating a faint texture in the background can add elegance without distraction.
Fonts play a role too. Pairing an elegant script with a clean sans-serif can create a stylish contrast.
Keep colors consistent. Use a limited palette to maintain harmony throughout the design. Consistent use of colors can help reinforce the theme of the event.
Finalizing and Exporting
Before finalizing the design, it is important to ensure every detail is perfect. This includes proofreading the text and making any necessary adjustments. After that, exporting the design properly will guarantee high quality for printing.
Proofreading and Final Touches
Proofreading is a crucial step in the design process. She should carefully check for spelling errors, grammar mistakes, or typos. It helps to read the text aloud to catch any awkward phrasing.
After proofreading, consider the overall layout. Are all elements aligned correctly?
She might also want to add special touches like embossed text or foiling to enhance the invitation’s elegance.
Using a checklist can help confirm that every aspect has been reviewed. This includes verifying colors and images to ensure they display correctly.
Exporting Your Design for Print
When ready to export, she needs to choose the right format. For high-quality prints, using PDF or TIFF files is best. These formats preserve the design’s clarity and details.
Next, set the correct dimensions. It’s important to match the final print size. Adding a bleed area, often 0.125 inches, prevents unwanted white edges.
Additionally, she should check the color settings. CMYK is the standard for print, ensuring colors appear as intended.
After confirming these settings, she can proceed to export her design, ready for printing.