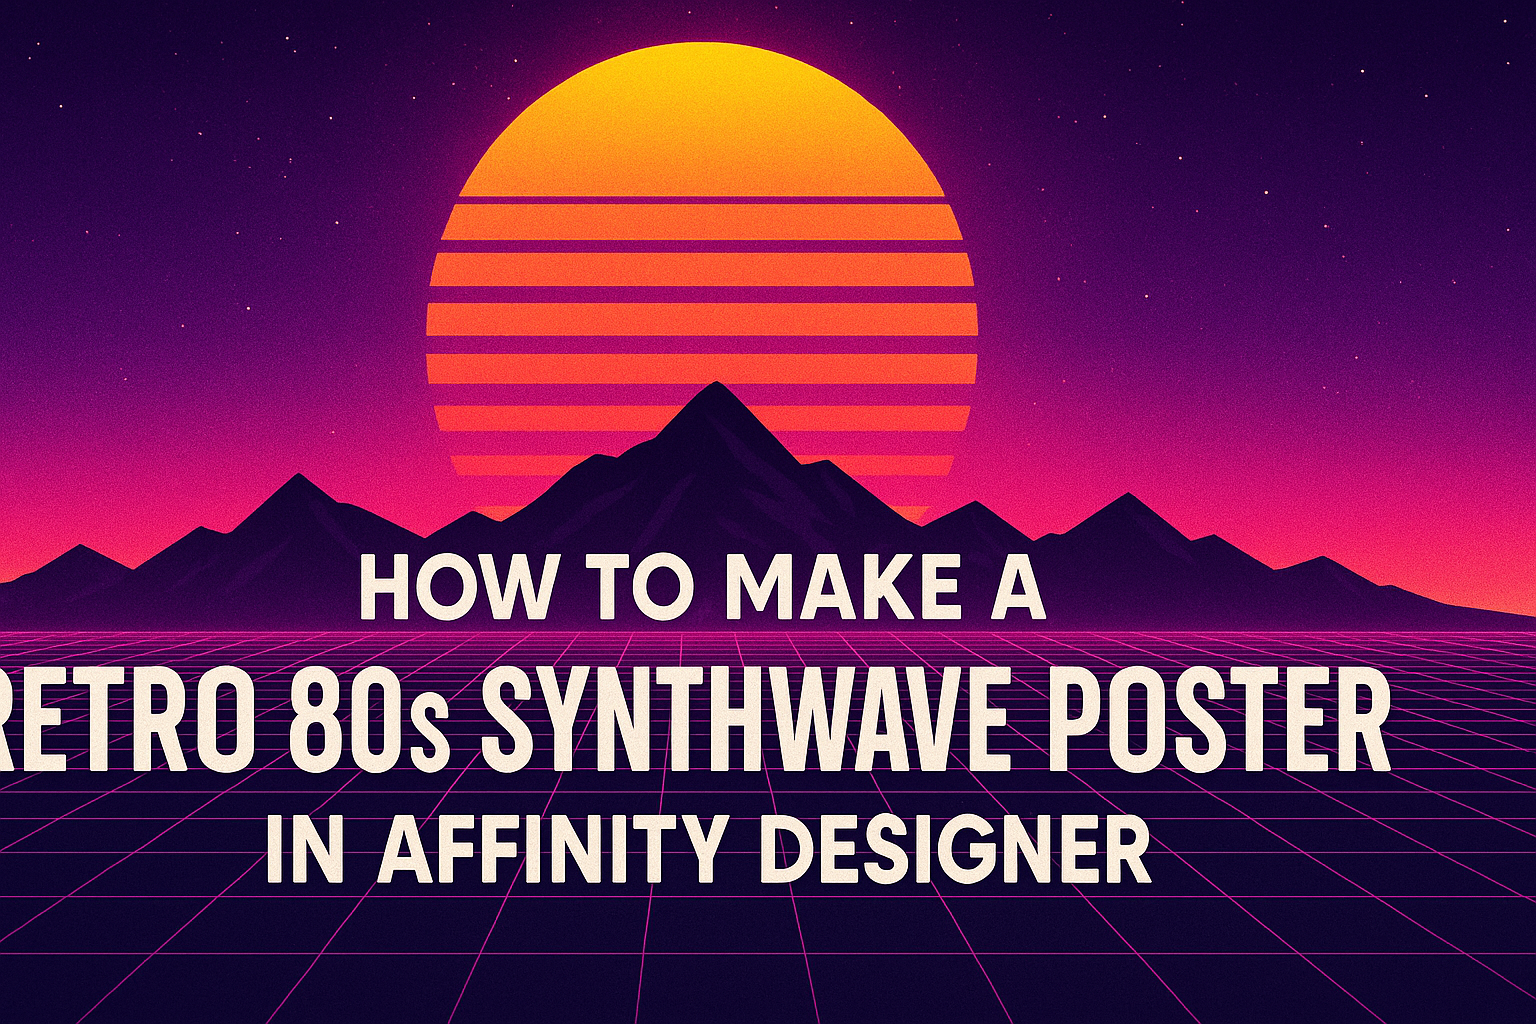
Creating a retro 80s synthwave poster in Affinity Designer is a fun and rewarding project.
With vibrant colors, geometric shapes, and a nostalgic vibe, anyone can design a stunning piece that captures the essence of this iconic style.
By following some simple steps, anyone can bring their creative vision to life.
This design style is known for its bold graphics and retro aesthetics, reminiscent of classic arcade games and movie posters. From choosing the right color palette to selecting the perfect fonts, there are key elements that can make a design stand out.
Readers will find practical tips and techniques to help them achieve that authentic synthwave look.
Whether for personal use or to impress friends, making a synthwave poster can spark creativity and allow for self-expression.
With easy-to-follow guidance, anyone can navigate Affinity Designer to create something truly special. Exploring this retro trend will open up a world of artistic possibilities.
Getting Started with Affinity Designer
Affinity Designer is an intuitive tool for creating stunning visuals, including retro 80s synthwave posters. Understanding its workspace and how to set up a new document is essential for getting started.
Understanding the Workspace
The workspace in Affinity Designer is designed for ease of use.
On the left, you will find the Tools Panel, where tools for drawing, shapes, and text are located. The Context Toolbar at the top changes based on the selected tool, providing specific options.
On the right side, the Layers Panel helps manage different elements in your design. Layers can be rearranged or hidden, making it easier to organize artwork.
Familiarizing yourself with these components will enable smooth navigation as you create your poster.
Setting Up a New Document
To create a new document, open Affinity Designer and click on File > New. A dialog box will appear, prompting settings for your project.
Choose a standard size, like A4 or US Letter, which works well for posters.
It’s also important to set the color mode. For retro designs, RGB color is preferred due to its vibrant range. Set the DPI (Dots Per Inch) to 300 for high-quality prints.
Once these settings are configured, click Create to open your new document. This sets a solid foundation for designing your synthwave poster.
Designing the Main Elements
Creating a retro 80s synthwave poster involves several key components. The right background, fonts, and graphics can bring a vibrant feel to the design. Attention to these elements ensures that the poster captures the essence of the synthwave aesthetic.
Creating a Vibrant Background
A vibrant background sets the mood for the entire poster. Using gradient colors can create depth and visual interest. Popular choices include combinations of purple, blue, and pink hues.
To create a gradient in Affinity Designer, select the rectangle tool and draw a rectangle that covers the entire canvas. Then, apply a linear or radial gradient by adjusting the colors in the color panel.
Adding textured effects like stars or clouds can enhance the background. Use a noise texture or a star pattern to give the impression of a vast night sky.
Keeping the background dynamic yet not overpowering will help the main elements stand out.
Adding Retro Fonts and Text Effects
Fonts play a crucial role in capturing the retro vibe of synthwave design. Bold, geometric fonts or script styles often evoke the energy of the 80s. Designers should focus on legibility while ensuring the font choice aligns with the theme.
In Affinity Designer, choose a suitable font and adjust its size and spacing for impact. Applying effects like stroke, glow, or drop shadow can make the text pop.
For instance, adding a neon glow effect can enhance the retro feel.
Consider using contrasting colors for text and background to improve readability. A bright pink font on a dark blue background can create a striking visual effect.
Designing Neon Graphics and Shapes
Neon graphics are essential for a synthwave poster. Shapes like triangles, circles, and abstract designs can add excitement. Designers often use bright colors like neon pink, cyan, or green to create these shapes.
To create neon effects, designers can use the pen tool to draw shapes, then apply a glow effect. This adds a dreamy quality, making the design feel alive. Layering shapes can also create a sense of depth.
Using symbols representative of the 80s, like cassette tapes or palm trees, can enhance the overall theme. Placing these graphics strategically around the text will draw the viewer’s eye and create a balanced composition.
Finishing Touches
Adding the final elements to a retro 80s synthwave poster enhances its visual appeal and impact. Key techniques include applying light and glow effects along with using brushes and textures to create depth and interest.
Applying Light and Glow Effects
To achieve a vibrant look, applying light and glow effects is essential.
Start by creating a new layer and using the Gaussian Blur filter to soften bright areas. This creates a glowing effect that draws the eye.
Next, play with blending modes like “Add” or “Screen” to make highlights pop. Adjust the opacity to control the intensity.
Adding lens flares or neon glow elements can mimic classic 80s aesthetics. Position these effects carefully around focal points for balance.
Lastly, consider using color gradients to fill shapes or backgrounds. This can enhance the retro vibe further. Experiment with different colors to find what works best, typically brighter shades that reflect neon lights.
Using Brushes and Textures
Incorporating brushes and textures can add a unique touch to the poster.
Use texture brushes to create depth in the background or on key elements. This can mimic the look of old posters.
For added detail, select brushes that produce patterns like stripes or geometric shapes.
Position these strategically to enhance the retro feel.
Textures can be overlaid using blending modes as well. This adds subtle wear and tear, giving a vintage feel.
Experiment with different textures, like grunge or paper, to find a perfect match for the design’s style.