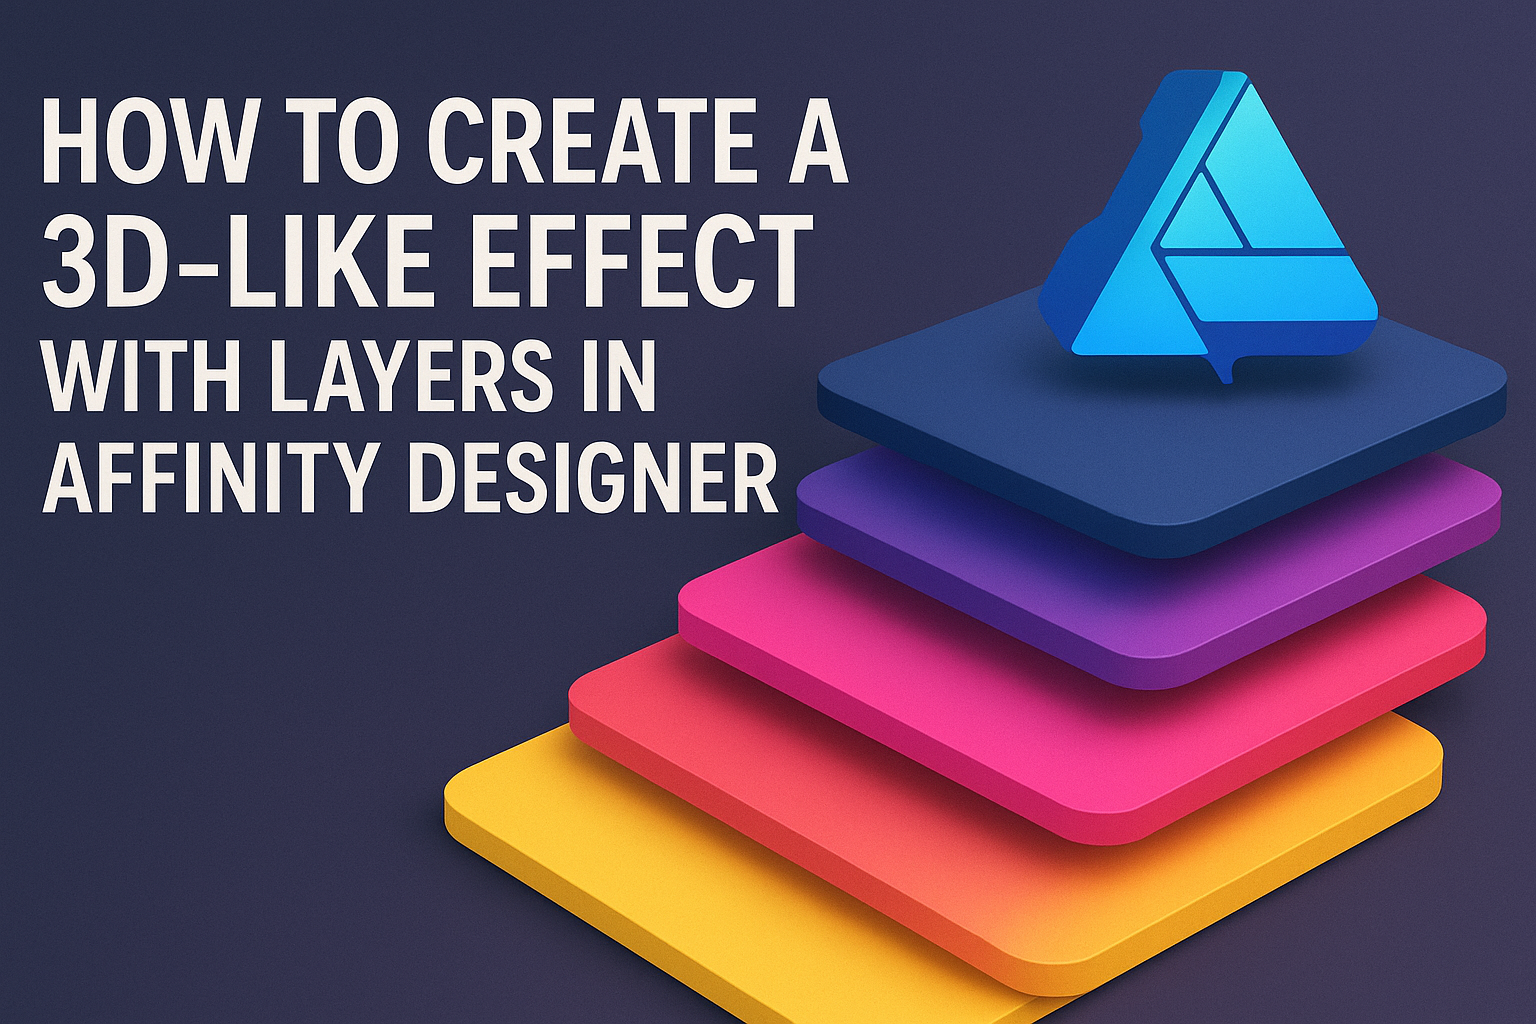
Creating a stunning 3D-like effect in Affinity Designer can transform flat designs into eye-catching visuals. By using layers in a smart way, it’s possible to add depth and dimension to any project.
This guide will show anyone how to leverage layer effects to achieve a professional-looking 3D appearance with ease.
Whether it’s for text, illustrations, or graphic elements, mastering this technique can elevate the quality of any design. Readers will learn how to combine various layer effects to create the desired look without complicated steps.
This approach allows for flexibility and creativity, making it an exciting skill to build.
With the right methods and a bit of practice, creating these effects can become a fun part of the design process. Dive in to discover the tools and techniques that bring designs to life with a 3D touch.
Getting Started with Affinity Designer
Affinity Designer offers a powerful environment for creating stunning graphics. Understanding its interface and setting up the right document can help users make the most of their design projects.
Understanding the Affinity Designer Interface
The interface of Affinity Designer is user-friendly and intuitive.
On the left side, there are tools for drawing, text, and shapes. Users will find options for layers, history, and adjustments on the right side.
Key panels include:
- Tools Panel: Allows selection of brushes, shapes, and text.
- Layers Panel: Lets users organize artwork and apply effects.
- Color Panel: Provides options for choosing and adjusting colors.
New users should take time to explore these panels and familiarize themselves with the workspace. Each section is designed to enhance creativity and streamline the design process.
Setting Up Your Document for 3D Effects
Setting up the document correctly is essential for creating 3D effects in Affinity Designer. When starting a new project, users should choose a canvas size appropriate for their project type.
- Open Affinity Designer and select File > New.
- Choose dimensions that fit the design purpose; larger sizes allow more detail.
- Set the color mode to RGB for screen designs, or CMYK for print.
Once the document is ready, users can begin using layers to create depth. By stacking shapes and adjusting their properties, they can achieve a 3D-like effect.
Layers allow for easy adjustments and experimenting with different styles. This setup is crucial for successful designs.
Creating the 3D Effect
To achieve a 3D-like effect in Affinity Designer, it’s essential to understand layering, gradients, and shadows. Each of these elements adds depth and realism to designs. Below are the key techniques that can help create a convincing 3D effect.
Layering Basics
Layering is fundamental in creating a 3D effect. By stacking different elements, one can simulate depth.
For instance, if a designer has a simple shape, they can duplicate it multiple times and adjust the position slightly for each layer.
The designer should ensure that each layer is a different color or has various opacities. This variation will enhance the illusion of depth.
Using tools in Affinity Designer, layers can be organized and named systematically. This organization helps in managing complex designs.
Moving layers forward or backward can adjust the visual hierarchy and create appealing compositions.
Applying Gradients for Depth
Gradients play a vital role in adding depth to a 3D effect. By applying a gradient fill to each layer, the designer can create a sense of light and shadow. This gives the artwork dimension and makes it visually engaging.
To apply a gradient, the designer should select the layer and use the gradient tool.
They can then choose colors that complement the base color. A light to dark transition can simulate how light hits an object.
It’s also effective to use radial gradients for circular shapes. This can make elements appear as if they are coming forward or receding into the background.
Utilizing Shadows and Highlights
Shadows and highlights are key to enhancing the 3D effect. They add realism and make the design pop.
A simple way to do this is by using the ‘Drop Shadow’ effect available in Affinity Designer.
When adding shadows, a designer should consider the light source. Shadows should fall realistically based on the object’s position. This means adjusting the angle and blur settings in the effects panel.
Adding highlights is equally important. This can be done by creating lighter overlay shapes where light naturally falls.
Combining both shadows and highlights will make artwork not only look three-dimensional but also more dynamic and eye-catching.
Enhancing the 3D Appearance
To create a convincing 3D effect in Affinity Designer, adding texture and adjusting perspectives are essential steps. These techniques help layers pop and give depth to the design.
Adding Texture to Layers
Adding texture can significantly enhance the 3D appearance of layers. Textures add depth by mimicking real-world surfaces.
-
Choose a Texture: Start by selecting a texture that fits the design theme. This could be anything from a simple grain to complex patterns.
-
Apply the Texture: Use the Layer Styles feature. Select the layer, click on the “fx” icon, and choose “Texture”. Adjust the scale for the desired effect.
-
Blend Modes: Experiment with different blend modes like Overlay or Multiply. These modes help the texture integrate more naturally with the base color.
-
Opacity Adjustments: Adjust the opacity of the texture layer. This will fine-tune its visibility and enhance the 3D effect without overwhelming the main design.
Adjusting Perspectives
Altering perspectives is another key method to boost the 3D look. This can be done through specific transformations.
-
Layer Management: Group layers to keep the design organized. This makes it easier to apply perspective changes.
-
Apply Transformations: Select the layer to adjust. Use the Move Tool to skew or scale the layer, giving it an angled appearance that suggests depth.
-
Shadow Effects: Add shadows to layers, which can help create a sense of space. Use the Gaussian Blur effect for a softer look that simulates light and distance.
-
Guidelines: Utilize guidelines to align elements within the 3D space. This can help maintain proper proportions and orientations.
Finishing Touches
After creating a 3D-like effect in Affinity Designer, it is important to refine the design for a polished look. Fine-tuning edges and exporting the artwork properly will enhance the final output’s quality.
Refining Edges and Layer Transitions
Refining edges is essential for achieving a clean and professional appearance. Start by selecting the layer that needs adjustment.
Use the Vector Tool to smooth out any rough edges.
He or she can also adjust the Layer Effects to modify shadows or highlights.
Try tweaking the opacities to create softer transitions between layers. These adjustments can make the elements blend more effectively, enhancing the 3D effect.
For a more refined result, zoom in on edges. This allows noticing any imperfections that might be less visible at a standard view.
Using guides can also help maintain alignment.
Exporting Your Design
Once the design is refined, it’s time to export.
It’s essential to choose the right format that suits their needs. For web use, exporting as a PNG or JPEG is usually best.
If printing, consider using a PDF or TIFF format for higher quality.
He or she can go to File > Export and select the desired format.
It’s important to check Resolution settings to ensure clarity; 300 DPI is ideal for print.
Before finalizing, preview the artwork to ensure no layers are missing.
Finally, make sure to save the project file in Affinity Designer for future edits.