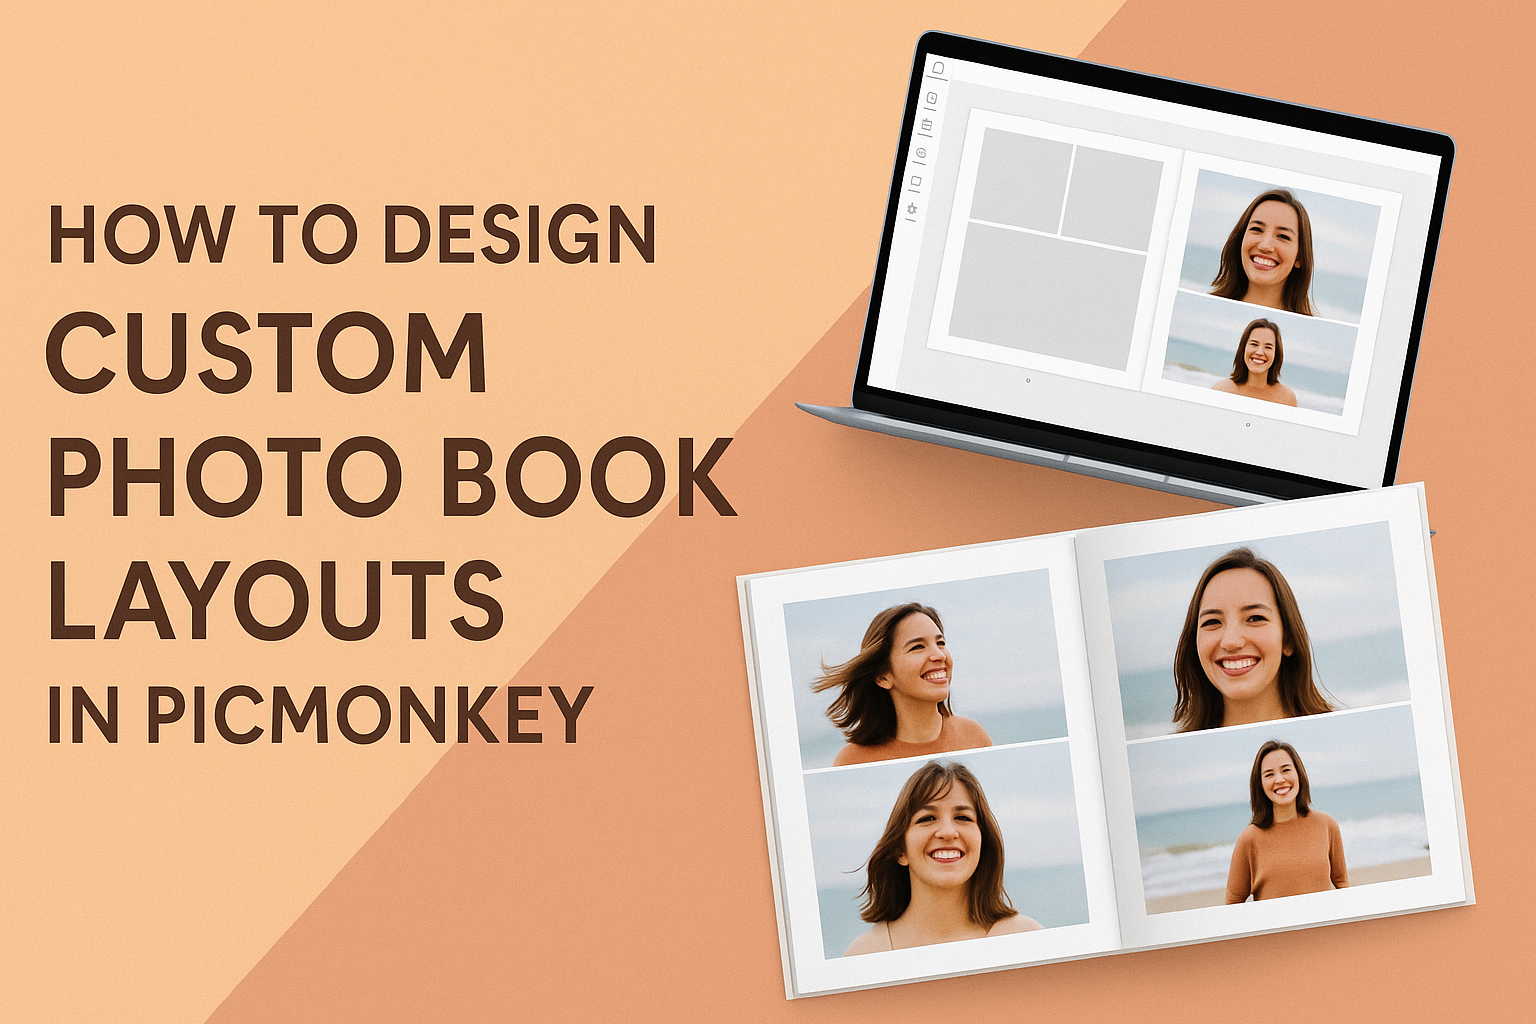
Designing custom photo book layouts can be a fun and creative way to preserve memories. With the help of PicMonkey’s user-friendly tools, anyone can create stunning designs without needing advanced skills.
By using templates and editing options, they can easily bring their vision to life in a personalized photo book.
The ability to mix and match different graphics, fonts, and layouts offers endless possibilities for creativity. PicMonkey provides a simple way to organize photos by themes or events, making every page unique. This approach allows the designer to tell a story through their images, capturing feelings and moments that matter most.
Whether it’s for a wedding, vacation, or family gathering, having a custom photo book is a wonderful keepsake. Learning how to navigate PicMonkey’s features will help anyone design a beautiful layout that reflects their style.
With just a few clicks, they can transform their photos into a cherished album that showcases their most treasured memories.
Getting Started with PicMonkey
PicMonkey is a user-friendly tool for creating stunning photo book layouts. By following these steps, users can create an account, navigate the interface, and choose the perfect template for their photo book project.
Creating Your Account
To begin using PicMonkey, users need to create an account. This process is simple and fast.
- Visit the PicMonkey website.
- Click on the “Sign Up” button.
- Enter an email address and create a password.
After signing up, users can opt for a free trial or choose a paid subscription for more features.
Once the account is set up, users can log in anytime to access their projects. PicMonkey saves work automatically, making it easy to return to designs at any time.
Overview of PicMonkey Interface
The PicMonkey interface is designed for ease of use. Upon logging in, users will see a clean layout with clear navigation options.
- Main Menu: This includes tools like design, edit, and touch up.
- Workspace: The central area where users will work on their photo books.
- Toolbars: Located at the top and side, these allow for quick access to features and options.
Users can easily drag and drop photos into their project. The intuitive design helps focus on creativity rather than getting lost in complicated menus.
Selecting the Right Photo Book Template
Choosing the right template is essential for a successful photo book. PicMonkey offers a wide range of templates that cater to different styles and purposes.
Users can browse by category, such as:
- Family: Perfect for cherished memories.
- Travel: Great for documenting adventures.
- Events: Ideal for parties, weddings, and gatherings.
After selecting a template, users can customize it by adding photos, adjusting text, and modifying backgrounds. Each template is easily editable, allowing for a personal touch to every photo book.
Organizing Your Photos
Organizing photos is essential for an enjoyable photo book design experience. By managing images effectively, users can easily find the right pictures to include in their projects.
Uploading Images
When uploading images to PicMonkey, it’s crucial to choose the best versions. Users should check for high-quality photos, free of blurriness or poor lighting.
To upload, users can simply drag and drop images into the workspace. Alternatively, they can select images from their computer by using the “Upload” button. PicMonkey supports various file types, ensuring compatibility with most images.
To make things easier, users should upload them in batches. This helps keep similar images grouped together, making it simpler to locate them later.
Using Folders for Easy Access
Folders are a helpful way to sort images within PicMonkey. By creating specific folders for each event or category, users can streamline the photo selection process.
For example, users might have folders for weddings, vacations, or family gatherings. This organization makes it much quicker to find the right photos when designing the layout.
Name folders clearly and use recognizable labels. This way, it’s easy to remember what’s inside each folder. The more organized the storage, the more enjoyable the design process becomes.
Photo Selection Best Practices
Selecting the right photos is a key part of creating a custom photo book. Users should aim for variety but also maintain a cohesive feel throughout the book.
Start by reviewing the images available in the organized folders. It might help to choose a theme for the photo book. Whether it’s color, mood, or event type, having a clear direction simplifies decision-making.
Users should also consider the balance of images. Mixing close-ups, portraits, and wide shots creates visual interest. It’s best to avoid overcrowding pages with too many images. Aim for a harmonious flow that guides the viewer through each page.
Design Techniques and Tools
Creating a custom photo book layout in PicMonkey involves various techniques and tools that enhance the visual appeal of the final product. Focusing on basic editing, text usage, and thematic styles can elevate the overall design.
Basic Editing and Enhancements
PicMonkey offers a range of editing tools to improve image quality. Firstly, users can adjust brightness, contrast, and saturation with just a few clicks. These basic edits enhance colors and make photos pop.
Using filters can also add a creative touch. PicMonkey provides various filters that can instantly change the mood of a photo. It’s essential to experiment with different options to find the right look.
Cropping images helps focus on important elements. Users should ensure that each image fits well within the layout. Resizing and rotating images allows for more creative combinations in the photo book.
Working with Text and Fonts
Text plays an important role in storytelling within a photo book. PicMonkey offers a wide selection of fonts, allowing users to select styles that match their theme. Mixing and matching font styles can create an engaging visual experience.
Users should pay attention to font size and color. The text must be readable yet stylish. It’s helpful to contrast text colors with background images for better visibility.
Adding text boxes gives flexibility in positioning captions or quotes. Users can resize and move these boxes easily to complement images. Keeping text concise helps maintain focus on the visuals.
Incorporating Theme and Style
When designing a photo book, establishing a consistent theme is vital. This could be based on a specific occasion, like a wedding or vacation. PicMonkey allows users to create a cohesive style throughout the book by using similar colors and designs.
Choosing a palette can unify images and text. Users might select 3-5 colors that work well together. This makes the entire layout feel planned and polished.
Using themed stickers or graphics can enhance the narrative. PicMonkey offers a variety of graphics to support different themes. Incorporating these elements adds fun and creativity to the photo book design.
Finalizing and Sharing Your Photo Book
Before sharing the photo book, it’s important to preview the project and choose the right exporting options. This ensures that everything looks just right and that sharing is easy.
Previewing Your Project
When finalizing a photo book in PicMonkey, the preview feature is essential. This allows the designer to see the entire project as it will appear in print.
Tips for Previewing:
- Check Layouts: Make sure all images are aligned properly and fit well on each page.
- Review Text: Look for any typos or formatting issues in the captions and descriptions.
- Adjust Colors: Ensure that colors look good and images are not pixelated.
Taking these steps helps avoid surprises when the final product is printed. It allows for a polished and professional look.
Exporting and Printing Options
Once satisfied with the preview, the next step is exporting the photo book.
Export Choices:
- File Type: Save your book as a PDF for print or as an image file for sharing online.
- Quality Settings: Select high resolution for printing. This ensures that details remain crisp.
For printing, users can choose between online printing services or home printing.
Each option has its pros. Online services often provide higher quality, while home printing is quicker.
Selecting the right method will enhance the sharing experience and ensure the photo book looks great.