Creating custom pricing tables in PicMonkey can elevate any project, from business proposals to product offerings. With the right tools and a few simple steps, anyone can design eye-catching tables that grab attention and clearly convey information.
This guide walks through the process, making it easy and enjoyable for users to showcase their prices effectively.
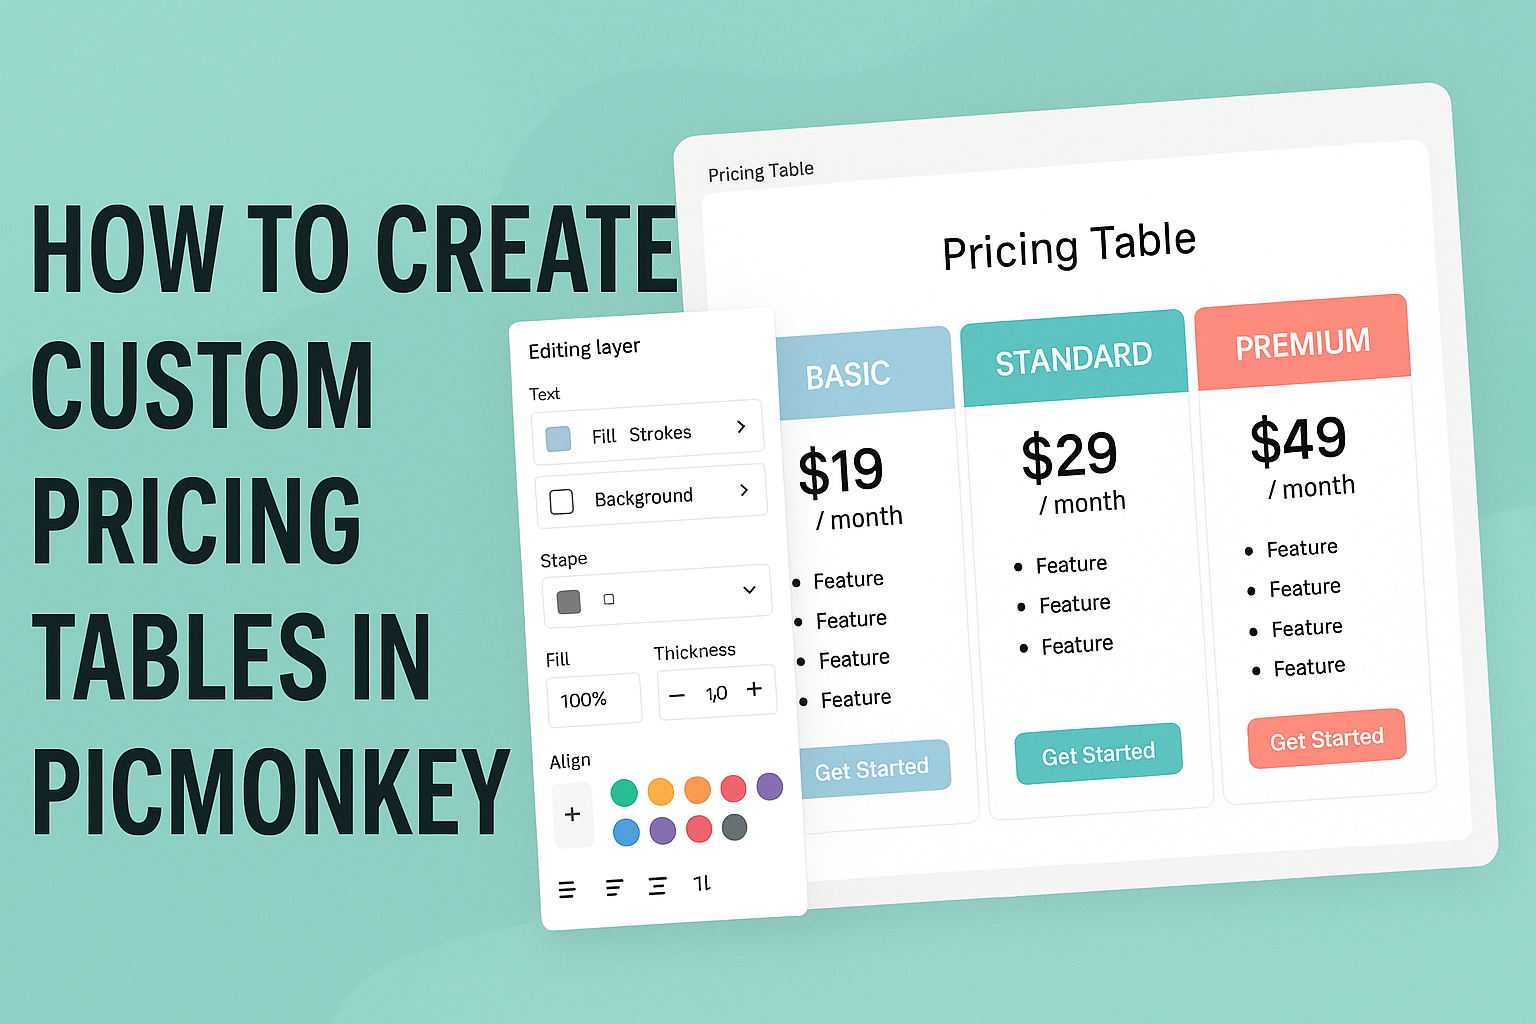
PicMonkey offers a range of features that simplify the design process. Users can start with templates or build their tables from scratch, tailoring colors, fonts, and layouts to match their brand.
The ability to customize every element ensures that the final product looks professional and appealing.
Whether designing for a website, presentation, or social media, creating a pricing table is straightforward. Once familiar with the tools available, users can explore options that fit their specific needs and preferences.
This article will provide clear instructions to help navigate PicMonkey’s functionality to create stunning pricing tables.
Getting Started with PicMonkey
Getting started with PicMonkey is easy. Users can create an account, navigate the intuitive interface, and explore essential tools to enhance their design projects.
Creating an Account
To begin, a user needs to visit the PicMonkey website. They can choose to sign up for a free trial or select a subscription plan. The process is straightforward.
After entering an email, users will create a password. They may also sign up using their Google or Facebook accounts for quicker access.
Once registered, it is important to confirm the email address linked to the account. This step ensures full access to features and updates.
Creating an account opens the door to design possibilities, giving users a personal space to store and manage their projects easily.
Navigating the Interface
PicMonkey’s interface is user-friendly, designed for ease of use. When a user logs in, they will see the main dashboard. This dashboard shows recently accessed projects and options to create new designs.
On the left side, users will find tools grouped into categories. These include options for text, graphics, and effects.
The center of the workspace displays the current project.
Users can drag and drop elements from the side panel onto their canvas. This design allows seamless interaction, making it simple to explore all the features PicMonkey offers.
Essential Tools Overview
Understanding the essential tools is key to getting the most from PicMonkey. The photo editor allows users to enhance images with filters and adjustments.
Text tools help add captions, titles, or artistic fonts to designs. The graphics library offers shapes, icons, and stock images for creative use.
Users can also access a project folder, where all designs are stored securely.
Learning these tools will make it easier for anyone to create stunning projects quickly. With a bit of practice, creativity can truly flourish in PicMonkey.
Designing Your Pricing Table
Creating an effective pricing table involves careful consideration of design elements that attract attention and convey information clearly. This section focuses on key aspects such as selecting the right template, customizing it, adding engaging text, and incorporating brand elements.
Choosing the Right Template
Selecting the right template is crucial for making an appealing pricing table. PicMonkey offers various templates tailored for pricing tables. Users can browse through designs that provide visually appealing structures while ensuring functionality.
When choosing, consider the layout that best suits the products or services. A simple structure might be ideal for a few offerings, while a grid format works well for multiple plans.
It’s essential to pick one that maintains clarity and guides potential customers.
Customizing Templates
Once a template is chosen, it’s time to customize it to reflect the brand’s identity. PicMonkey allows users to modify colors, shapes, and layouts to create a unique look.
Focusing on color schemes can make a big difference. Consistency with brand colors helps reinforce identity.
Users should adjust element sizes, such as buttons and icons, ensuring they are not overpowering but still noticeable. Effective customization enhances both the aesthetics and functionality of the pricing table.
Adding Text and Typography
Text and typography play a pivotal role in conveying information effectively. When adding text, clarity is key. Pricing, features, and comparisons should be concise yet informative.
Using bold fonts for headings can help them stand out, while softer fonts can be used for descriptions. Adjusting font sizes can also create a hierarchy, making it easy for viewers to find the information they need.
Users should aim for a balance between style and readability, ensuring that the table is both inviting and easy to digest.
Incorporating Brand Elements
Incorporating brand elements into the pricing table is essential for establishing a connection with potential customers. This includes using the brand logo and specific colors that represent the brand.
Additionally, users can add images or icons that reflect the company’s mission or values. This visual storytelling engages viewers and builds trust.
Customizing hover effects or animations can also enhance user interaction, making the pricing table more dynamic and memorable. These elements together reinforce brand recognition and foster a sense of familiarity with customers.
Enhancing Your Table with Graphics and Effects
Adding graphics and effects to a pricing table can make it visually appealing and easier to understand. By using icons, colors, and transparency, one can create a table that stands out and communicates information effectively.
Using Icons and Shapes
Incorporating icons can greatly enhance a pricing table. Icons serve as visual cues that guide the viewer’s eye and quickly convey meaning. For example, using a shopping cart icon next to pricing can instantly suggest purchase action.
Shapes can also help highlight specific features or plans. A star or badge can signify a recommended option, making it pop among the others. This approach not only draws attention but also makes the table more engaging to explore.
Applying Colors and Textures
Color plays a critical role in the effectiveness of a pricing table. Utilizing contrasting colors for different plans helps each option become distinct. For instance, highlighting a best-selling plan in bright color can attract attention quickly.
Textures can add depth and interest. Using subtle textures in the background or on the plan’s borders can elevate the design. This can make a flat-looking table appear more dynamic, encouraging users to interact with it.
Adjusting Transparency and Layering
Transparency is a powerful tool for design. Lowering the opacity of background elements can create a layered effect that adds sophistication. For example, a semi-transparent overlay can help text stand out against a busy background.
Layering elements can also guide focus. Placing important features at the forefront while creating a visual hierarchy helps users navigate the table effectively. This technique ensures key information isn’t overlooked, leading to better decision-making.
Saving and Exporting Your Design
After finishing a custom pricing table in PicMonkey, it’s time to save and export the design. This step is crucial for using the design in different formats and ensuring it looks its best across various platforms.
File Formats Explained
When saving a design, understanding file formats is key. Each format serves different purposes, so choose wisely. Here are the most common options:
- PNG: This format supports transparency and is great for web usage. It retains high quality, ideal for logos and sharp images.
- JPEG: Best for photographs, it compresses images to smaller sizes. While it loses some quality, it’s perfect for web pages where load speed matters.
- PDF: Ideal for print, this format preserves design quality. It ensures all elements stay as intended when printed.
Selecting the right format will make a huge difference depending on whether the table will be used online or printed.
Downloading Your Pricing Table
To download a design in PicMonkey, click on the “Download” button located in the top right corner. A window will pop up, offering the file format choices discussed earlier.
After selecting the desired format, click “Download.” The design will then save to the computer. She can find it in the downloads folder as it downloads. For quick access later, creating a specific folder for all design files can be helpful.
Tips for Web and Print Usage
For web use, it’s important to optimize the file size. A smaller file size ensures faster loading times, improving user experience.
Using PNG or JPEG formats can help achieve this.
For print, the design should be in high resolution, typically 300 DPI for the best quality.
Saving as a PDF is advisable because it keeps everything aligned and crisp.
She should also check color modes. CMYK is best for print, while RGB is suited for displays.