Blurring the background in Canva can transform ordinary images into stunning visuals that really catch the eye. This simple technique enhances the focus on the main subject while giving the design a professional look.
Whether it’s for social media content, presentations, or personal projects, knowing how to blur a background can elevate any creation.
Using Canva’s tools makes this process easy for anyone, even beginners. The platform provides features that allow users to achieve a soft-focus effect quickly and efficiently.
As they explore the options available, they will find their creativity can shine through.
By mastering the skill of background blurring, users can make their designs stand out and convey their messages more effectively. The ability to manipulate images in this way opens up new possibilities for any project. Embracing these tools is an essential step toward creating eye-catching graphics.
Getting Started with Canva
Canva is a user-friendly tool that makes creating designs easy.
To begin using Canva, one must first create an account and choose the right template for their project.
Both steps are straightforward and essential for successful design work.
Creating Your Canva Account
To use Canva, one needs to create an account. This step is quick and easy.
Users can sign up with an email address, Google account, or Facebook account.
After selecting a method, they should follow the prompts to set up their account. It is important to verify the email address to activate the account fully.
Once registered, users can explore the platform’s many features.
Canva offers both free and premium plans. The free version includes many great tools, while the premium plan provides advanced options. Users can choose the best plan based on their needs.
Selecting the Right Template
Choosing the right template is crucial for any project in Canva.
Users can start by selecting a template that fits their vision, whether it’s for social media posts, presentations, or flyers.
To find templates, users can use the search bar. They should input relevant keywords related to their project. This action allows them to browse various options quickly.
Canva provides a diverse range of designs. Once a suitable template is found, clicking on it opens the design editor. From there, users can customize elements, text, and colors to match their brand or style.
Basics of Blurring Backgrounds
Blurring backgrounds can enhance designs and draw attention to the main subject. It creates a sense of depth and professionalism in any project. Understanding how to achieve this effect in Canva is key to making visually appealing graphics.
Understanding Background Blurring
Background blurring helps to highlight the main subject of an image. This effect reduces distractions, allowing the viewer to focus more on the important elements.
By applying a blur, the background turns softer, creating a smooth transition without harsh lines.
In Canva, users can easily apply this effect. The Auto Focus tool automatically sharpens the subject while blurring everything else. This saves time and removes the hassle of manually tracing subjects for a polished look.
Navigating the Canva Interface
To start blurring backgrounds in Canva, users need to familiarize themselves with its interface.
Upon opening Canva, selecting an image is the first step. Click on the image to access editing options.
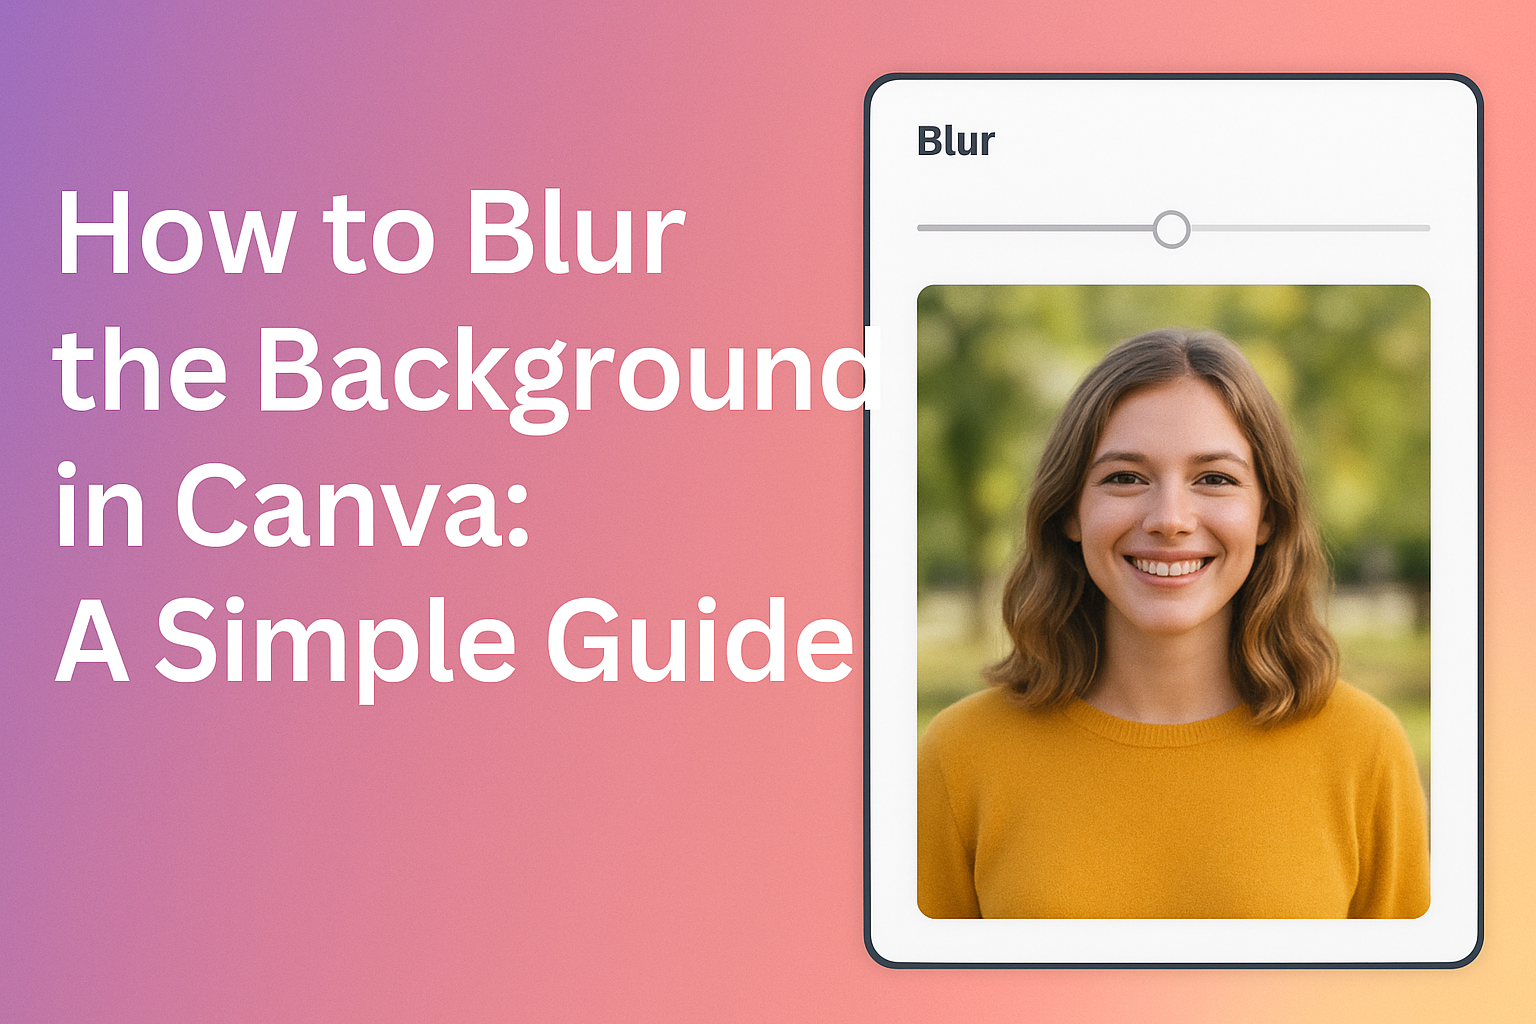
Next, look for the “Edit Image” button, and find the blur options.
Users can adjust the intensity of the blur to achieve their desired effect. A slider typically allows for customization, giving control over how much blur is applied.
Experimenting with these settings will help users find the perfect look for their designs. With practice, anyone can master background blurring in Canva.
Step-by-Step Guide to Blurring
Blurring a background in Canva can bring focus to the main subject of a photo. This guide will help users through the main steps, from adding an image to adjusting the blur intensity for the perfect look.
Adding Your Image
To start, the user needs to select an image for their project. They can either upload their own photo or choose one from Canva’s extensive library. Once selected, the user should click on the image to ensure it’s active.
Next, they can drag the image to their desired position on the canvas.
It’s important to make sure that the main subject is clearly visible and centrally placed. This sets the stage for applying the blur effect effectively.
Applying Blur Effects
After positioning the image, the user should locate the “Edit Image” button in the top toolbar. By clicking this button, a range of options will appear. The user needs to find and click on “Adjust” to access the blur settings.
In the Adjust panel, they can scroll down until they see the “Blur” tool. Once they find it, they can click to enable the blur effect. This tool will allow them to blur the background while keeping other parts of the image sharp.
Adjusting the Blur Intensity
To fine-tune the blur effect, the user can utilize the blur slider in the Adjust panel.
Moving the slider to the right increases the intensity of the blur. They should experiment with different levels until they find a look that suits their needs.
It’s essential for the user to check the image regularly as they adjust the blur. This way, they can ensure that the main subject remains clear and recognizable.
A small amount of blur often works best to create a professional look without losing detail.
Enhancing Your Design
Blurring the background in Canva can greatly improve the focus on the main subject. Adding elements like text and images further enhances the design. A few professional tips can make the final product stand out.
Adding Text and Elements
Text can add context and emotion to a design. When adding text, choose a font that matches the theme of the project.
For instance, a modern font works well for a sleek design, while a script font can add a personal touch.
In Canva, users can layer elements over a blurred background. This technique helps create a clear focal point.
It is important to ensure the text color contrasts with the background for legibility. Adding shapes, icons, or borders can also enhance visuals.
Keeping the design balanced is key; avoid overcrowding it with too many elements.
Tips for a Professional Look
To give designs a polished finish, using the right colors is crucial.
A color palette that complements the blurred background can tie the whole design together. Canva offers tools to easily adjust colors.
Another tip is to maintain a consistent style throughout the design.
From the typeface to the icon styles, consistency helps create a cohesive look.
Users should also consider the alignment of text and elements; proper alignment creates a more organized feel.
Lastly, regularly previewing the design helps identify any adjustments needed for a more professional appearance.