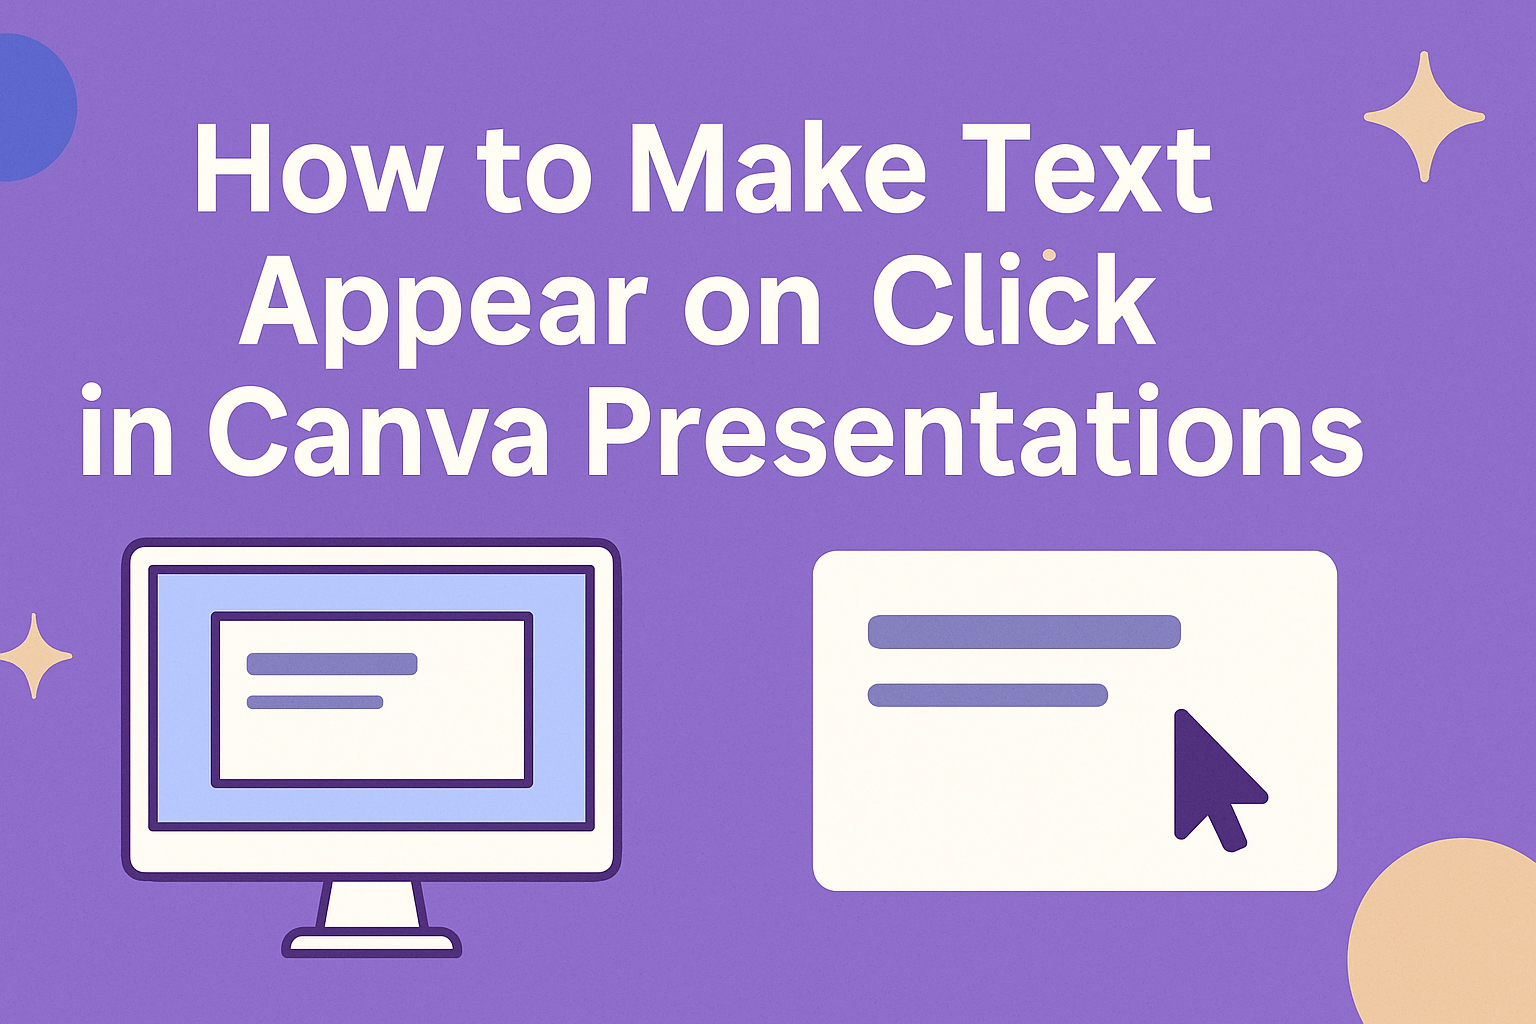
Canva is a powerful tool for creating engaging presentations. Many users want to know how to make text appear on click to enhance their storytelling.
This feature helps maintain the audience’s focus and adds excitement to the presentation.
When incorporating animations into Canva, users often face challenges as this function isn’t a built-in option. Fortunately, there are simple workarounds to achieve the desired effect.
Learning these techniques can significantly improve how information is shared in a visually appealing way.
With just a few steps, anyone can learn how to animate text to appear with each click during a presentation. This not only grabs attention but also allows for better pacing and interaction with the audience.
By mastering this skill, presenters can elevate their slides and keep their viewers engaged.
Getting Started with Canva
Canva is a user-friendly design tool that helps create stunning presentations.
Knowing how to sign up and select the right template is essential for anyone looking to use this platform effectively.
Signing Up for Canva
To start using Canva, the first step is to sign up for an account. Users can visit the Canva website and click on the “Sign Up” button.
They can register using their email address, Google account, or Facebook login.
Once signed up, users can choose between a free version and paid subscriptions that offer advanced features.
After registration, it’s important to complete the profile setup to personalize the experience.
They may also need to verify their email before accessing all features.
The simple interface will guide users through their first projects, ensuring a smooth introduction to design.
Selecting the Right Canva Presentation Template
After signing up, users should choose a presentation template that fits their needs. Canva offers a wide variety of templates that can suit different themes and purposes.
Users can find options for business meetings, educational lectures, or creative projects.
To find a suitable template, they can use the search bar, typing keywords related to their topic.
Each template is customizable, enabling users to change colors, fonts, and images to match their style.
When selecting a template, focus on clarity and visual appeal to engage the audience.
Once the right template is chosen, users can delve into editing, making their presentation come to life.
Preparing Your Presentation Content
Creating engaging content is essential for any presentation. This section will focus on adding text elements and customizing fonts and colors to enhance the visual appeal of the slides.
Adding Text Elements
To start, users can easily add text to their Canva presentations. They should begin by selecting the “Text” option from the left sidebar.
Then, he or she can choose from various text styles like headings, subheadings, or body text.
After selecting the preferred style, dragging and dropping it onto the slide provides flexibility in placement.
It’s crucial to ensure that the text is concise and relevant to the presentation’s message.
For best results, keeping each text box focused on one idea makes it easier for the audience to grasp the key points.
He or she can also use bullet points or numbered lists to organize information clearly.
Customizing Fonts and Colors
Once the text elements are added, customizing details like fonts and colors can greatly improve a presentation’s look.
Selecting a font that is easy to read, such as Arial or Open Sans, helps the audience follow along.
Canva offers a variety of color palettes. He or she may want to choose colors that align with their brand or theme.
Using contrasting colors for text and background enhances readability.
Lastly, it’s important to maintain consistency in font choice and size across all slides. This creates a professional appearance and helps the audience focus on the content without distractions.
Animating Text Appearances
Adding animated text in Canva can make presentations more engaging. This section covers how to use Canva’s built-in animation features and how to set timings for when text appears on screen.
Using Canva’s Animation Features
To start animating text, select the text box in your design. Then, she can click on the “Animate” button in the toolbar.
Here, various animation options will be displayed.
Canva offers animations like “Fade,” “Slide,” and “Rise.” Each animation can add a unique touch.
After selecting an animation, she can adjust the direction and intensity using the settings available.
It’s helpful to preview animations in real-time. This allows her to see how the text will look during the presentation.
Using animations wisely can grab attention and emphasize key points.
Setting Timings for Text Appearances
Timing is crucial for effective text animations.
In Canva, she can set when the text appears during her presentation.
After choosing an animation, there’s an option to edit its timing.
She can set the text to appear “on click” or automatically after a delay. For example, if she wants to reveal a point gradually, setting a short delay can work well.
Additionally, using arrow keys to control navigation lets her manage text flow easily.
This feature helps in seamlessly guiding her audience through the presentation.
Careful timing enhances the overall impact of her message, making it more memorable.