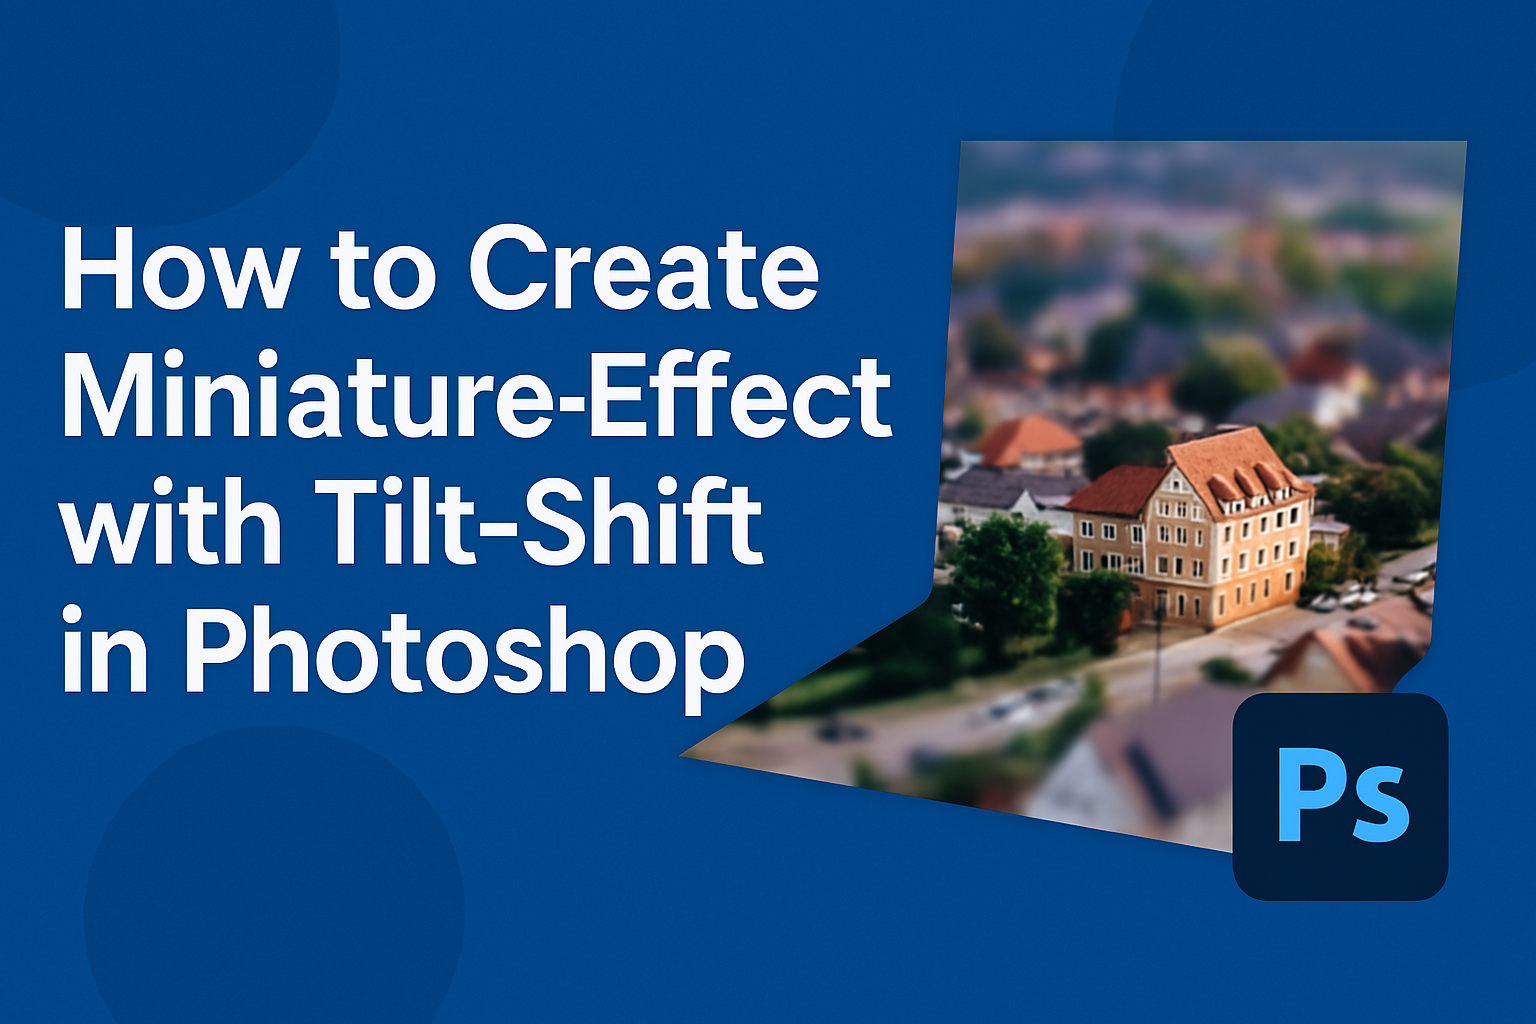
Creating a miniature effect with tilt-shift in Photoshop opens up a world of creativity for photographers. This technique makes real-life scenes appear like tiny models, adding a playful touch to everyday images.
By using Photoshop’s Tilt-Shift blur filter, you can transform ordinary photos into captivating miniatures. This effect is not only fascinating but also surprisingly easy to achieve.
Whether it’s a bustling cityscape or a serene landscape, the tilt-shift technique can highlight specific areas while blurring the rest, mimicking the distinctive look of a miniature scale model. Using Photoshop’s Blur Gallery is an effective way to add this unique effect to your photos.
Understanding how this works is essential, but so is finding the right images to use.
High-angle shots tend to work best, and incorporating smart objects can give you more flexibility. It’s a fun and rewarding process that can make any photo stand out!
Understanding Tilt-Shift Photography
Tilt-shift photography plays a unique role in creating fascinating images that mimic miniature worlds. By adjusting the lens and focus, photographers can achieve a distinct look that draws in viewers.
The Basics of Tilt-Shift
Tilt-shift photography involves using a special lens that allows for tilting and shifting movements. These movements help control the plane of focus and perspective.
When the lens is tilted, it changes the focus plane, creating a sharp focal area and blurring the rest. Photographers use these lenses to manipulate which parts of an image are sharp and which are not.
This technique mimics the shallow depth of field found in macro photography. It’s this play with focus that gives images a miniature appearance.
Mastering the tilt-shift lens requires practice, but the unique results are often worth the effort.
Applications in Miniature Photography
In miniature photography, tilt-shift lenses are used to make real-life scenes look like tiny models. This effect works best with scenes shot from a high angle, such as cityscapes or landscapes, where the viewer would expect to see small objects.
The photographer must ensure the scene is well-lit and clean, as clarity helps in convincing the eye of its miniature nature. Simplicity often enhances the effect, avoiding overly detailed scenes.
This technique can be especially great for capturing architectural models or everyday urban scenes, giving them a playful, toy-like quality. By carefully selecting scenes and adjusting the lens, photographers create captivating images that transform the ordinary into the extraordinary.
Setting Up Your Photoshop Project
To create a miniature effect with tilt-shift in Photoshop, it’s important to start with the right setup. This includes organizing layers efficiently and selecting a photo that works well for this effect.
Working with Layers
Working with layers is crucial in Photoshop. They help you manage different parts of the image without permanently altering the original.
Start by opening your image and creating a new layer by going to Layer > New > Layer. This allows you to make changes and try different effects safely.
Use the Blur Gallery from the Filter menu to apply the tilt-shift effect. By placing the blur on a new layer, adjustments can easily be made later.
Adjust the blur strength and transition area by dragging the control points to achieve the desired miniature look.
It’s also helpful to label each layer clearly. This makes it easier to find and tweak specific elements later on. For example, label one layer for the main effect and another for fine-tuning details.
Consistent use of layers can lead to a more polished final image.
Choosing the Right Photo
Selecting the right photo is key to a successful tilt-shift effect. Photos taken from an elevated perspective are usually best, as this angle mimics the look of a miniature landscape. Aerial views of cities, streets, or landscapes work beautifully.
Make sure the image has strong horizontal or vertical lines, like streets or buildings. This guides the tilt-shift effect and creates a more convincing miniature scene.
High-quality images with good lighting will enhance the final result, adding to the illusion of depth.
Photos with too much clutter can be distracting, so pick one with a clear focal point. A simple, well-composed photo ensures the tilt-shift effect stands out and effectively transforms the scene.
Creating the Miniature Effect
Creating a miniature effect with tilt-shift in Photoshop involves focusing on key techniques like selective focusing, effective blurring methods, and adjustments in contrast and saturation. These elements help transform photos into charming, toy-like scenes.
Selective Focusing
Selective focusing is essential to the tilt-shift effect. It involves choosing which parts of the image should be sharp and clear. Typically, the center remains in focus while the top and bottom become blurred. This approach mimics the shallow depth of field seen in macro photography.
To achieve this, users can use the lens blur tool within Photoshop’s Blur Gallery. By adjusting the focus points, photographers can highlight certain areas of an image, creating a striking contrast between sharp and blurred sections.
Experimenting with different focus areas can help in achieving a desired miniature look.
It’s important to keep the subject of the photo at the center, ensuring it grabs attention amidst the overall scene.
Blurring Techniques
Blurring techniques are central to the tilt-shift effect. The Blur Gallery in Photoshop offers tools like tilt-shift blur, which helps in creating the desired depth effect.
This tool creates a gradient blur, increasing smoothly from a focused area to a less focused one. Utilizing this, one can adjust the strength and transition of the blur.
The angle and position of the blur line are crucial for controlling the effect. It’s helpful to start with a subtle blur and gradually increase it until the ideal miniature look is achieved.
For more control, users can also employ a combination of Gaussian blur for the foreground and background while keeping the middle section sharp.
Adjusting Contrast and Saturation
Adjusting contrast and saturation can significantly enhance the miniature effect. Increasing contrast can make colors pop, while adjusting saturation can enhance the vividness of the photo.
This approach creates a more toy-like appearance, adding life to the image.
Using adjustment layers in Photoshop, one can experiment with these settings.
It’s key to maintain a balance to avoid overly artificial results. Boosting saturation slightly can add depth but should not overpower the natural look of the scene.
By carefully managing these elements, the photo can be transformed into a compelling miniature scene, capturing the essence of tilt-shift photography.
Fine-Tuning the Tilt-Shift Effect
Creating the miniature effect with tilt-shift in Photoshop involves more than just applying the filter. For the best results, it’s important to refine the effect by focusing on precise masking and enhancing sharpness in the chosen focal area.
Masking for Precision
Masking plays a crucial role in achieving a realistic tilt-shift effect. By using masks, the user can control which areas of the image are affected by the blur.
Start by applying a layer mask on the tilt-shift effect layer. Then, using a soft brush, paint on the mask to reveal or hide parts of the blur effect as needed.
It’s helpful to zoom in on the image for more detailed work. Paying close attention to areas near the focal line ensures that the transition from sharp to blurred looks natural.
This step is essential for creating a believable miniature look. Using a low opacity brush allows for gradual adjustments rather than abrupt changes.
Enhancing Sharpness in the Focal Area
After masking, focus on sharpening the focal area to draw more attention to it.
Use the Sharpen Tool in Photoshop to increase the clarity of this section. Adjust the tool’s strength setting based on the level of detail required.
It’s important to avoid over-sharpening, which can create an unrealistic appearance.
For additional control, duplicate the image layer and apply a high-pass filter. Set the blend mode of this layer to “Overlay.”
This technique enhances edges, helping the subject pop without disturbing the surrounding blur.
Remember to use layer masks here too, targeting only the desired areas for sharpening. Adjust transparency to achieve a balanced and polished look.
Adding Final Touches
In creating a convincing miniature effect with tilt-shift in Photoshop, finishing touches like color grading and vignetting can make a big difference. These adjustments enhance the depth and realism of the image, transforming an ordinary photo into a detailed miniature scene.
Color Grading for Realism
Color grading is essential to make the miniature effect look believable. It adds mood and style to the image, which can enhance the illusion.
Using adjustments such as Hue/Saturation and Color Balance can tweak the colors to match the desired miniature look.
Hue/Saturation can be adjusted to make colors more vibrant. This is important because real miniature models often have bright, saturated colors to stand out.
Next, Color Balance allows adjustments to shadows, midtones, and highlights. Shifting these can add warmth or coolness, depending on the desired scene effect.
By carefully altering these elements, the photo appears more lifelike, drawing the viewer into the miniature world.
Applying Vignetting
Vignetting focuses attention on the center of the image. It’s a classic trick that helps emphasize the focal point.
To apply vignetting in Photoshop, users can create an Adjustment Layer or use the Lens Correction Filter.
When using an Adjustment Layer, the Exposure or Level adjustments can be used to darken the edges slightly.
The Lens Correction Filter offers a Vignette option, which makes it easy to control the intensity and midpoint.
Choosing the right level of vignetting is key. Too much can distract from the subject, while too little might not have enough impact.
The aim is to subtly guide the viewer’s eye towards the focal point, enhancing the overall miniature illusion.