For those who find the Start Workspace in Photoshop to be a bit of a distraction, there’s good news. You can easily disable this feature and enjoy a cleaner workspace.
By tweaking a few settings within Photoshop’s preferences, users can streamline their creative process and focus on what truly matters—designing.
The Start Workspace is meant to help by providing quick access to recent files and tutorials. However, it can feel like an unnecessary step for seasoned Photoshop users who already know their way around.
By turning it off, they can jump straight into their work without delays, saving time and reducing interruptions.
Imagine opening Photoshop and landing directly on a blank canvas without any fuss. This can enhance productivity and make the workflow smoother for those accustomed to navigating Photoshop independently.
For step-by-step instructions on how to make this change, follow along in this post.
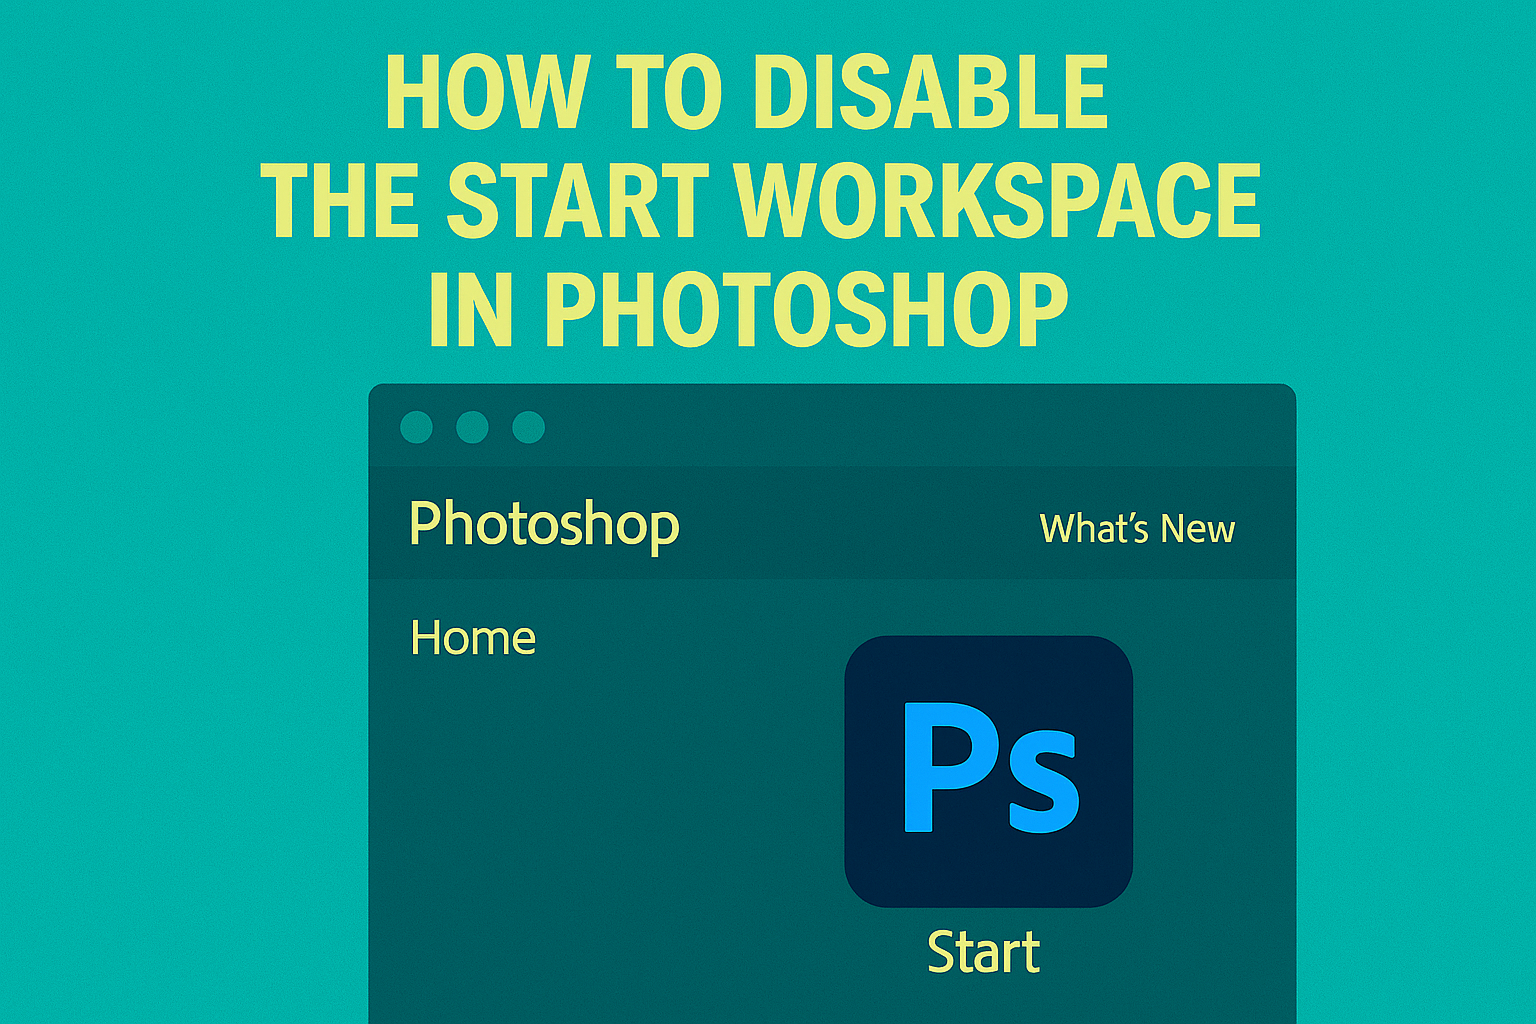
Understanding the Start Workspace in Photoshop
The Start Workspace in Photoshop is designed to streamline the beginning of a project. It presents essential tools and shortcuts, aiming for user efficiency and ease of navigation.
Purpose of the Start Workspace
The Start Workspace is there to help users quickly access recent files and templates. This feature is particularly useful for those working on multiple projects, as it saves time by allowing easy access to frequently used files.
By providing visual previews of recent documents, the workspace enhances workflow efficiency. Additionally, it supports learning and discovery for new users by offering tutorials and helpful resources. This function empowers users, especially beginners, by familiarizing them with Photoshop’s capabilities in a user-friendly manner.
Overview of Start Workspace Features
The workspace displays a range of features designed to improve user experience. It includes recent files, so users can open them with one click. There are also templates for various project types, offering a starting point for work.
Another handy feature is the access to Adobe Stock, allowing users to browse and purchase high-quality images directly. Besides, it offers a section for learning guides, where users can find tutorials.
Other options include quick links to various workspaces like photography or painting, helping users to switch and adapt according to the project’s needs.
Preparation Before Disabling
Before turning off the Start Workspace in Photoshop, a few steps should be taken to ensure a smooth process.
Configuring Photoshop Preferences
Configuring Photoshop preferences is crucial for a smooth workflow. To access the preferences, users should navigate to the Edit menu on Windows or the Photoshop menu on Mac. From there, select the Preferences option and then choose General.
Within the General settings, users can find the option to disable the Start Workspace by unchecking “Show ‘START’ Workspace When No Documents Are Open.”
Adjusting these preferences can make Photoshop startup faster and more efficient.
Get familiar with these settings to maintain a personalized experience. It is easy for settings to revert after updates, so taking a few minutes now can save time later.
Backing Up Current Settings
Backing up current settings in Photoshop is essential, ensuring no data loss occurs during changes.
Users can save a copy of their customized workspaces and preferences by exporting them.
Navigate to Edit, then Presets, and pick Export/Import Presets. This feature lets users save brushes, swatches, and other settings.
Keeping a backup file ensures easy restoration if needed. Consider using cloud storage or an external drive for safekeeping. This not only protects Photoshop settings but also allows them to be accessible from different devices or after system updates.
Taking these steps keeps the workflow uninterrupted and efficient.
Disabling the Start Workspace
To disable the Start Workspace in Photoshop, users must navigate through the Preferences Panel and turn off specific settings. This process helps create a cleaner workspace by preventing the default welcome screen from appearing.
Accessing Preferences Panel
To begin, users must access the Preferences Panel in Photoshop. On a Windows PC, they should go to the “Edit” menu. On a Mac, they will find this under the “Photoshop” tab. Once the menu is open, selecting “Preferences” and then “General” will lead them to the correct spot.
This step is crucial as it allows users to customize their experience. By reaching the Preferences Panel, users are ready to make the necessary changes to disable unwanted features. This panel acts as a central hub for all settings, making it easy to adjust many aspects of Photoshop.
Exploring the Preferences Panel also reveals how users can tailor their workspace to suit their workflow.
Navigating to Workspace Settings
Once in the Preferences Panel, users need to look for the option related to workspace settings. Specifically, they should locate the checkbox for “Auto-show the Home Screen.”
By unchecking this box, the Start Workspace is disabled. This change ensures that the welcome screen does not appear upon launching Photoshop, allowing users to jump straight into their work without distractions.
Additionally, it’s helpful to know that if users want to see the Start screen again, they can click on the “house” icon found in the top-left corner of the workspace. This flexibility allows users to control when they want to view the welcome screen, providing more control over their workspace environment.
Confirming Changes
After disabling the Start Workspace in Photoshop, it is essential to ensure the changes were successful. This involves checking that the workspace no longer appears and verifying how the software behaves during startup.
Verifying Start Workspace is Disabled
To confirm that the Start Workspace has been disabled, launch Photoshop and observe the startup screen. The absence of the previous start screen is the first confirmation.
Instead of seeing the standard workspace, users should directly enter the main editing interface.
If the Start Workspace reappears, users might need to revisit Photoshop’s settings as changes might not have been saved. It’s crucial to recheck the option under Preferences and assure the correct box is unchecked. This guarantees that changes made will effectively remove the Start Workspace.
A systematic way to ensure changes are correctly applied can be setting up a checklist. This includes verifying once more under Edit > Preferences > General that the “Show ‘START’ Workspace When No Documents Are Open” option is deselected.
Testing Photoshop Startup Behavior
Once the Start Workspace is removed, testing how Photoshop behaves during startup is key.
Close and restart Photoshop, paying close attention to any changes. The program should open quickly and take the user directly to a clean editing screen, without any intermediate workspaces.
This improved startup process should streamline their workflow significantly.
If any irregularities are noticed, users can quickly access settings where they originally adjusted the Start Workspace preferences for troubleshooting.
If issues persist after troubleshooting, checking online forums or the Adobe Support Community for advice or common solutions helps ensure smooth functioning of the software.
Alternative Configuration Options
Photoshop can be customized to fit your needs. Two key ways to do this are by setting a custom workspace and adjusting workspace preferences. These methods allow users to personalize their experience for more efficient workflows.
Setting a Custom Workspace
A custom workspace helps users organize Photoshop tools and panels in a way that suits them best. To create one, start by opening the panels and tools you use most often. Arrange them by dragging and docking them into your preferred layout. Once satisfied, choose Window > Workspace > New Workspace. This saves your layout and tool settings.
Naming your workspace is important for quick access. Give it a clear name, especially if you have multiple layouts for different tasks. You can select it anytime by going to Window > Workspace. This way, users can switch effortlessly between custom setups, enhancing productivity and comfort.
Adjusting Workspace Preferences
Workspace preferences in Photoshop offer another layer of customization. Access them by navigating to Edit > Preferences on Windows or Photoshop > Preferences on macOS. In the Preferences menu, users can modify options like interface color, zoom settings, and recent file displays.
Adjusting these settings allows for a more tailored experience. For instance, changing the interface color can reduce eye strain. Users may also prefer to set specific keyboard shortcuts to speed up tasks. Enabling or disabling features like tooltips can also be adjusted for better focus.
These configurations create a personal working environment. They ensure users have the tools and settings they need readily accessible. This contributes to a smoother creative process.
Troubleshooting Common Issues
When dealing with common issues in Photoshop, users often face problems related to restoring default preferences and managing workspace layouts. Understanding these can help maintain a smoother workflow and prevent unnecessary frustration.
Restoring Default Preferences
Sometimes, Photoshop may behave unexpectedly, which could be due to altered settings. To fix this, restoring the default preferences can help. This can be done during Photoshop’s startup process.
For Windows users, they should hold down Ctrl+Alt+Shift, and for Mac users, Command+Option+Shift. Upon launching, a prompt will appear asking to delete the current preferences. Confirming this will reset Photoshop to its default state.
This is helpful as it resolves many glitches by clearing corrupted preference files. Keep in mind that this action will erase settings, so users should back up any custom preferences they wish to keep.
Managing Workspace Layout Problems
Workspace layout troubles can impede user productivity.
If a panel disappears or settings are misplaced, resetting the workspace layout is the first step.
Go to Window > Workspace, and choose Reset [Workspace Name].
Should problems persist, creating a new workspace might be effective.
Users can organize tools and panels to their liking and save the custom setup. This ensures that every time they use Photoshop, the layout remains familiar and functional.
For recurring layout changes, checking system updates or reinstalling plugins might be necessary, as they occasionally disrupt workspace settings.
This proactive measure ensures a consistent working environment without frequent interruptions.