Creating eye-catching designs doesn’t have to be complicated or time-consuming. With Canva, anyone can enhance their text with stunning effects that add flair and professionalism.
To create a solid background text effect in Canva, start by adding your text, choosing your font and color, then applying the ‘Background’ effect from the text effects menu. This simple trick can transform ordinary text into an engaging visual element that grabs attention.
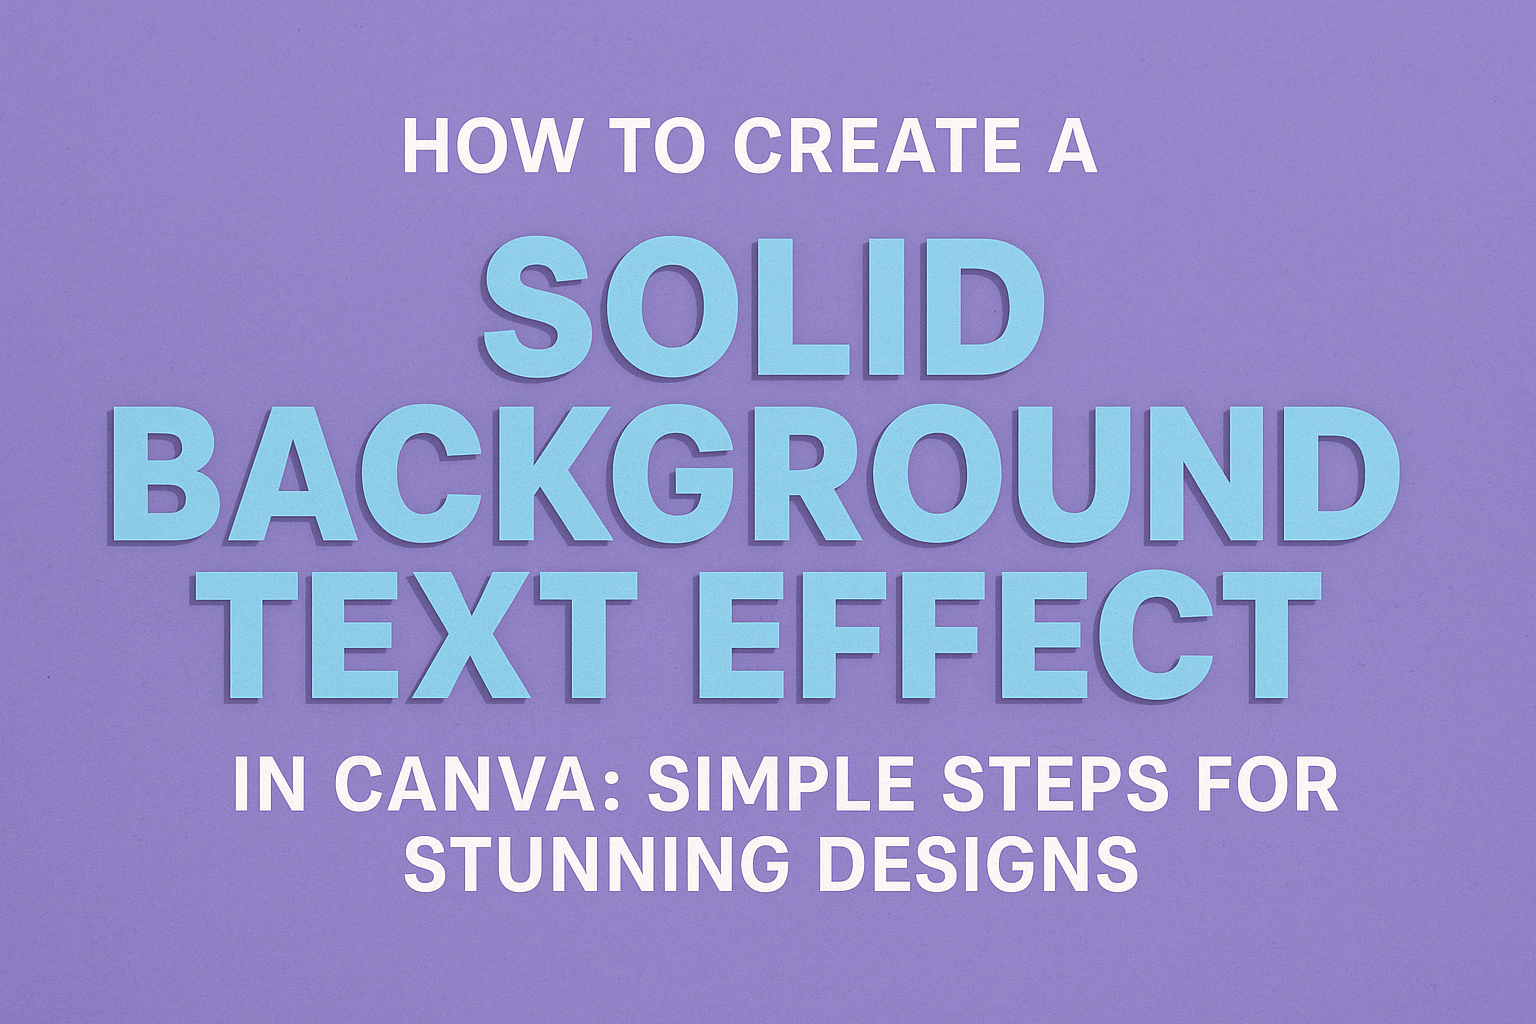
Whether for social media posts, presentations, or personal projects, a solid background text effect can make text stand out.
By adjusting features like roundness, spread, and transparency, Canva users can customize each design to fit their needs. These adjustments allow creative control over how text appears against its background.
By learning how to use these features, anyone can quickly elevate their designs from standard to standout. This guide aims to walk readers through the process of achieving this effect, using easy-to-follow steps and tips.
Whether you’re a seasoned designer or just starting out with Canva, this technique is sure to enhance your creative toolkit.
Getting Started with Canva
Creating eye-catching text effects in Canva begins with understanding the basics. Getting familiar with signing up and navigating the interface sets a solid foundation for using Canva’s text tools effectively.
Signing Up for a Canva Account
Signing up for a Canva account is simple and takes only a few minutes. Users can visit Canva’s homepage and click on the “Sign Up” button.
They can choose to register using an email address, a Google account, or a Facebook profile.
Once they’ve picked their preferred method, they will be guided through the registration process. This involves entering basic information and confirming their email address if they chose the email sign-up option.
Canva offers both free and paid subscription plans, known as Canva Free and Canva Pro. The free version provides access to a wide variety of templates, images, and design tools.
Canva Pro, with a subscription fee, offers additional features like premium templates and stock photos. For beginners, starting with the free plan might be the best way to explore Canva’s capabilities.
Overview of Canva Interface
The Canva interface is user-friendly and designed to make design easy and fun. When a user first logs in, they arrive at the homepage, which displays options to create new designs or explore existing templates.
The left sidebar provides easy access to personal folders, recent designs, and various design elements.
Selecting “Create a Design” brings up choices for what type of content they want to create, such as social media posts, presentations, or flyers.
Upon starting a new project, the main design window appears, featuring a blank canvas and an array of tools. The top toolbar contains options for undoing actions, adjusting page settings, and resizing designs.
On the left, users will find various elements like text, photos, and illustrations. This setup allows users to manage layers, add elements, and customize their designs effortlessly.
Accessing the Text Tools
Accessing text tools in Canva is straightforward. After opening a design, users can click the “Text” button in the left sidebar.
This opens a panel where they can add text boxes or choose from pre-designed text styles.
Canva allows users to customize their text with various fonts, sizes, colors, and effects.
By clicking on a text box, the top toolbar enables further editing to change font style, size, and alignment.
For advanced effects like shadows, curved text, or background colors, users can explore the “Effects” tab on the top toolbar. This feature offers creative options to enhance text, making it stand out against backgrounds. Canva provides many tools to help users create visually appealing designs with text elements.
Basics of Text Editing
Text editing in Canva is crucial for crafting visually appealing designs. It involves adding text to designs, selecting the right fonts, and setting proper alignment and spacing.
Adding Text to Your Design
To begin, users can access the text tool from the Canva interface. This tool allows easy insertion of text into any design.
Simply click “Text” from the toolbar and choose from options like heading, subheading, or body text.
After selecting, click on the canvas to place the text. Users can easily move the text around or resize the text box by clicking and dragging the corners. The flexibility of Canva ensures that text can be positioned exactly where needed within a design.
Choosing Fonts and Sizes
Selecting the perfect font is a key step in matching the design’s tone and purpose. Canva offers a wide array of fonts from classic styles to modern and decorative ones.
Users can explore these options by clicking on the font dropdown menu after selecting a text box.
It’s important to choose a size that ensures readability while fitting well within the design. Canva allows easy font size adjustment using the size menu on the toolbar. Experiment with different sizes to achieve the desired visual impact.
Adjusting Text Alignment and Spacing
Proper text alignment and spacing make designs look neat and professional. Canva offers alignment options like left, right, center, or justify. These can be accessed from the alignment menu on the toolbar.
The right alignment helps create flow and focus in the layout.
Spacing between lines and letters can also be adjusted for better readability and style. The letter and line spacing options are found under the “Spacing” menu.
Minor adjustments in spacing can significantly enhance the overall look of the design, helping to guide the viewer’s eye effectively.
Creating a Solid Background for Text
Creating a solid background for text in Canva adds clarity and emphasis. By choosing the right colors and shapes, and layering your elements correctly, your designs can become more readable and visually appealing.
Selecting a Background Color
Choosing the right color is crucial for making text stand out. A contrast between the text and the background is essential for readability. For example, light text on a dark background, or vice versa, works well.
He or she can use Canva’s color palette to find a background color that complements the text. It’s helpful to explore Canva’s design tools to choose from a wide range of hues and shades.
By using colors that match or highlight the design theme, the overall look becomes more cohesive and attractive.
Experimenting with different color combinations can lead to creative results. Try using a bold color for the background when the text itself is plain or muted. This makes sure the message is not easily overlooked.
Creating Shapes for Text Backgrounds
Shapes can enhance the design by providing a structured area for the text. Canva offers a variety of shapes like rectangles, circles, or custom shapes that fit different design needs.
To add a shape, the user can navigate to the “Elements” tab and browse the shape options. Once a shape is selected, it can be resized and adjusted to perfectly frame the text. This creates a border or a block that helps separate the text from the rest of the design.
Shapes also offer flexibility in design. They provide a neat space to host the text, allowing the background color to focus attention on the message. This technique is especially effective in flyers, presentations, or social media graphics where clarity is key.
Layering Text Over Backgrounds
Layering text over backgrounds gives depth to a design. It’s important to ensure that the text is visible and not competing with complex backgrounds.
In Canva, users can bring the text to the front by selecting the text box and using the “Position” tool. This command allows the elements to be arranged in front or behind other objects.
A solid background ensures that the text is not lost in busy designs.
Adjusting transparency of the background shape can further highlight the text. For layers to be effective, all elements should be aligned properly, ensuring balance in the overall design without distracting from the main point.
Enhancing Your Text Effect
When working with text in Canva, small adjustments can make a big difference. Shadows, outlines, contrast, and hierarchy are key elements that can help make your text stand out and be more readable.
Adding Shadows and Outlines
Shadows and outlines can add depth to your text, making it pop against any background. In Canva, users can find these options by selecting the text and clicking on the “Effects” panel.
Adding a shadow can help create a 3D effect, giving the text more presence.
Outlines, on the other hand, can provide a bold frame that emphasizes the text. Adjusting the outline’s thickness and color can differentiate it from the text itself, creating a clear separation from the background.
Experimenting with different shadow angles and outline colors can yield unique and visually striking results.
Using Contrast for Readability
Contrast between the text and its background is crucial for readability. High contrast ensures that the text is easy to read from a distance and prevents eye strain.
To achieve this in Canva, users can adjust the text color relative to the background.
For example, dark text on a light background or white text on a dark background works well. Canva’s color picker feature allows users to easily test various combinations.
It’s important to ensure that the contrast aligns with the design’s overall theme, maintaining a balance between readability and aesthetic appeal.
Incorporating Visual Hierarchy
Visual hierarchy is vital for guiding the reader’s eye through the design. In Canva, users can achieve this by varying text size, weight, and placement.
Larger, bolder text often draws attention to important messages, while smaller text can convey less critical information.
Consistency in font styles is key. It’s recommended to use one or two fonts maximum, adjusting only the size or weight to create hierarchy.
Aligning the text to lead the viewer’s eye naturally through the elements ensures that the message is communicated effectively. This careful arrangement helps maintain the flow of information without overwhelming the viewer.
Advanced Text Effect Techniques
Enhancing text in Canva goes beyond simple backgrounds. Using gradients, incorporating your brand kit, and adding animations can elevate designs.
Applying Gradients to Text Background
Gradients bring depth and dimension to text backgrounds. In Canva, users can select multiple colors to create a gradient effect.
Start by selecting the text, and go to the background settings. Choose the gradient option, and then pick your preferred colors.
To adjust, drag each color stop along the gradient bar. Moving a color stop closer to another will alter the blend, allowing for unique designs.
Gradients can be angled, varied in spread, and intensity. Designers often use gradients to draw attention to important text, making it stand out without overwhelming the viewer.
Utilizing Canva’s Brand Kit
Canva’s Brand Kit is a vital tool for keeping designs consistent. It allows designers to apply brand-specific colors, fonts, and logos instantly to text.
Start by accessing the Brand Kit from the side menu. Within the toolkit, users can upload fonts or choose from Canva’s extensive library.
Applying the Brand Kit to text helps maintain uniformity across various designs, ensuring all text adheres to established brand guidelines.
This reduces the need for manual adjustments and speeds up the design process. For businesses, consistent use of brand elements strengthens identity, making content easily recognizable across platforms.
Animating Text and Backgrounds
Adding animations to text and backgrounds in Canva transforms static designs into engaging visuals. To animate, select the text or text box and click the “Animate” option in the toolbar.
Choose from various animation styles like “Bounce,” “Fade,” or “Slide.”
Animations can be customized to start on click, with the page, or after a delay.
Adjusting timing and style creates dynamic presentations and social media posts. These moving elements capture viewer attention and can convey excitement or emphasize key messages. Careful use of animations enhances the storytelling aspect of the design.
Best Practices for Solid Background Text Effects
When designing solid background text effects in Canva, the right color choices and consistent design elements are crucial. It’s important to maintain harmony in color selection and ensure the overall design looks cohesive.
Color Selection and Combinations
Choosing the right colors can make your text stand out and grab attention. The key is to pick colors that complement each other.
Start by using a color wheel to find colors that harmonize well.
It’s best to contrast the text color with the background. For example, a dark text on a light background is more readable.
Experiment with different combinations to see what works best for your design needs.
Consider using a limited color palette to avoid overwhelming the viewer. A well-curated palette keeps the design looking clean and professional. Canva’s built-in color tools can help users find suitable shades and tones for their projects.
Maintaining Design Consistency
Design consistency is essential for a polished look. This means using the same fonts, colors, and styles throughout the project.
By doing so, the design elements appear cohesive and visually pleasing.
Stick to one or two fonts to maintain readability. Mixing too many styles can distract from the text and make it hard to read.
Also, align text correctly and use uniform spacing to keep the design tidy.
It’s helpful to create a design template. This template can guide users in keeping consistent layouts and styles as they create multiple designs.
Utilizing Canva’s design features can assist in keeping all project elements aligned.
Saving and Exporting Your Design
After creating a solid background text effect in Canva, saving your work is essential. Users want to keep their designs polished and ready for sharing or publishing.
First, click the Download button in the top right corner of the Canva editor. A menu will appear with different file format options.
Popular File Formats:
- PNG: Great for images with transparency.
- JPEG: Perfect for photographs or when a small file size is required.
- PDF: Ideal for documents or designs meant for print.
It’s helpful to choose the format based on where the design will be used.
Users can also adjust quality settings by clicking on File type options. Here, adjusting the quality slider will help manage file size versus image clarity.
Checking transparent background is ideal if parts of the design must remain see-through.
After selecting the right options, click Download to save the design to a computer.
If needed, users can return to Canva to make further edits. Having a saved version ensures the design can be used whenever needed.
Sharing directly from Canva is another way to export a design. Through options like Share Link, users can create a link for others to view or edit the design, making collaboration easy.
Sharing and Collaborating on Designs
Sharing and collaborating in Canva allows users to easily publish their creations across different platforms and work effectively with team members.
Whether sharing with a large audience or collaborating in a smaller group, Canva offers flexibility and ease of use.
Publishing Across Platforms
Canva makes it simple to publish designs across various platforms. Users can seamlessly share their work on social media, websites, or through direct links.
They can choose from exporting options like PNG, JPG, or PDF to suit different needs.
Social media platforms like Facebook, Instagram, or Twitter support direct posting from Canva, streamlining the process.
For website integration, Canva offers embedding options. This allows users to insert their designs into web pages with a generated code.
They can also share their designs via email by exporting them directly from Canva.
By facilitating easy sharing, Canva helps users reach their audience efficiently with just a few clicks.
Working with Teams in Canva
Canva’s collaboration features enhance teamwork by allowing users to share designs with specific team members. They can provide edit, view, or comment access, depending on the level of collaboration needed.
Shared projects are accessible through a simple link, making it easy for all members to contribute.
Using the “Share” button in the editor, team leaders can manage roles and permissions. This ensures everyone on the team knows their responsibilities, improving workflow.
Teams can leave comments directly on the design, facilitating communication. This feature minimizes misunderstandings and speeds up the revision process.
By offering comprehensive tools for teamwork, Canva supports creative collaboration effectively.