Canva has developed a powerful tool that transforms text prompts into stunning images.
The Text to Image feature allows users to enter text and generate unique images with the click of a button. This innovation opens up creative possibilities, making it simple for users to bring their ideas to life visually.
For those new to Canva or exploring its features, accessing this tool is straightforward.
Users can navigate to the “Apps” tab on the homepage or search for “Text to Image” to start generating images that match their desired aesthetic, whether that’s anime, dreamy, or filmic.
Each style offers a distinct visual experience, enabling users to experiment and find what suits them best.
By taking advantage of this feature, anyone can create imagery that captures attention, making it ideal for social media, presentations, and more. Canva’s platform invites creativity, offering everyone from novices to experienced designers a chance to explore new ways of visual storytelling.
Understanding Canva Text to Image
Canva’s Text to Image tool is a fascinating feature that transforms simple text into stunning visual content.
This innovation empowers users to create unique designs without needing advanced design skills. With its user-friendly interface, it has become a favorite for many looking to enhance their creative projects.
Defining Text to Image
Text to Image is a technology that converts written text into visual graphics. It uses artificial intelligence to understand the text and generate corresponding images.
This tool is especially useful for creating visuals that align perfectly with specific text content.
In Canva, users can select different styles to match their design needs. Options include categories like dreamy, filmic, and anime styles.
These styles add unique aesthetics to the final image, allowing for diverse creative projects.
The process starts with typing in the desired text, choosing a style, and then generating the image. This streamlined workflow makes it easy for users at any skill level to produce professional-looking graphics.
Canva’s Approach to Text to Image
Canva integrates Text to Image technology seamlessly into its platform. By focusing on ease of use, Canva ensures that even beginners can create compelling visuals.
Users can start from scratch or incorporate the feature into existing designs, offering flexibility and convenience.
The platform also incorporates other AI tools such as Magic Edit and Magic Erase, enhancing its creative capabilities.
These tools provide extra functionality to adjust and refine images further. With its intuitive design interface and multiple style options, Canva allows users to experiment and customize their visuals effectively. This approach highlights Canva’s commitment to blending technology with creativity for exceptional design experiences.
Getting Started with Canva
Canva is a user-friendly platform for designing a variety of graphics. Users can create projects, explore tools, and work with a simple interface, making it a favorite for both beginners and professionals.
Creating a New Canva Project
To begin a new project in Canva, users first need to log in to their account.
They can then select Create a design from the Canva homepage. A dropdown menu will offer different types of projects like social media posts, presentations, and posters.
Once a project type is chosen, Canva opens a blank workspace.
Users can then access various templates, which are categorized by themes. These templates provide a great starting point, especially for those less experienced in graphic design.
It’s easy to adjust the dimensions of the project by selecting Custom size.
This option is particularly useful when creating unique materials that need specific measurements. Canva supports both standard and custom sizes to accommodate various design needs.
Navigating the Canva Interface
The Canva interface is designed to be intuitive.
On the left, users will find the Toolbar, which includes elements like text, images, and shapes.
Dragging and dropping these elements into the workspace is simple and helps streamline the design process.
At the top of the workspace, the Menu Bar allows access to different features such as file management and editing tools.
Users can save, download, or share their projects directly from here.
The right side of the screen shows the design canvas where all the elements come together.
Users can easily move, resize, or modify the elements using handles that appear when selecting an item. This flexibility allows designers to create unique projects with precision and creativity.
Using Text to Image in Canva
The Text to Image tool in Canva allows users to transform written prompts into vivid images. This feature can help bring creativity to life, whether enhancing designs or crafting unique visual projects.
Adding Text to Your Design
Adding text to a design in Canva is a straightforward process.
Users can begin by selecting a text box from the toolbar. This allows them to input the words they want to transform into images.
It’s helpful to be clear and descriptive with the text to achieve the best results.
From the toolbar, choose the desired font and size to fit the design theme. With these tools, customizing the text‘s look becomes easier.
Once the text is placed, it is crucial to review and ensure it conveys the intended message.
Before moving on, double-check that the text aligns with the overall design concept and adjust as needed.
Converting Text to Image
Converting text to an image in Canva involves a few simple steps.
Start by going to the Text to Image app, typically found in the App Marketplace or by using the search function.
Once there, enter the text you want to convert. After entering your text, select the “Generate Image” button. Canva then creates several image options based on the input.
After the images are generated, consider tweaking the prompt if the initial results don’t fit the vision.
Users can also explore different styles to find the perfect match for their design needs.
Customizing Images
Once the text is converted to an image, users can further customize it to fit their creative vision.
Options include selecting various image styles like anime, dreamy, or filmic, each giving a unique feel to the design.
Users can experiment with different filters and adjustments, such as contrast and brightness, to enhance the appearance of the image.
It’s also possible to add other elements like shapes or icons for a more comprehensive design.
To ensure the final image meets the desired standards, review the overall appearance and make any necessary changes.
Design Tips and Best Practices
When using Canva’s Text to Image tool, choosing the right fonts and styles, paying attention to text placement, and selecting the perfect image are crucial. These elements help create visually appealing and professional-looking graphics.
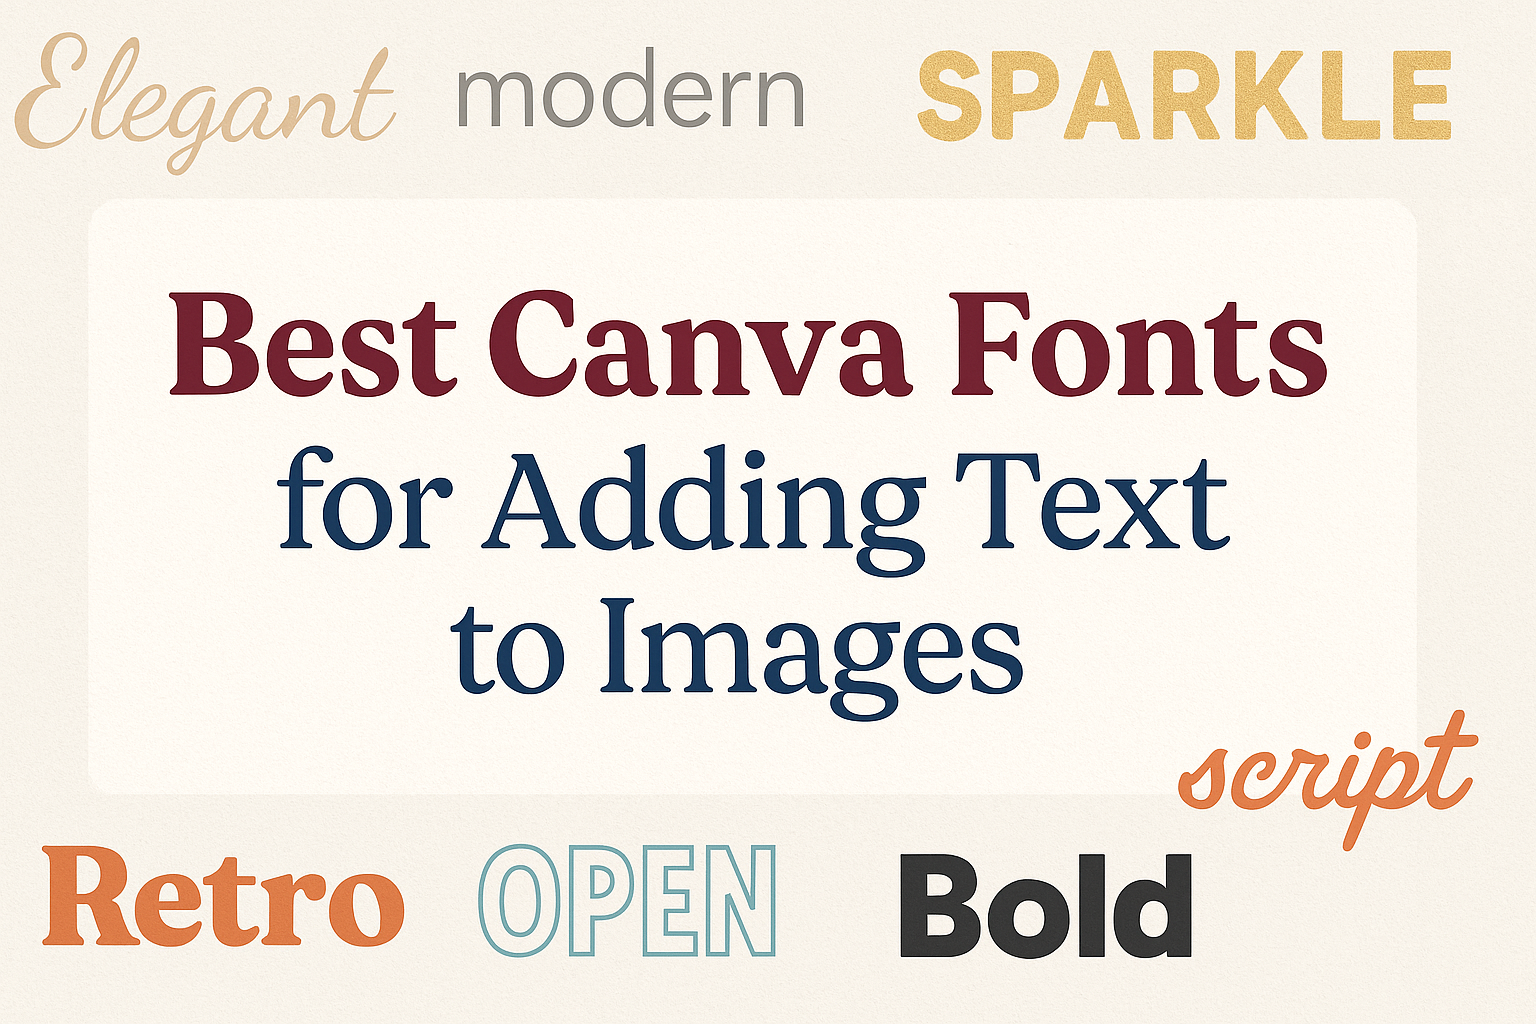
Choosing Fonts and Styles
Selecting fonts is key to making your design stand out. Fonts should complement the theme of your design, whether it’s a formal announcement or a playful invitation.
It’s important to stick to a maximum of two or three fonts to avoid clutter. Mixing bold with italic can add some variety, but ensure it remains readable. Size also matters; headings should be more prominent, while supporting text can be smaller.
Experiment with different styles to find the best match for your message.
Text Placement and Composition
Text placement influences how easily the message is understood. One effective method is to use the rule of thirds—place important text in the intersections of imaginary lines dividing the design into thirds. This guides the viewer’s eye naturally.
Avoid placing text over busy backgrounds, as it can become hard to read. Use contrasting colors for text and background to enhance readability. Align text thoughtfully; centralized text can be dramatic, while left-aligned text often feels more formal and orderly.
Image Selection and Editing
Choosing the right image is crucial for enhancing the overall design. Select images that align with the message and theme. For instance, an image with a lot of blank space can give text more room to breathe.
Canva provides editing tools to adjust images. Use filters and lighting adjustments to make images more cohesive with the text.
Cropping can help focus on specific elements of an image that add more clarity to your design.
Ensure that the final image balances well with the text, keeping the composition engaging and approachable.
Advanced Canva Text to Image Features
Canva’s Text to Image tool offers a variety of advanced features to enhance design work. It allows users to incorporate detailed elements such as the photo library, combine text with seamless integration, and export high-quality designs.
Using Canva’s Photo Library
Canva’s photo library is a vast resource filled with images that can be easily integrated into projects. This library provides a mix of free and premium images, helping to find the perfect visual match for any text prompt.
Users can search keywords to find images that suit their designs, then customize them with filters, transparency settings, and cropping tools.
The integration is simple: drag and drop selected photos into your design. Once placed, further adjustments can be made to layering and alignment.
By using these tools, users have more control over the visuals in their designs. This feature saves time, ensures high-quality results, and provides inspiration when crafting unique designs.
Integrating with Other Design Elements
Integrating text-to-image results with other design elements in Canva is straightforward. These elements can include shapes, lines, and stickers, alongside text to create cohesive visuals.
Users can layer images and text, adjusting their positions using Canva’s intuitive drag-and-drop interface.
Each component can be resized or rotated, promoting creativity in design layout. Text can be formatted using different fonts, sizes, and colors to complement the images. Incorporating other features like grids and frames can give designs a polished look.
The seamless interaction between elements makes designing interactive and responsive. This integration not only enhances aesthetics but also ensures that the final design effectively conveys the intended message or emotion.
Exporting Your Final Design
After crafting a design using Canva’s Text to Image feature, exporting it is the final step.
Canva supports multiple formats such as PNG, JPEG, PDF, and even video formats for dynamic creations. Users can choose the right file type based on how they plan to use the design, whether online or in print.
Resolution options are available to ensure high quality, especially for professional prints. By selecting the appropriate settings during the export process, users maintain the integrity of their work.
Canva also allows direct sharing to social media platforms or via email, streamlining the process of getting designs seen by a wider audience.
Collaborating and Sharing
Canva’s Text to Image feature isn’t just for creating designs; it also shines when it comes to working with others and distributing content. Users can easily collaborate, share designs on different platforms, and explore options to download and print their creations.
Team Collaboration Tools
Canva provides several tools to help teams work together smoothly.
Users can invite team members to view or edit designs by adding their email addresses. The platform also allows for comments and feedback, making it easier to refine designs.
Real-time collaboration is available, so team members can see changes as they happen. This feature is particularly useful for remote teams or projects where members are in different locations.
Additionally, Canva offers a version history, allowing users to track changes and revert to previous versions if needed.
Sharing Designs on Social Media
Sharing designs directly on social media is straightforward with Canva.
Users can connect their social media accounts to share images instantly. This is perfect for promoting content on platforms like Instagram, Facebook, or Twitter.
Canva also offers scheduling tools, which allow users to plan and automate posts.
This is a great way to maintain a consistent posting schedule without having to log in and post manually every time.
For more personalization, users can add captions and hashtags directly within Canva before sharing. This saves time and aligns posts perfectly with the intended audience and message.
Downloading and Printing Options
Users have a variety of download options to choose from to match their needs.
Canva supports multiple file formats like PNG, JPEG, and PDF, which makes sharing and printing designs easy.
High-resolution files ensure that printed designs maintain quality, whether for posters, flyers, or business cards.
Canva also includes built-in printing services, allowing users to print directly from the platform.
Different sizes and finishes can be chosen within Canva’s print service, providing flexibility for any project.
This feature makes it easier to produce physical copies without needing to use separate printing services.