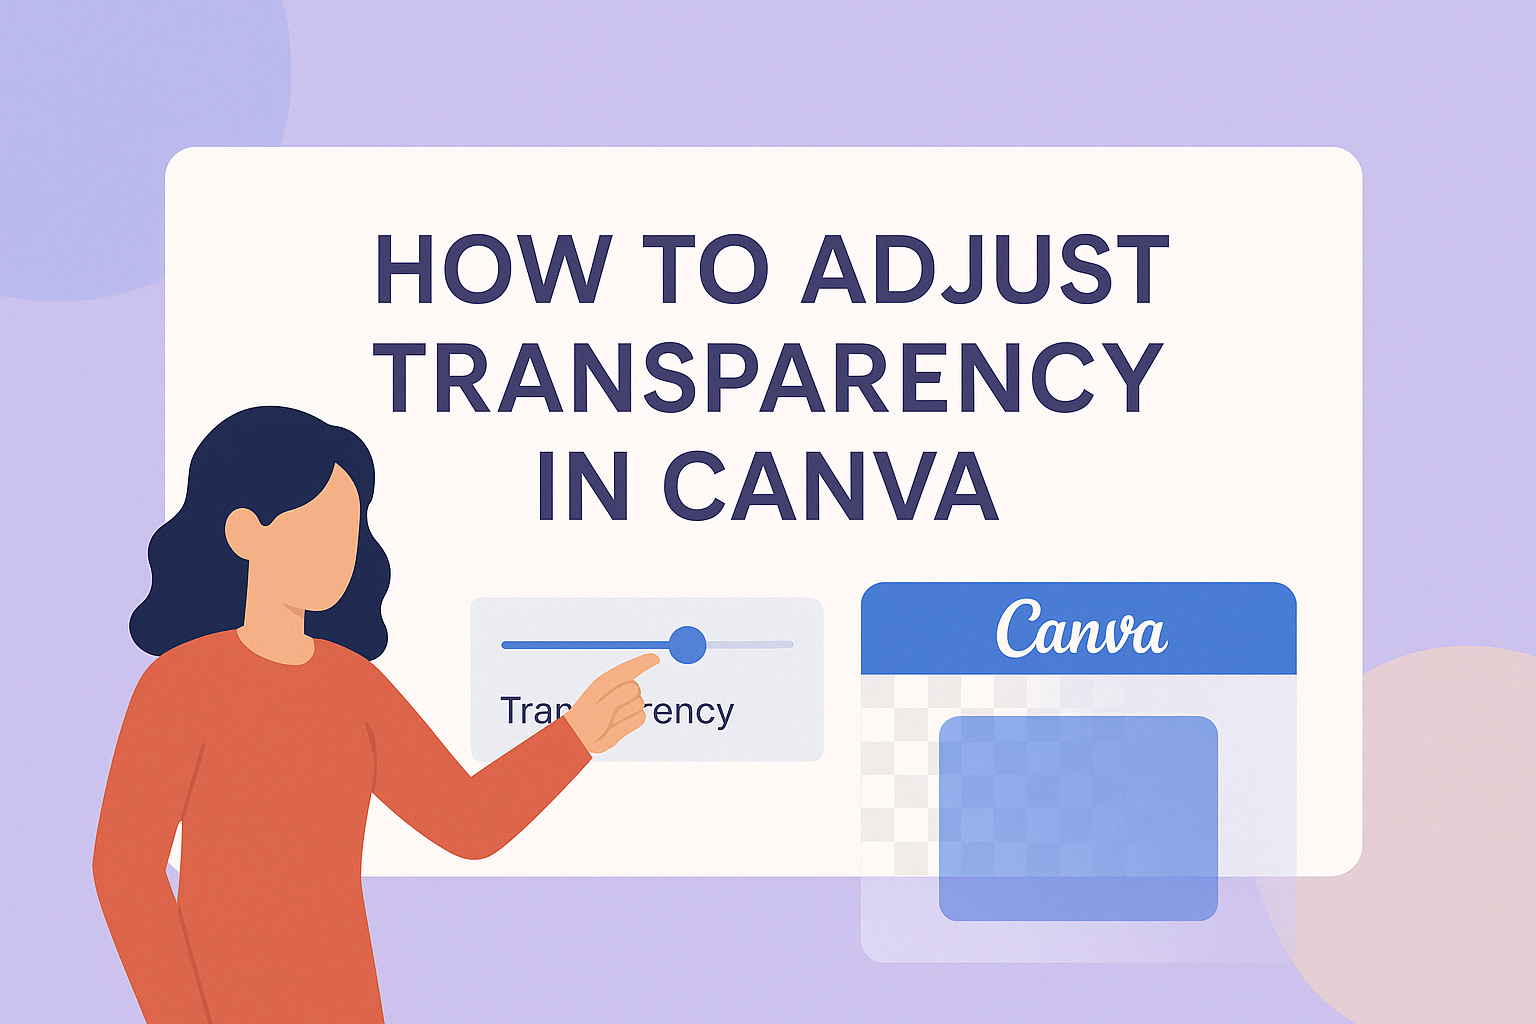
Creating eye-catching designs is a breeze with Canva, and one of the most useful features is adjusting transparency.
To change the transparency of an element, simply select it and use the slider in the toolbar to modify its opacity. This allows you to create layered effects, subtle highlights, or blend images seamlessly together.
By learning how to manage transparency, designers can add depth and focus to their projects. Whether it’s making a background image less intense or bringing emphasis to an important text element, transparency can transform your creation.
For those eager to explore more, Canva offers easy-to-follow options for both beginners and experienced users. With features that are accessible and intuitive, anyone can become a design pro in no time.
Dive into the world of design magic and see how adjusting transparency can elevate your work.
Understanding Canva’s Transparency Tool
Canva’s transparency tool allows users to enhance their designs by adjusting the visibility of different elements. This tool can be used to create subtle effects or to build layered compositions, providing depth to any project.
What Is Transparency?
Transparency in design refers to the ability to see through an object, revealing what lies beneath it. In Canva, this means adjusting the opacity of elements such as images, text, or shapes.
By reducing opacity, a designer can allow the underlying elements to show through. This tool is particularly useful for creating watermarks or blending images with backgrounds without them dominating the design.
Users can easily find this feature by selecting elements and using the transparency slider, a straightforward method to enhance visual compositions.
Importance of Transparency in Design
Transparency plays a key role in design by allowing elements to blend smoothly, establishing a sense of harmony and balance. It enables designers to highlight specific areas of a composition while keeping other parts subtle.
By using transparency thoughtfully, designers can direct the viewer’s attention, focus on important elements, and improve the overall aesthetic of the piece. Additionally, it can create depth and complexity, making designs more engaging.
Designers using Canva can adjust transparency to experiment creatively, achieving unique effects that make their work stand out.
Getting Started with Canva
When starting with Canva, the first steps include creating an account and getting familiar with its user interface. These basics will ensure a smooth experience utilizing Canva’s design tools.
Creating a Canva Account
To begin, visit the Canva website and look for the “Sign Up” button. Users can create an account by linking their email, Google, or Facebook.
Options are available for personal, educational, or business accounts, catering to different needs.
Once signed up, Canva may ask a few questions about your intended use of the platform. They might also suggest pre-made designs based on this information, helping new users quickly find the tools they need.
Subscribing to Canva Pro offers additional features, such as a vast library of templates and images, enhanced design tools, and collaboration capabilities. While the free version is quite robust, Canva Pro provides a more extensive creative suite.
Navigating the User Interface
Canva’s user interface is designed to be intuitive. The dashboard displays various design templates, recent projects, and quick access to popular tools.
The easy-to-use sidebar contains sections for templates, elements, uploads, and text.
The central workspace is where designs come to life. Here, users can drag and drop elements, adjust settings like transparency, and arrange layers.
The top toolbar provides essential functions like undo, redo, and resize.
For specific tasks, tutorials and help guides are accessible directly from the interface, offering step-by-step instructions. These features ensure users can harness Canva’s full potential quickly and efficiently.
Adjusting Transparency in Canva
Adjusting transparency in Canva involves choosing the right element and using the transparency slider. This lets users create different effects by making design elements more or less see-through.
Selecting the Right Element
To adjust transparency, users first need to select the right element in their design. This can be images, text, shapes, or graphics.
Clicking directly on the element will highlight it, showing a boundary or outline. For multiple elements, holding the Shift key while clicking each item is the way to go. This ensures that all chosen elements are ready to be adjusted together.
Organizing the elements in layers helps too.
It’s beneficial to know which elements overlap, as this can affect the visual outcome when transparency is changed. Having a clear understanding of the design layout aids in achieving the desired effect.
Using the Transparency Slider
Once the right element is selected, the transparency adjustment is done using the slider option. This feature can be found on the toolbar above the editor.
Clicking on it will bring up a slider bar where users can manually set the transparency level. The slider ranges from 0% to 100%, with 0% being completely transparent and 100% completely opaque.
For precise adjustments, users can enter a specific number into the field next to the slider. This is especially useful for matching transparency levels across different elements.
The ability to adjust with both a slider and numeric value gives users flexibility and control over their design’s look. For more details on how to use this feature, visit the Canva Help Center.
Transparency Tips and Tricks
Adjusting transparency in Canva can create unique designs, but it’s important to balance the effect with usability. This section will explore how to maintain readability while using transparency and how to effectively layer transparent elements.
Balancing Transparency and Readability
Transparency can enhance designs, but it’s crucial to ensure that text and important elements remain clear. When changing the opacity of a background or an element, contrast is key.
A darker font on a lighter, transparent background, or vice versa, ensures text stands out. Bold colors and smaller variations in transparency levels—like 70% or 80%—help maintain clarity.
Consider using Canva’s transparency slider to test different levels. While a faded background may look appealing, always step back and examine if the message is still readable.
Applying shadows or outlines to text can also help against transparent backgrounds. These small adjustments make sure the text is easy to read. Keep in mind not to reduce the transparency too much on critical information.
Layering Transparent Elements
Layering elements adds depth and dimension to a design. Start by placing larger, lightly transparent elements as backgrounds. This creates a base layer without overshadowing other components.
When layering multiple transparent items, use Canva’s arrange tool to manage the order. Elements can be pushed forwards or backwards, allowing dynamic interplay between layers.
It’s essential to maintain harmony between colors and patterns on these layers.
Aligning and grouping elements can make designs tidy. This keeps layered elements from overlapping messily, which can obscure important parts of your design. Balancing space between these elements helps achieve a polished look.
Layering with transparency allows creative and visually engaging design projects.
Advanced Techniques
Exploring advanced techniques in Canva can enhance the depth and creativity of designs. These methods include using text with varying transparency levels and creating artistic overlays.
Working with Text and Transparency
Text transparency can add unique visual effects to a design. Users can adjust text transparency to make it blend with or stand out against the background.
To achieve this, select the text box in Canva and look for the Transparency option in the toolbar. Adjusting the slider allows precise control of the text’s visibility.
Incorporating varying levels of transparency in text can emphasize key points or create subtle textures.
For instance, slightly transparent headings can convey elegance, while fully opaque subheadings maintain readability. This approach can make designs more dynamic and visually interesting.
Creating Overlays with Transparency
Overlays add depth to any design. By using transparency sliders, designers can create layered effects that add interest and complexity.
Start by choosing a shape or image to serve as the overlay. Then, adjust its transparency to blend it seamlessly with the underlying elements.
Such overlays can highlight specific areas or convey a mood. For example, a semi-transparent gray layer can give a design a muted, sophisticated look.
These techniques are perfect for posters, social media graphics, and presentations. Designers can experiment by moving the overlay across different sections to see how it interacts with the composition.
Utilizing these methods helps craft professional, visually appealing designs that captivate viewers.
Saving and Exporting Transparent Designs
When working in Canva, it’s important to know how to save and export designs while keeping the transparency intact. This is especially crucial for logos and graphics that need to blend seamlessly into various backgrounds. Understanding the right file formats and download steps will make this process smooth and effective.
File Formats Supporting Transparency
Certain file formats allow transparency, making them ideal for designs that need this feature. PNG files are the most common choice for maintaining transparent backgrounds.
Unlike JPEGs, which do not support transparency, PNGs can preserve clear areas without any unwanted background colors.
In addition to PNGs, formats like SVG offer scalability with transparency. This is useful for vector elements resized without losing quality.
Knowing this helps users choose the right format when preparing to download their design in Canva. Selecting the right file type ensures the final design meets the requirements for professional use.
Preserving Transparency in Downloads
To maintain transparency when downloading designs from Canva, specific steps are needed.
First, users should ensure that their design has no background color, or set it to white if needed. Then, they must use the editor menu to click on “Share,” then “Download.”
In the download options, selecting PNG and ticking the “Transparent background” option is crucial. This ensures the design saves without any background.
If a design has multiple pages or elements, users should ensure only desired parts are selected. Being careful during these steps helps in downloading a clean, professional design ready for use in any application.
Troubleshooting Transparency Issues
When working with transparency in Canva, users might encounter a few challenges. Common issues include difficulty in achieving the desired effect and trouble accessing help when needed.
Common Transparency Challenges
Some users face issues where sliding the transparency tool doesn’t create the expected effect. This might be due to the layering of elements or selecting the wrong element.
Sometimes the transparency changes aren’t visible immediately. This often occurs if the element is behind another layer.
Double-checking the layers and ensuring the right element is selected can usually solve this.
Finding Help and Resources
For those needing more assistance with transparency, Canva’s help center is a great place to start. It offers detailed guides and troubleshooting tips.
Additionally, online tutorials and videos are available to guide users through more complex tasks.
Community forums also provide support. Many experienced users share tips and solutions to common issues.
Engaging with others can offer new perspectives and fixes for problems that aren’t covered in official guides.