Adding a speech bubble to your Canva design is a simple way to make your images pop and give your messages a creative flair.
To add a speech bubble, you simply drag and drop the bubble element from the “Shapes” section in Canva’s “Elements” tab onto your workspace. This user-friendly feature allows even beginners to create engaging and eye-catching designs with ease.
Speech bubbles are not only fun, but they also help to convey messages clearly and effectively. Whether it’s to highlight a quote, emphasize important text, or just add a playful touch to your designs, speech bubbles offer versatility.
By clicking on the colored circles, users can customize the colors to match any design theme, making it easy to harmonize the speech bubble with the rest of the graphic.
For those who are visual learners, following a step-by-step guide can further simplify this process. With just a few clicks, enhancing your design becomes an achievable task for anyone looking to spruce up their visuals on Canva.
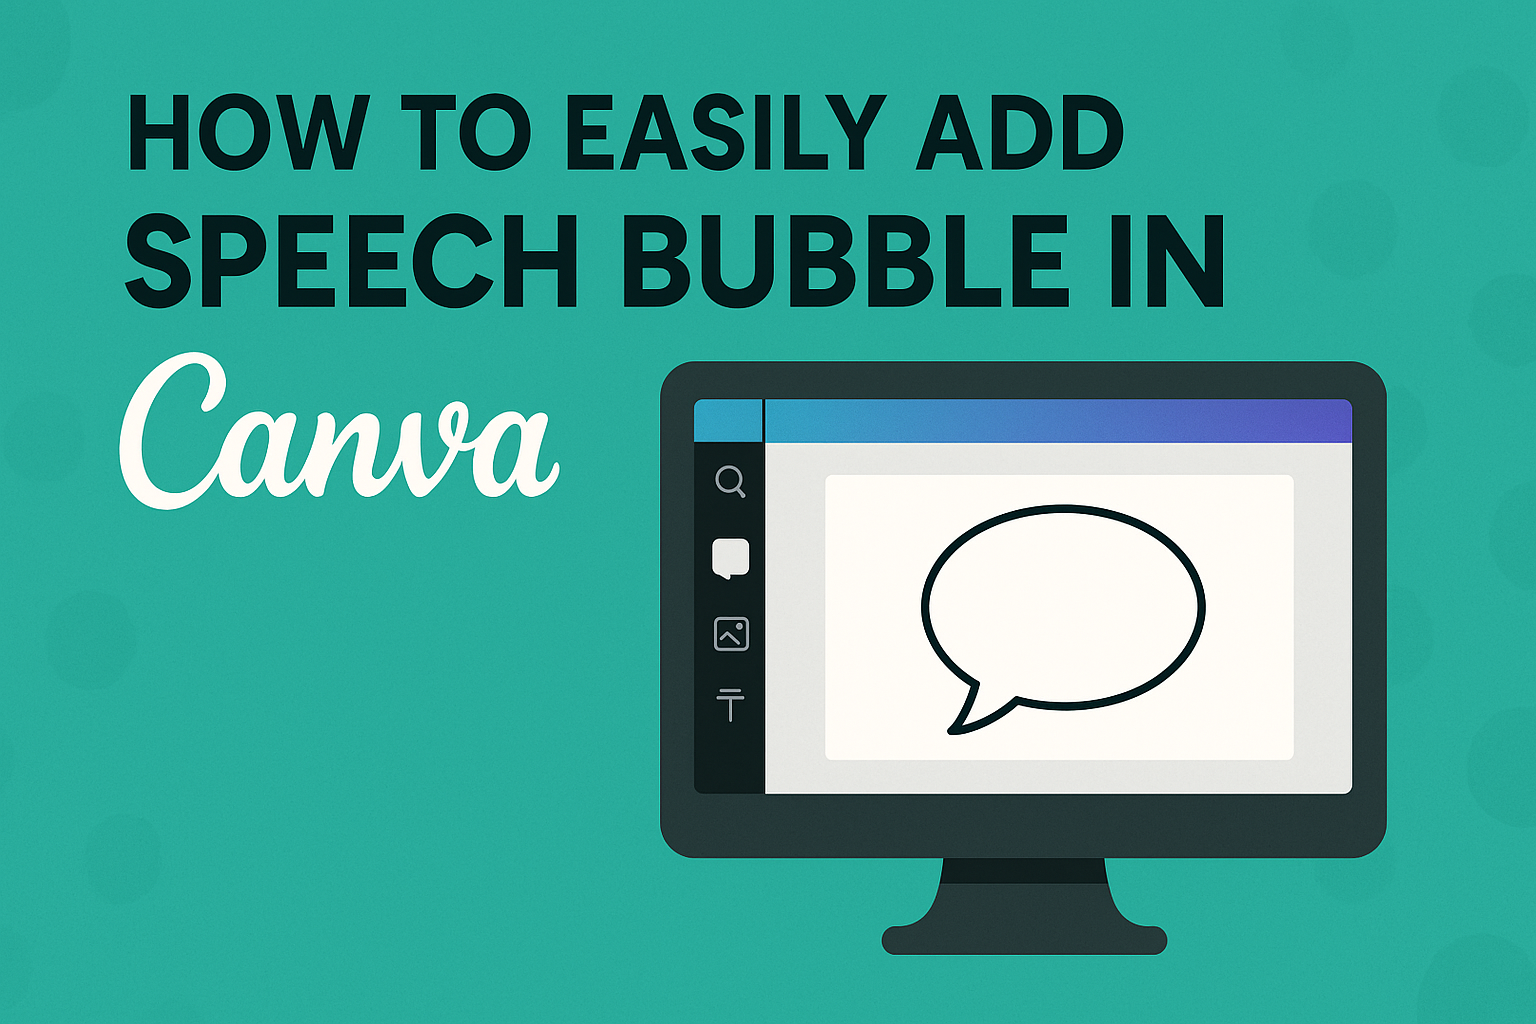
Understanding Canva and Speech Bubbles
Canva is a user-friendly graphic design tool that helps people create stunning visual content without needing advanced design skills.
Speech bubbles are a creative feature in Canva that can add dialogue or highlight important text in your designs.
What Is Canva?
Canva is an online graphic design platform used by millions to create various types of visual content. It’s popular for its simplicity and versatility, making it easy for beginners to design like professionals.
Users can create presentations, posters, infographics, and social media posts. Canva offers a wide array of templates, fonts, and images that users can drag and drop into their designs.
This platform stands out because of these ready-made templates, which save time and help maintain a professional look.
Canva is accessible directly from web browsers on computers or through its mobile app. This convenience allows users to design on the go, making it ideal for busy individuals or teams.
The Different Types of Speech Bubbles
Speech bubbles in Canva come in various shapes and styles, each serving different purposes in design. They can make a conversation more engaging or highlight a key point.
The classic oval or rounded speech bubbles are perfect for comics or conversations. Rectangular bubbles are often used for narration or captions. Tail ends can be adjusted to point to characters or elements, creating a more dynamic interaction.
Customizing these elements is simple in Canva. Users can change colors, sizes, and fonts to match their design theme. This flexibility allows for creativity and consistency, ensuring the bubbles fit perfectly with the overall design aesthetic.
Getting Started with Canva
Before adding speech bubbles in Canva, it’s essential to get acquainted with some basic steps. This includes creating an account, understanding the dashboard, and selecting the appropriate canvas size for your projects.
Creating a Canva Account
To start using Canva, first, you need to create an account. This can be done by visiting the Canva website.
Users can sign up with an email address, or alternatively, connect through Google or Facebook for quicker access.
Once registration is complete, Canva may offer you an initial tutorial. New users can explore features through this guide. After logging in, check out the free version or subscribe to Canva Pro for advanced tools. The choice depends on your design needs and budget.
Creating an account is quite simple and designed to be user-friendly, even for those new to online design platforms.
Navigating the Canva Dashboard
Once logged in, the Canva dashboard acts as your main hub. The main menu is on the left side of the screen, where users will find options like “Home,” “Templates,” and “Projects.” This menu helps users access different tools needed for creating designs.
To begin a new project, click on “Create a design” at the top-right.
Frequently used elements like photos, text, and uploads are easily accessible within the dashboard. The clean layout of icons and tabs ensures finding what you need is straightforward.
Users can explore many features here, making projects from scratch or using pre-made templates.
Choosing the Right Canvas Size
Selecting the right canvas size is vital before starting any design. Canva offers various size options based on the project type, such as Instagram posts, flyers, or presentations.
Users should choose a canvas size that suits their project needs while ensuring high-quality outputs.
To select a custom size, click “Create a design” followed by “Custom size.” Enter your specific dimensions in pixels, inches, or centimeters.
Having the correct size from the start helps avoid redesigning or resizing later, saving time and effort. This preparation step is crucial, setting the stage for seamless design work.
Adding Your First Speech Bubble
Getting started with adding a speech bubble in Canva is simple and straightforward. Begin by accessing the right tools in the Elements tab, followed by a quick search for speech bubble shapes. Finally, adjust the bubble to fit perfectly into your design.
Accessing the Elements Tab
To start, open your design in Canva. On the left side of your screen, you’ll see several tools, including the Elements tab. This is your gateway to countless design features.
Click on Elements to access a wide range of shapes, lines, graphics, and more. These elements allow users to add creative touches to their projects. With a few clicks, you can find everything you need.
Once inside the Elements tab, you’ll be ready for the next steps. This area offers a diverse collection of options. If you’re working on a specific theme, you can also explore related elements by scrolling through the suggestions.
Searching for Speech Bubble Elements
Upon entering the Elements section, the next task is finding the right speech bubble.
Type “speech bubble” into the search bar. This will bring up various styles and designs.
Choose from different shapes, colors, and sizes to best suit your design. Canva’s range includes classic comic-like bubbles, modern styles, and more decorative options.
Browsing these choices can be fun, but be sure to pick one that aligns with the tone of your project. After selecting, simply click on your chosen bubble, and it will appear on your design.
Placing and Resizing Speech Bubbles
With your speech bubble selected, drag it onto your design. This lets you position it where it best complements your image or message.
To resize, click and drag the corners of the bubble. Adjust until it fits perfectly with the other elements on the page.
Consider how the bubble’s size interacts with your text. Making it too large or too small could impact readability.
For an added touch, you can change the bubble and text color to ensure everything stands out vividly.
Customizing Your Speech Bubble
Customizing a speech bubble in Canva can enhance the visual appeal of your design. User can change colors and opacity, adjust the stroke and effects, and add text for a personalized touch.
Changing Colors and Opacity
Users can customize their speech bubble by selecting different colors.
By clicking on the bubble, they can access the color palette. This allows them to choose from default colors or use a custom color wheel for more specific hues.
Opacity settings are also adjustable, enabling users to make the bubble more transparent if needed. This is useful when integrating the bubble into complex designs where softer contrasts are needed.
Mixing colors and adjusting opacity can create harmony between the speech bubble and the rest of the design elements. It can help the bubble stand out or blend in, depending on the creator’s vision.
Adjusting Stroke and Effects
Another way to customize a speech bubble is through stroke and effects adjustments.
Users can modify the thickness of the stroke or outline of the bubble. This makes it either more prominent or subtle within the design.
Different effects, such as shadows or glows, can be added to the speech bubble. These effects add depth and can make the bubble appear three-dimensional.
The effects menu in Canva provides diverse options to enhance the overall look.
Adding Text Inside the Speech Bubble
Adding text is a vital step to complete a speech bubble.
Users should select the text tool and click inside the bubble to start typing. Canva offers various font styles, sizes, and colors to choose from.
Aligning the text properly within the bubble ensures readability. The text should be legible and stand out against the bubble’s background. This makes the message clear for viewers.
Careful font selection and placement can enhance the narrative being conveyed, making the speech bubble not only decorative but also informative.
Advanced Speech Bubble Techniques
Advanced techniques in Canva can make design projects stand out. Layering, integration into comic strips, and text effects can transform simple designs into dynamic visuals.
Layering Elements for Effect
In Canva, layering elements can add depth and focus to a design.
Designers can place speech bubbles above or below other objects to create a three-dimensional look. By adjusting transparency, dimensions, and positions, they can direct viewer attention effectively.
For example, placing a semi-transparent speech bubble over a bold image can enhance meaning while keeping the visual appealing. Canva’s arrange tool is useful for stacking layers and ensuring elements interact in interesting ways, without overcrowding the design.
Using Speech Bubbles for Comic Strips
Creating comic strips in Canva is simplified with speech bubbles.
They can be added to characters to convey dialogue and express emotions easily. Users can select from various bubble shapes to suit different scenarios or to match character personalities.
Canva’s drag-and-drop feature makes it easy to align bubbles with speaking characters for clarity. Consistent formatting across panels ensures uniformity and fluid storytelling, while Canva’s template library offers inspiration and quick setups for those new to comic design.
Adding Special Effects to Text
Adding special effects to text within speech bubbles can draw attention and add flair.
Canva allows users to apply effects such as shadows, glows, and gradients to the text inside speech bubbles. This can make important messages stand out, creating emphasis and mood.
Text effects can also enhance readability, preventing the bubble’s text from blending into busy backgrounds.
With simple sliders and toggles, designers can adjust effects to balance creativity and clarity, ensuring that even the most embellished designs remain legible.
Finalizing and Sharing Your Design
After adding all the elements and tweaking the details, it’s time to get your Canva design ready for the world. Focus on ensuring everything looks perfect, downloading the right way, and then showing it off on your favorite social platforms.
Previewing Your Design
Before wrapping up, it’s wise to take a good look at your design. This step helps in spotting any mistakes or tweaking parts that might need a little more attention.
Zoom in to check for any alignment issues or text that needs adjusting.
Use the preview button to see your design in different layouts and screen sizes. This ensures it looks great everywhere, from phones to desktops.
Also, keep color contrasts in mind to ensure text is readable.
Getting another person to review the design can offer fresh insights. Sometimes, fresh eyes can spot things you might have missed. They might catch those tiny errors that slipped by.
Downloading in Different Formats
Canva offers several formats for downloading designs. This includes formats like PNG, JPEG, and PDF. Each format is ideal for different purposes.
For example, choose PNG if you need a transparent background or want a high-quality image.
JPEG works better for small file sizes and web use. If your design includes interactive elements or high print quality, consider downloading as a PDF.
For social media, ensure the file size and format match the platform’s requirements.
It’s also possible to choose specific pages when downloading multi-page designs. This feature is handy when you only need certain pages without downloading the entire document.
Sharing on Social Media
Sharing your design directly from Canva is both quick and simple.
After finalizing, click the share button to explore various options.
For platforms like Facebook, Instagram, and Twitter, Canva optimizes your designs for seamless sharing.
Add captions or hashtags to engage your audience more when posting.
Make sure to check and follow the image size guidelines of each platform. This guarantees your design appears correctly without unexpected cropping.
Canva also offers team sharing options.
It’s a great tool for getting feedback from colleagues or collaborators.
This ensures everyone is happy with the design before it goes live.