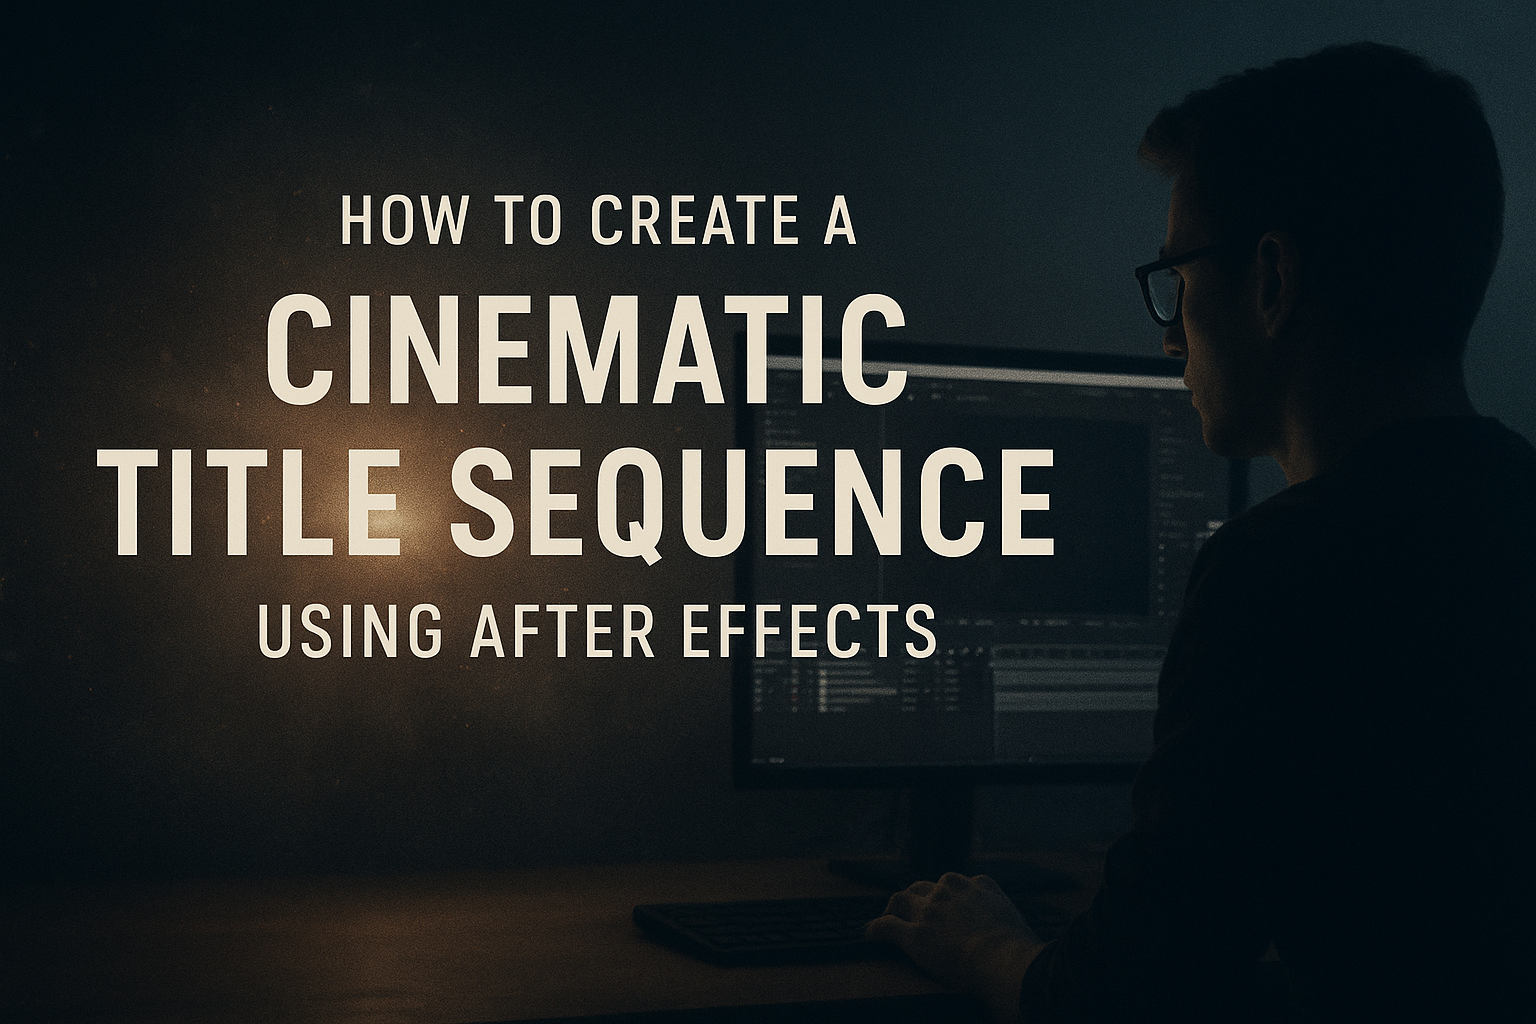
Creating a cinematic title sequence using After Effects can transform any video project from ordinary to extraordinary. With a few simple techniques in After Effects, anyone can design titles that captivate audiences and set the tone right from the start. This guide will explore step-by-step methods for achieving this, suitable for both beginners and experienced designers.
By tapping into the powerful features of After Effects, like text animation and layering effects, users can craft stunning visuals without breaking a sweat. Resources such as free guides and templates are readily available online, such as the cinematic movie titles tutorial that can help enhance these skills quickly.
Incorporating extra artistic elements, like fog overlays, adds a professional touch to any sequence. Techniques for these effects are explored in various online tutorials, like the Cinematic Title Design Tutorial. By harnessing these tools, anyone can produce compelling title sequences that make their projects shine.
Understanding After Effects
After Effects is a powerful tool for creating stunning visual effects and motion graphics. In this section, you’ll find a straightforward look at its basics, how to get around in the software, and key animation ideas.
The Basics of After Effects
After Effects is an industry-standard software used for video compositing, animation, and visual effects. It offers a variety of tools for manipulating video, images, and audio. Beginners should start by exploring its panels, effects, and presets, which can be accessed from the menu bar.
Projects in After Effects begin with creating a composition. This is where all your media elements come together. A composition can include layers like video clips, images, and text. Understanding layers is crucial as they form the backbone of any project in After Effects.
For new users, the playing and preview features help visualize animations in real time. It’s important to frequently preview your work to ensure everything is lining up correctly.
Navigating the User Interface
Navigating the After Effects user interface might seem complex at first, but with a little practice, it becomes intuitive. The main workspace is divided into several panels including the Timeline, Project, and Composition panels.
The Project panel is where imported media and assets are organized. You can drag files directly from the desktop or use the import option. Keeping your assets organized saves time and confusion later.
The Timeline panel is where you create and adjust your sequences. It features layers that can be expanded to reveal effects, properties, and keyframes.
Shortcuts are invaluable for navigation. Familiarizing yourself with essential shortcuts like ‘Spacebar’ for play/pause and ‘B/N’ to set work area boundaries will streamline your workflow.
Key Concepts in Animation
Animation in After Effects is all about changing properties over time using keyframes. A keyframe is a marker that defines a start or endpoint for any given effect. Users can adjust properties like position, opacity, and scale to create dynamic animations.
The Graph Editor is useful for fine-tuning animations. It shows changes in value over time, giving users precision control over speed and motion.
Effects like easing can make animations feel more natural. Easing adjusts the acceleration of keyframe transitions, adding polish and sophistication. Experimenting with simple animations first can build up understanding before tackling complex projects.
Setting Up Your Project
When setting up a project for a cinematic title sequence in After Effects, the focus is on importing your assets, organizing the workspace, and creating a suitable composition. Proper preparation in these areas helps streamline the entire creative process and ensure high-quality results.
Importing Assets
To start, gather all the media you plan to use, such as images, videos, and audio files. After Effects supports various file types, which allows flexibility in your choices.
Open After Effects and create a new project. Select File > Import > File to begin loading your media into the project. Be sure to choose the right settings for each asset to maintain quality.
Drag and drop assets into the Project Panel. Group related files into folders for better management. This not only saves time but also makes it easier to find specific media later. Keeping assets organized during the import phase simplifies the workflow.
Organizing Your Workspace
Customizing the workspace improves efficiency. After Effects lets users adjust panels according to their needs. Start by arranging the Project, Timeline, and Composition panels in a way that feels intuitive.
Go to Window > Workspace and select a pre-made layout that suits your task. To save a custom layout, adjust the panels then click Window > Workspace > Save as New Workspace.
Name each layer descriptively. Use color labels to differentiate between types of layers, such as text, images, or audio. A tidy workspace minimizes confusion, especially on large projects, leading to a more focused creative experience.
Creating a Composition
Creating the right composition is key to a quality title sequence. Click Composition > New Composition to start. Specify important settings like frame size, duration, and frame rate. Common sizes are Full HD (1920×1080) or 4K (3840×2160), depending on project needs.
Choose a frame rate that matches the intended output, often 24 or 30 frames per second. Setting the duration correctly ensures the title covers the necessary content without excess time.
Name the composition in a way that reflects its purpose, keeping it easy to identify among other elements. With these settings in place, you can begin bringing your project to life with a solid foundational setup.
Creating the Title Sequence
Creating a cinematic title sequence in After Effects involves thoughtful design, animation, and effects. Designing the title style and animating text layers are key. Adding creative effects enhances the final look.
Designing the Title Style
Designing the title style is the first step in building an eye-catching sequence. It includes choosing the right font, size, and color that match the theme or mood. Fonts should be legible and fit the tone of the project.
Colors should complement the background, ensuring the text stands out. Layer styles like shadows, strokes, or bevels can add depth and make titles pop. Consistency across titles helps to maintain a cohesive look throughout the sequence. Thinking about layout and alignment can also enhance the visual appeal. Experimenting with different styles can lead to discovering the best fit.
Animating Text Layers
Animating text layers adds motion to the titles, making them more engaging. Basic animations, like fade-ins and slide-ins, are simple to create and effective. More advanced techniques, such as using the “Position” and “Opacity” properties, offer dynamic effects.
Each letter can be animated individually for a more detailed effect. Timing is crucial, as it affects how viewers perceive the motion. Tools like the Graph Editor can help refine animations, ensuring smooth transitions. Easing controls improve the flow by making movements feel natural. Pay attention to duration and synchronization with background elements or music.
Adding Effects and Adjustments
Adding effects and adjustments makes the title sequence more cinematic and polished. Effects such as blur, glow, or 3D depth can enhance the visual quality. Plugins and presets offer additional creative options.
Adjustments to brightness, contrast, and color balance can further refine the appearance. Tailoring these effects to the project’s theme ensures they contribute positively to the overall aesthetic. Layering effects can create complex looks, but it’s important to avoid overloading, which can distract from the main title. Testing different combinations helps find the perfect blend. These tweaks ensure the final product captures the intended atmosphere and draws viewers in.
Enhancing the Visuals
Creating a cinematic title sequence in After Effects is made more dynamic by enhancing the visuals. Techniques like 3D layers, motion graphics, and pre-compositions can greatly improve the depth and appeal of a project.
Working with 3D Layers
3D layers add depth by allowing users to position elements along the X, Y, and Z axes. This technique creates more realistic and immersive scenes. By adjusting the camera angles and using lighting, designers can achieve shadows and reflections, making the title sequence feel more engaging.
Using layers in 3D space helps when designing titles with movement, as they seem to pop off the screen. With careful planning, elements can also integrate seamlessly with live-action footage.
Incorporating Motion Graphics
Motion graphics add energy and help tell a story. They can include animated shapes, lines, and particles that move in time with the music or narrative. Designers often use these graphics to highlight the main title or emphasize certain parts of the sequence.
Animating text or symbols with keyframes in After Effects makes the visuals more lively. These graphics serve both practical and aesthetic purposes, enhancing the viewer’s engagement with the sequence.
Using Pre-Compositions
Pre-compositions allow for organizing and nesting layers to keep the project neat and manageable. When working with complex scenes, pre-composing sections helps streamline workflow. For instance, a group of related elements can be grouped into one composition.
This feature also makes it easier to apply effects uniformly to a set of elements. Adjustments can be made inside a pre-comp, and they reflect in the main composition, saving both time and effort.
Sound Design and Music
Sound design plays a crucial role in creating an immersive cinematic experience. It involves selecting the right soundtrack, synchronizing audio with visuals, and adding sound effects for impact.
Adding a Soundtrack
Choosing the right soundtrack sets the mood and enhances the emotion of the title sequence. Whether it’s an epic score or a subtle melody, the music should align with the film’s theme. It is key to consider the tempo, style, and instruments used in the soundtrack. Exploring royalty-free music libraries can be a great resource for filmmakers on a budget. Music should complement the visuals without overwhelming them, creating harmony between sound and picture. Remember, the soundtrack is the heartbeat of the sequence, driving the viewer’s emotional response.
Synchronizing Audio with Visuals
Synchronizing audio with visuals ensures that every beat and note matches the on-screen action. This creates a seamless experience for the viewer. Using tools like waveforms in audio software helps to align sound precisely with the timeline in After Effects. Paying attention to timing is important, as certain visual cues can be emphasized by pairing them with matching audio elements. For example, a crescendo can align with a dramatic visual reveal. By focusing on synchronization, the narrative flow remains consistent, making the title sequence more engaging.
Sound Effects for Impact
Sound effects add depth and realism, transforming the title sequence into a dynamic visual journey. Effects like whooshes, clangs, or chimes can highlight key points or transitions. For instance, a subtle whoosh can make a text entry stand out. Another technique is to layer multiple sounds to create a rich auditory texture. It’s important to strike a balance between sound effects and music, ensuring they don’t compete for attention. Using sound effects wisely enhances the overall impact, making the cinematic experience more striking and memorable.
Finalizing the Title Sequence
In the final stages, the focus shifts to enhancing the title sequence’s visual appeal and ensuring it is ready for various platforms. The process involves adjusting colors, rendering the animation, and exporting in suitable formats for distribution.
Color Correction and Grading
Color correction brings consistency to your scene. Adjust color balance to ensure all elements match well. This step eliminates any unwanted color casts that may have appeared during production.
Once corrected, color grading sets the mood. This involves selecting a color palette that reflects the theme. For a dramatic feel, deep blues or vibrant reds can be used. Softer tones like pastels create a more relaxed atmosphere.
Using tools like Lumetri Color in After Effects can simplify the process. These tools allow precise control over saturation, contrast, and exposure, giving the title sequence a polished look.
Rendering Your Sequence
Rendering is essential to prepare the sequence for viewing outside of After Effects. Start by selecting the appropriate quality settings to ensure the best balance between performance and file size.
In After Effects, under the “Render Queue,” choose the output module that fits your needs. Lossless formats ensure quality but can result in large files, while more compressed formats like H.264 offer smaller file sizes.
Pay attention to the frame rate and resolution. It is crucial these match your project’s final destination. For most purposes, a resolution of 1920×1080 and a frame rate of 24 or 30 frames per second is standard.
Exporting for Different Formats
Once rendering is complete, export your sequence to different formats based on where it will be viewed. For online streaming, encoding in formats like MP4 using H.264 codec is common due to its balance of quality and file size.
If the title sequence will be shown on cinema screens, a DCP (Digital Cinema Package) might be necessary. This ensures high-quality playback on large displays. For TV formats, MPEG-2 might be suitable.
Consider the platforms and their specific requirements, like resolution and aspect ratio. This diverse export capability ensures that the visual integrity remains intact across all viewing experiences.