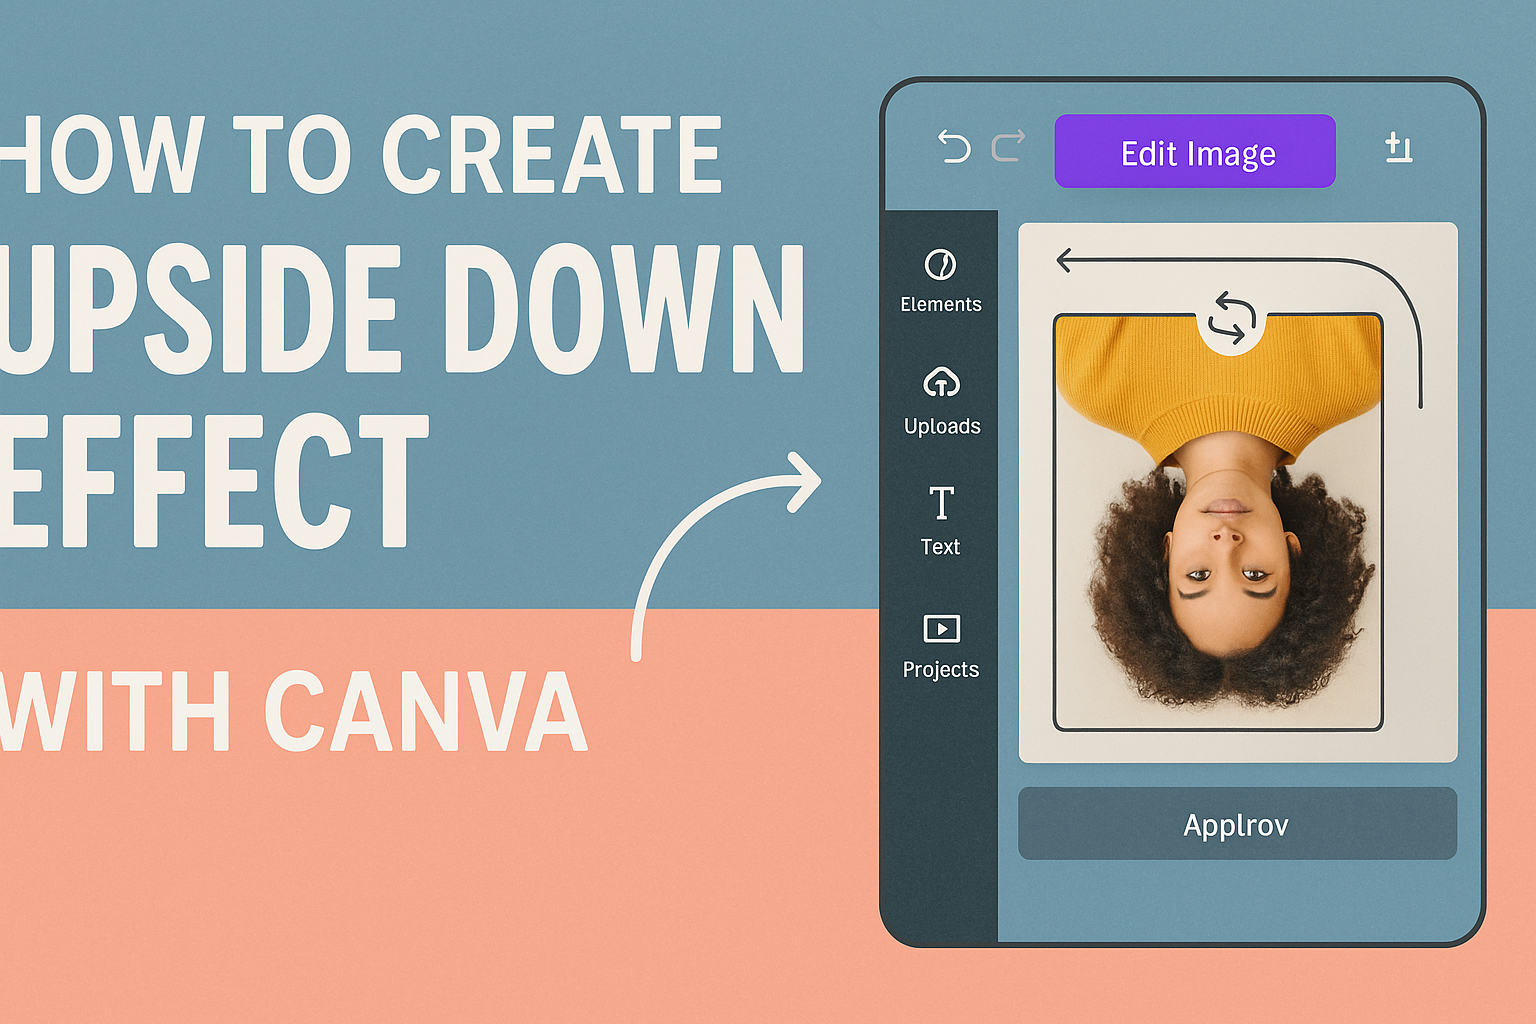
The upside down effect in Canva creates eye-catching designs that grab attention and add a surreal twist to ordinary photos. This visual technique works by flipping images vertically to create mirror effects, upside down compositions, or dreamlike scenes that make viewers look twice. Users can create this effect by selecting their image in Canva and clicking the “Flip” button, then choosing “Flip Vertical” to turn the image upside down instantly.
This design technique has become popular on social media because it transforms simple photos into striking visual content. Whether someone wants to create an artistic poster, enhance their brand graphics, or just experiment with creative layouts, the upside down effect offers endless possibilities. The process involves understanding basic image manipulation tools and knowing how to combine multiple elements for maximum impact.
Designers can master the basics of flipping and rotating, then move on to creating complex compositions that blend multiple upside down elements together. The best part is that anyone can learn this effect, regardless of their design experience level.
Understanding the Upside Down Effect in Canva
The upside down effect creates striking visual designs by flipping images vertically to turn them completely upside down. This simple technique transforms ordinary photos into eye-catching graphics that grab attention on social media and marketing materials.
What Is the Upside Down Effect?
The upside down effect is a design technique that flips images vertically to create an inverted appearance. When designers apply this effect, the top of an image becomes the bottom and vice versa.
This effect works by rotating the entire image 180 degrees around its horizontal axis. The result is a completely flipped version that maintains all the original image details.
Canva makes this process simple through its built-in flip tools. Users can flip elements vertically by selecting the image and choosing the flip vertical option from the toolbar.
The technique works best with images that have clear subjects or interesting compositions. Photos with people, landscapes, or objects create the most dramatic results when turned upside down.
Many designers combine this effect with other elements like text or graphics. This creates layered designs that tell a story or convey a specific message.
Popular Uses for Upside Down Images
Social media posts benefit greatly from upside down effects because they stop users from scrolling. The unusual orientation catches the eye immediately and encourages engagement with the content.
Marketing materials use this technique to create memorable advertisements. Flipped images help brands stand out from competitors and create lasting impressions on potential customers.
Common applications include:
- Instagram story templates
- Facebook cover photos
- Business flyers and posters
- Website headers
- Product showcase designs
Artistic projects often incorporate upside down effects to create surreal compositions. Designers might combine multiple flipped images to build dream-like scenes or abstract artwork.
Event promotions use this effect to generate curiosity and excitement. Concert posters, party invitations, and festival graphics often feature upside down elements to convey energy and creativity.
Getting Started With Canva
Users need to access Canva and set up their project correctly before creating upside down effects. The right project settings help ensure the final design looks professional and works well.
Accessing Canva
Users can access Canva through their web browser or mobile app. They need to visit canva.com and create a free account if they don’t have one already.
New users should click the sign-up button and enter their email address. They can also sign up using their Google or Facebook accounts for faster access.
Once logged in, users see the main dashboard with design options. The interface shows templates, recent designs, and creation tools.
- Free accounts include basic features and templates
- Pro accounts offer more elements, fonts, and storage
- Both versions work for creating upside down effects
Users should bookmark Canva for easy access to future projects. The platform saves all designs automatically to their account.
Recommended Project Settings
Users should choose the right canvas size based on where they’ll use their design. Social media posts work best with square formats like 1080×1080 pixels.
Common canvas sizes:
- Instagram post: 1080×1080 px
- Facebook post: 1200×630 px
- Custom size: Any dimensions needed
They can select “Custom size” from the main menu to enter specific measurements. This option gives them full control over their project dimensions.
Users should start with a blank canvas rather than a template for upside down effects. This approach provides more creative freedom and better control over element placement.
The background should stay transparent or use a solid color initially. Complex backgrounds can make it harder to create convincing upside down reflections later in the process.
Importing and Selecting Images
Getting the right images into Canva is the first step to creating an upside down effect. Users can either upload their own photos or choose from Canva’s stock image library to find the perfect images for their project.
Uploading Your Own Photos
Users can easily add their own photos to Canva by clicking the “Uploads” tab in the left sidebar. They can then drag and drop files directly from their computer or click “Upload files” to browse and select images.
Canva accepts common image formats like JPG, PNG, and GIF files. The platform allows users to upload images up to 25MB in size for most file types.
Once uploaded, photos appear in the uploads folder for easy access. Users can click on any uploaded image to add it directly to their design canvas.
Best practices for uploading:
- Use high-quality images for better results
- Choose images with clear subjects that work well upside down
- Consider the composition before uploading
Choosing Stock Images in Canva
Canva offers millions of stock photos through the “Photos” tab in the left sidebar. Users can search for specific subjects, themes, or styles using the search bar at the top.
The platform provides both free and premium stock images. Free users can access thousands of images, while Canva Pro subscribers get unlimited access to the full library.
Users can filter search results by orientation, color, and style. They can also browse trending photos or explore different categories to find inspiration.
Popular image categories for upside down effects:
- Landscapes and nature scenes
- Architecture and buildings
- People and portraits
- Abstract designs
Images from Canva’s library can be added to designs with a single click. The photos automatically resize to fit the canvas while maintaining their quality.
Flipping Images Vertically
Flipping images vertically in Canva creates an upside-down effect that turns visuals completely inverted from their original position. This technique works best with the dedicated flip tool rather than rotation controls.
Using the Flip Tool
Users can easily flip images vertically in Canva by following a simple process. First, they need to click on the image they want to flip to select it.
Once the image is selected, the flip option appears in the toolbar above the editor. They should click on the Flip button to reveal the flipping options.
The flip menu offers two choices: horizontal and vertical flipping. To create an upside-down effect, users must click Flip vertical. This instantly inverts the image.
The vertical flip tool works with most image types in Canva. It handles photos, graphics, and uploaded images with equal effectiveness.
Users can apply multiple flips to the same image if needed. They can combine horizontal and vertical flips for more complex effects.
When to Flip vs. Rotate
Many people confuse flipping with rotating, but these are different image editing techniques. Flipping creates mirror effects or upside-down images, while rotating turns images at specific angles.
Vertical flipping works best for creating dramatic upside-down effects in designs. It’s perfect for artistic layouts, creative social media posts, or eye-catching graphics.
Rotation is better when users need precise angle adjustments. The rotate tool allows specific degree measurements and subtle positioning changes.
Flipping instantly inverts images completely. Rotating provides gradual angle control from 0 to 360 degrees.
Users should choose flipping for bold visual statements. They should pick rotation for fine-tuning image placement and alignment in their designs.
Rotating Elements for Custom Angles
Canva offers two main ways to rotate elements to exact angles for creating upside down effects. Users can either drag the rotate handle for visual adjustments or enter specific degree values for precise positioning.
Using the Rotate Handle
The rotate handle appears as a small curved arrow outside any selected element’s border. Users can find this handle by clicking on any image, text box, or design element they want to rotate.
To use the rotate handle, they simply click and drag it left or right. Dragging clockwise rotates the element to the right, while dragging counterclockwise rotates it to the left.
This method works well for quick visual adjustments. Users can see their element rotating in real-time as they drag the handle.
The rotate handle feature allows for smooth, intuitive rotation without needing to know exact measurements. It’s perfect when someone wants to eyeball the rotation angle.
For upside down effects, users typically drag the handle until their element reaches approximately 180 degrees. The visual feedback makes it easy to get close to the desired angle.
Typing a Specific Rotation Degree
For precise upside down effects, users need exact 180-degree rotation. They can achieve this by clicking on the Position option in the toolbar above the editor.
A rotation text box appears where they can type the exact degree value. For perfect upside down positioning, they should enter 180 in this box.
This method ensures mathematical precision. Users can create perfectly symmetrical upside down effects without any guesswork.
The specific degree rotation feature accepts values from 0 to 360 degrees. Common upside down angles include 90, 180, and 270 degrees.
After typing the desired number, users press Enter to apply the rotation. Their element immediately snaps to the exact angle specified.
Advanced Tips for Upside Down Designs
Creating the upside down effect requires careful attention to layout balance and text positioning to maintain visual appeal and readability. Designers need specific techniques to adjust elements properly after flipping images and ensure text remains legible alongside transformed visuals.
Adjusting Layout After Flipping
The canvas layout often becomes unbalanced after flipping elements upside down. Designers should check the visual weight distribution across the entire design. Heavy elements at the top can make the design feel unstable.
Moving flipped elements to different positions helps create better balance. They can shift the upside down image slightly left or right. This prevents the design from looking too centered or symmetrical.
Key adjustments to make:
- Resize the flipped element to match the original proportions
- Add spacing between the original and flipped images
- Use alignment guides to keep elements properly positioned
Background elements need special attention after flipping. They should extend the background or add complementary shapes to fill empty spaces. Adding fog or atmospheric effects helps blend the transition between normal and flipped sections.
The designer can duplicate background elements and position them strategically. This creates a seamless connection between the right-side-up and upside down portions.
Editing Text Alongside Flipped Images
Text placement becomes tricky when working with upside down effects. Readable text should stay in normal orientation even when images are flipped.
Text positioning strategies:
- Place text in neutral zones away from the flip line
- Use contrasting colors to make text stand out
- Keep font sizes larger than usual for better readability
They should avoid placing text directly over flipped elements. Instead, they can position text in clear areas of the design.
Text alignment matters more with upside down effects. Center-aligned text works well because it creates stability.
The designer can use text boxes with solid or semi-transparent backgrounds. This helps separate the text from complex flipped imagery underneath.