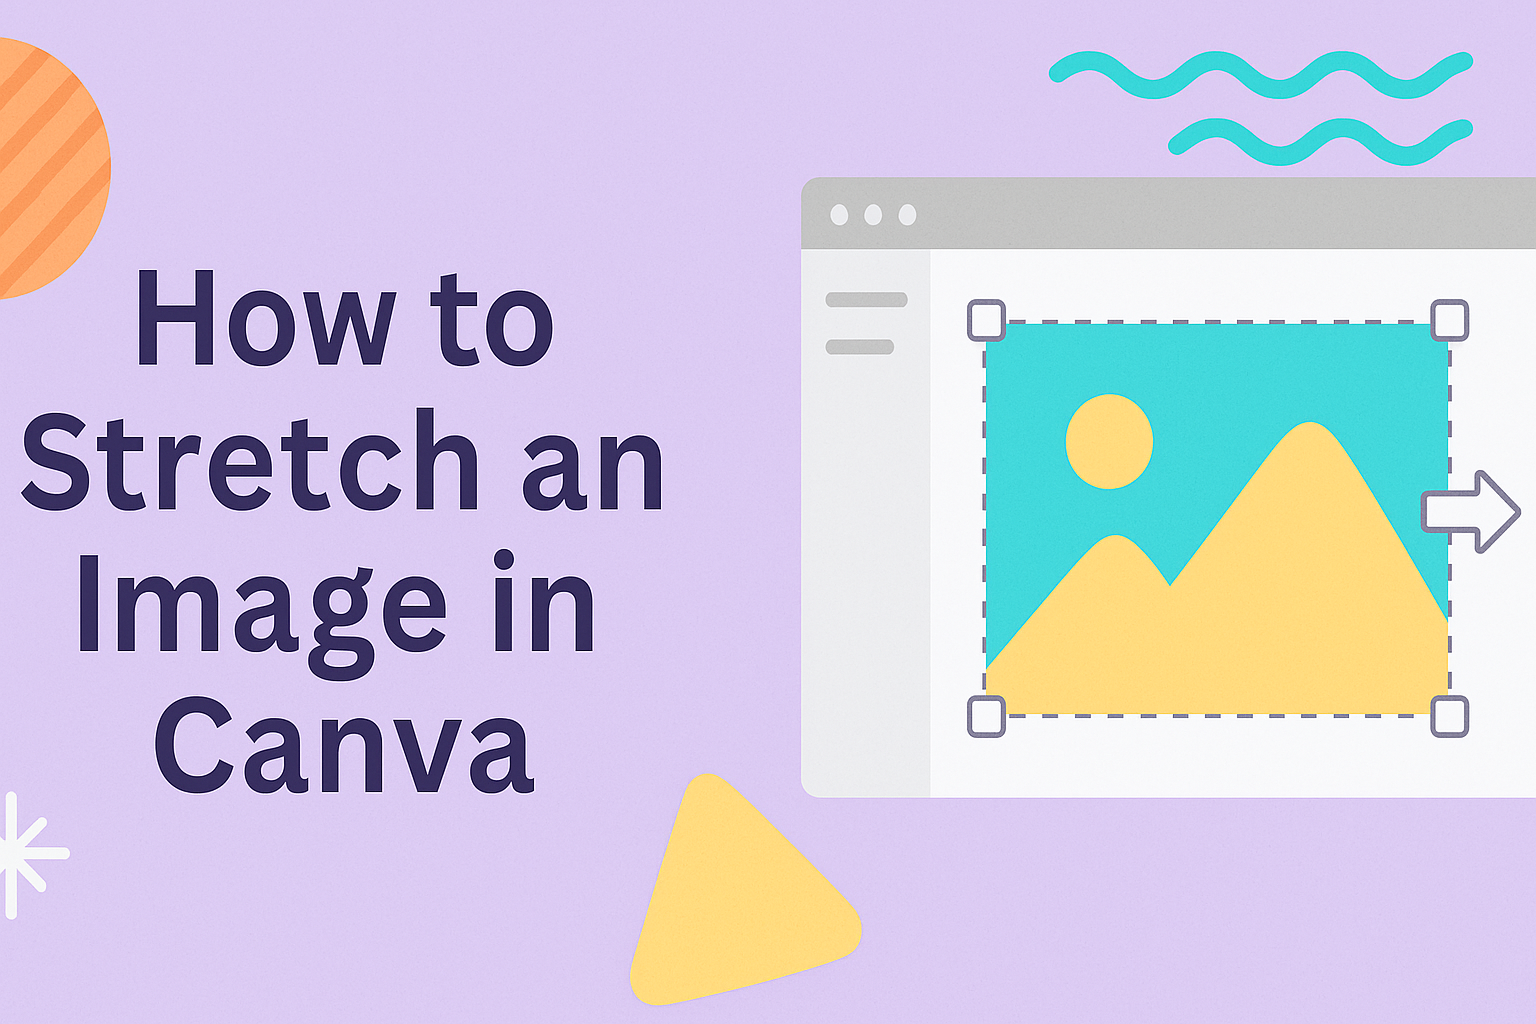
Stretching an image in Canva might seem tricky at first, but it’s actually simple once the right tools are used. You can stretch any photo or graphic in Canva by dragging the side handles to adjust width or height without keeping the original proportions. This makes it easy to fit images into custom layouts or design spaces.
Many people only resize images by dragging the corners, which locks the aspect ratio. Learning how to stretch images opens up more flexibility, whether someone wants to fill a background, adjust a product photo, or create a unique design effect.
This guide walks through the basics of stretching, explores advanced methods, and even covers how to do it on mobile. It also shares tips to keep images clear and sharp while avoiding common mistakes.
Understanding Image Stretching in Canva
Stretching an image in Canva changes how wide or tall the picture looks without cropping it. This can help fit a design layout, adjust proportions, or create a specific effect when the original image does not match the space provided.
What Does Stretching an Image Mean?
Stretching an image means pulling it wider, taller, or both, so the proportions no longer stay the same. In Canva, this is done by selecting the image and dragging the side handles instead of the corner handles.
This action changes how the image looks on the canvas. For example, pulling the side handles makes the image wider, while pulling the top or bottom handles makes it taller.
Unlike cropping, stretching keeps the entire image visible but alters its shape. This can sometimes cause distortion, such as making faces look wider or objects appear squished. Because of this, users often apply stretching carefully depending on the design purpose.
Aspect Ratio vs. Freeform Resizing
The aspect ratio is the relationship between the width and height of an image. If someone holds down the corner handles in Canva, the aspect ratio stays the same, and the image scales evenly.
Freeform resizing, on the other hand, ignores the original ratio. By dragging only the side or top handles, the user can stretch the image in one direction. This is what Canva refers to as stretching.
Maintaining aspect ratio is useful for keeping a photo realistic and undistorted. Freeform stretching works better when the image is more abstract, like a pattern or background, where distortion is less noticeable. Designers often switch between the two depending on whether accuracy or layout fit is more important.
When to Stretch Images
Stretching is helpful when an image needs to fill a space without leaving gaps. For example, a background may need to cover the entire width of a design, and stretching avoids empty borders.
It also works well with textures, gradients, or abstract graphics where distortion is not distracting. A stretched wood texture or gradient background often still looks natural.
However, stretching is less effective for photos of people or objects where proportions matter. In those cases, resizing with the aspect ratio preserved or using Canva’s crop tool may be a better option. Tutorials such as this step-by-step guide to stretching in Canva explain how to apply the feature correctly.
Basic Methods to Stretch an Image
Stretching an image in Canva can be done in a few simple ways. Each method gives different levels of control, whether adjusting evenly, pulling in one direction, or creating a freeform stretch.
Using Drag Handles
When someone clicks on an image in Canva, small circles appear on each corner. These are called drag handles. They let the user resize the image by pulling diagonally, which changes both the width and height at the same time.
Dragging from a corner keeps the proportions balanced unless the user intentionally distorts it. This is the simplest way to make an image larger or smaller without cropping.
If the user wants to keep the image centered, they can hold and drag carefully while watching the alignment guides. This helps avoid shifting the image too far from its original placement.
Stretching Horizontally or Vertically
Canva also provides rectangle handles on the sides and top or bottom of an image. These handles allow the user to stretch the image in one direction only. Pulling from the sides makes the image wider, while pulling from the top or bottom makes it taller.
This method is useful when someone needs a stretched look, such as fitting an image into a banner or a frame. However, stretching too far can distort the subject and make it look unnatural.
A good practice is to adjust slowly and check the design after each change. This way, the user can stop before the image looks overly stretched. Guides and snapping tools in Canva can also help keep the design balanced.
Holding Shift Key for Freeform Stretch
For more flexibility, Canva lets users hold the Shift key while dragging a corner handle. This action removes the automatic aspect ratio lock. The image can then be pulled in any direction, allowing complete freeform stretching.
This option is handy when the user wants a very specific shape or when fitting an image into a custom layout. It gives more freedom compared to normal dragging.
Still, freeform stretching can quickly distort details. To avoid this, users should make small adjustments and preview the design often. If the result looks off, pressing Undo will restore the previous size.
Advanced Stretching Techniques
Stretching images in Canva can go beyond simple dragging. Users can fine-tune dimensions, adjust alignment, and use creative tools to expand images without cropping or losing balance in their design.
Using the Size Tool for Precise Dimensions
The Size tool lets users enter exact width and height values instead of relying on manual dragging. This helps when they need an image to fit specific pixel or inch measurements.
By typing numbers into the toolbar, they can make sure the image scales evenly. Holding the Shift key while resizing can also lock proportions, preventing distortion.
Designers working with templates often prefer this method because it ensures consistency across multiple images. For example, matching banner images or thumbnails becomes much easier with precise input.
Position Panel Adjustments
The Position panel offers more than just alignment. It allows users to move stretched images by entering exact X and Y coordinates. This helps place the image in the right spot without guessing.
They can also use the Tidy Up and Spacing options to keep stretched elements evenly distributed. This is especially useful when working with multiple images side by side.
If an image looks off-center after stretching, the Position panel provides quick fixes. Aligning to the center or edges ensures the design stays balanced and professional.
Frames for Non-Cropped Stretching
Frames in Canva act like containers for images. Instead of cropping, they let users stretch or expand an image within a shape while keeping it visually contained.
For example, placing a photo inside a rectangular frame allows stretching without cutting off important parts. The frame holds the image’s boundaries, making it easier to experiment with proportions.
Frames also come in different shapes like circles, grids, and custom outlines. This gives flexibility to adjust how an image fills the space. Using frames can be a practical way to stretch images while maintaining structure in the layout.
Stretching Images on Canva Mobile
On the Canva mobile app, users can stretch an image by using touch gestures and adjusting how the picture sits inside its frame. These tools make it possible to change proportions, fit designs better, and create the exact look they want without needing a computer.
Gestures for Stretching
On mobile, stretching works through simple finger movements. After selecting an image, users can drag the side handles to stretch it horizontally or vertically. This changes the proportions without keeping the original aspect ratio.
Pinching and expanding with two fingers adjusts the size, but dragging only the sides or top and bottom edges stretches the image in one direction. This gives more control when the goal is to make an image wider, taller, or slightly distorted.
It helps to zoom in before stretching. This makes it easier to grab the right handle and avoid accidentally resizing the whole frame. Users should also check how the stretched image looks on the canvas since distortion can reduce clarity if the image is enlarged too much.
Repositioning Within Frames
When an image is placed inside a frame, Canva often locks it to fit the frame’s shape. To adjust it, users can double-tap the image, which opens editing mode. From there, they can drag the image inside the frame to reposition it.
Stretching inside a frame works differently than stretching outside. The frame keeps its shape, but the image inside can be scaled or shifted. By dragging the corners while holding the image in edit mode, users can make it fill more space or stretch to cover gaps.
This is especially useful for templates where the frame size cannot change. For example, a rectangular frame can hold a photo that was originally square by stretching and moving it until it fits the design properly.
Tips for Quality and Clarity When Stretching
Keeping an image sharp after stretching depends on resolution, scaling methods, and small adjustments made during editing. Paying attention to image quality before and after resizing helps designs look professional and easy to read.
Avoiding Pixelation and Blur
When an image is stretched too far, it often becomes pixelated or blurry. This happens because the software has to fill in missing details that were not in the original file.
To reduce this, they can start with larger images and only stretch within a reasonable range. Small images stretched to fit large designs almost always lose clarity.
It also helps to use Canva’s built-in editing tools. Adjusting sharpness, contrast, and brightness can make stretched images appear cleaner. Features like Magic Edit in Canva Pro can improve edges and reduce blur when scaling backgrounds or graphics.
Choosing High-Resolution Images
High-resolution images hold more detail, which makes them more flexible when resized. A photo with 3000 pixels in width will stretch much better than one with only 800 pixels.
They should always upload the largest version of a photo available. Even if the design is small, starting with a bigger file ensures the stretched version looks crisp.
When using Canva’s image library, selecting files labeled as “large” or “high quality” is the safest choice. For personal uploads, checking file properties before importing saves time and prevents poor results later.
Reviewing and Adjusting After Stretch
After stretching, it’s important to review how the image looks within the design. Sometimes an image may appear clear at first but look distorted when placed in a template or frame.
They should zoom in and out to check for blur, jagged edges, or stretched proportions. Testing the design on different screen sizes also helps catch issues early.
If the stretched image still looks off, small fixes like cropping, repositioning, or using Canva’s frames can improve balance. For more control, Canva’s stretch image tools allow precise adjustments without relying only on drag handles.
Troubleshooting Common Stretching Issues
Users often run into problems when stretching images in Canva, such as distorted proportions, misplaced backgrounds, or misaligned layouts. These issues can be fixed with a few simple adjustments using Canva’s built-in tools.
Resetting Crops and Aspect Ratios
Sometimes an image looks cut off or stretched in the wrong way because it was cropped earlier. To fix this, they can double-click the image and hit Reset in the crop menu. This removes hidden crops and restores the full picture.
If the image still looks off, it may be locked to its original proportions. In Canva’s 2025 update, there is a lock aspect ratio toggle on the top toolbar. Turning this off allows free stretching horizontally or vertically.
For those working on older versions, holding Shift while dragging a corner handle resizes proportionally, while dragging side handles changes only width or height. Knowing when to lock or unlock ratios helps them avoid distorted results.
Dealing with Background Images
Stretching a background image can be tricky because Canva often auto-fills the design space. If the background doesn’t look right, they can remove it by clicking Remove Background Image under the toolbar, then reinsert it as a regular photo. This makes it easier to stretch without automatic cropping.
Another option is to place the image inside a frame. Frames let users resize and reposition without cutting off key parts.
For higher quality, Canva Pro’s Magic Expand can extend edges when stretching, which helps avoid blank spaces or visible pixelation. Free users can still improve results by starting with high-resolution images before setting them as backgrounds.
Maintaining Layout Alignment
When stretching an image, it may shift other elements in the design. To keep everything aligned, they can use Canva’s Position tool. This allows quick centering, left or right alignment, or even spacing multiple elements evenly.
Grids and rulers also help maintain balance. By turning on Guides from the View menu, users can see alignment lines that keep stretched images consistent with text or other graphics.
If the stretched image overlaps key details, lowering its transparency or sending it to the back layer keeps the layout organized.