Using CorelDRAW’s Pen Tool can feel overwhelming at first, but it’s a crucial skill for anyone looking to master precise vector art. This tool allows artists to create exact paths with both straight and curved lines, unlocking a range of creative possibilities. Those who take the time to learn this tool will find it invaluable for designing intricate graphics and logos.
The Pen Tool acts like a bridge between an artist’s vision and the final graphic product. By mastering its use, designers can achieve clean and professional-looking artwork. Various tips and techniques can help in getting the most out of this tool, enhancing both speed and accuracy during the design process.
With practice, designers can efficiently create and edit vector shapes, giving them the confidence to tackle any design challenge. The key is to keep experimenting and refining skills through practice. For those eager to improve their vector art, this guide offers insights into making the Pen Tool an ally in their creative journey.
Getting to Know the Pen Tool
The Pen Tool in CorelDRAW is essential for creating precise vector art. It allows users to create smooth curves and straight lines, making it invaluable for detailed projects. Below, discover how this tool functions and where to find it in CorelDRAW.
Pen Tool Overview
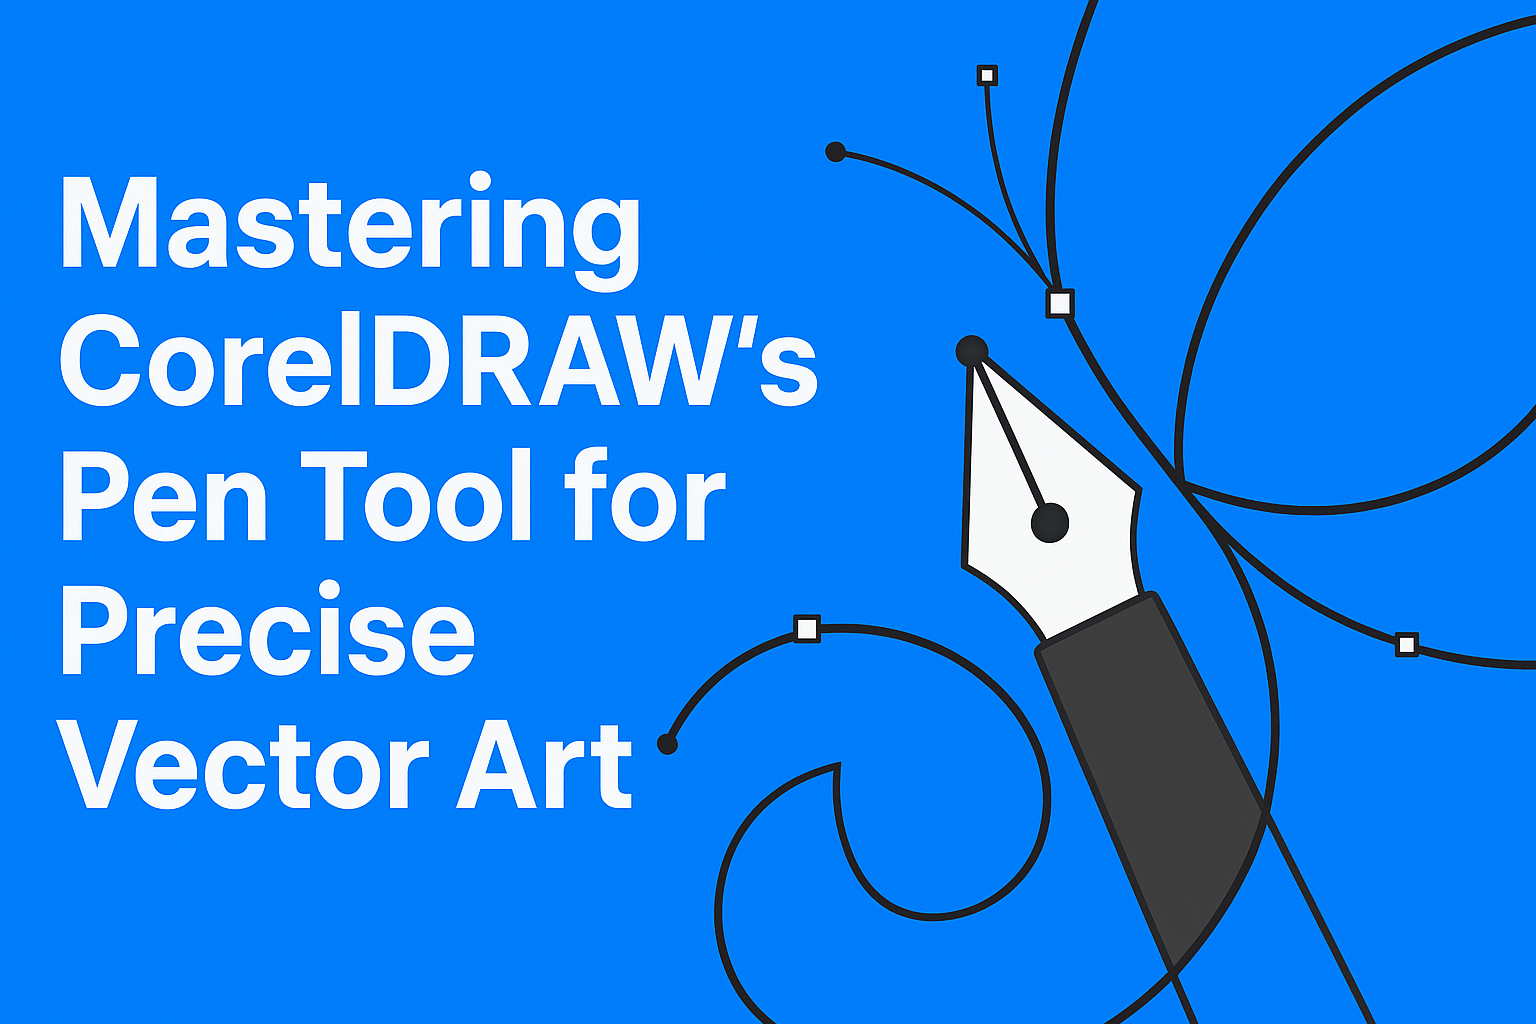
The Pen Tool is vital for any digital artist using CorelDRAW. It lets users draw both straight and curved lines with high precision. Each line, or “path,” can be connected to form shapes. This is crucial for creating clean, scalable vector images that maintain quality at any size.
By adjusting points on these paths, designers can modify curves and angles to get the desired look. This control makes it easier to achieve intricate designs or replicate complex imagery. Understanding this functionality can significantly enhance an artist’s workflow, allowing for more efficient and effective design processes.
Accessing the Pen Tool in CorelDRAW
In CorelDRAW, finding the Pen Tool is straightforward. First, navigate to the toolbox on the left-hand side of the interface. Look for an icon resembling a fountain pen nib. This icon represents the Pen Tool.
Users can click the pen icon or press the ‘P’ key on their keyboard to activate it. From there, they can begin creating paths. Clicking on the canvas creates anchor points connected by paths. To switch between straight and curved paths, the user can click and drag the anchor points.
This feature allows the Pen Tool to be a versatile asset in any digital design project. More tips on working with the Pen Tool can also be found on tutorials like CorelDRAW Essentials: Master the Pen Tool.
Mastering Pen Tool Basics
Mastering CorelDRAW’s Pen Tool involves a mix of understanding basic shapes, creating straight lines, and navigating curved paths. By focusing on these elements, users can gain the skills needed to draw precise and professional vector art.
Starting with Simple Shapes
Creating simple shapes is a great way to start with the Pen Tool. Users can begin by practicing with basic forms like circles, squares, or triangles. In CorelDRAW, these can be achieved by clicking to set anchor points, forming the desired shape as they connect each point.
Tips:
- Use the grid and snap-to-grid features to ensure accuracy.
- Experiment with the fill and stroke options to see immediate changes as shapes form.
Once comfortable, move on to slightly more complex shapes by adding more anchor points and adjusting their placement. This practice will support building foundational skills required for more detailed artwork.
Creating Straight Lines
Straight lines are fundamental in vector art. They form the backbone of many designs. Using CorelDRAW’s Pen Tool, users can create straight lines by clicking to place anchor points. Each click forms a straight segment between points.
Steps:
- Select the Pen Tool.
- Click to place the first anchor point.
- Click again for the second anchor point to form a line between them.
To form complex shapes, continue adding anchor points. Closing paths by clicking the initial point is essential to forming closed shapes. Utilize the rulers and guides for alignment and consistency in line lengths and angles.
Drawing Curved Paths
Curved paths add fluidity and dynamism to vector art. Creating curves with the Pen Tool involves setting anchor points and using control handles to shape the curves.
Process:
- Place the first anchor point with a click.
- Click and drag for the second anchor point to adjust the curve.
- The handles can be moved to tweak the curve, making it more or less pronounced.
Mastery requires understanding how to use control handles effectively. Adjusting these handles alters the curve’s angle and length, offering precise control over the path. Iterative practice is key for refining these skills and producing elegant, curved vector graphics.
Advanced Pen Tool Techniques
Mastering CorelDRAW’s Pen Tool can elevate the quality of your vector art. This section explores crucial techniques such as adding and deleting anchor points, adjusting Bezier handles, and converting anchors from corner to smooth.
Adding and Deleting Anchor Points
Adding and deleting anchor points allows for precise control over vector paths. By adding anchor points, artists can create more complex and detailed curves. Removing unnecessary anchor points helps in keeping the path clean and simple. In addition to simplifying shapes, this also reduces the file size.
In CorelDRAW, the Shape Tool is commonly used to add points by clicking on the path where the new point should be placed. To delete an anchor point, users can select it and press the Delete key. For maintaining curved lines without affecting the smoothness, it’s important to ensure that the adjustment after deletion remains seamless.
Adjusting Bezier Handles
Bezier handles play a critical role in shaping curves. By extending or retracting these handles, users can change the direction and steepness of the curves. This is essential for achieving smooth transitions and desired shapes.
In CorelDRAW, users can click on an anchor point to see the handles. Holding down the Alt key (on Windows) or Option key (on Mac) allows for breaking the symmetry of the handles, giving individual control over each side. Adjusting these handles independently enables fine tuning of each curve segment to match specific design needs.
Converting Anchors from Corner to Smooth
Converting anchors between corner and smooth points adjusts how paths behave. Corner points make paths change direction sharply. Smooth points create gentle curves.
In CorelDRAW, paths with smooth points flow more naturally, making them ideal for organic shapes like waves or circles. Users can convert corner points to smooth by selecting the anchor and using the Convert to Curve option. This flexibility in switching allows for seamless integration of both sharp and smooth lines in a single design, improving the overall flow and aesthetic of the vector art.
Creating Complex Vector Shapes
When working with CorelDRAW’s Pen Tool, creating complex vector shapes can transform basic designs into intricate masterpieces. Key techniques like combining paths, using layers, and handling intersections of paths are essential for achieving detailed and precise vector artwork.
Combining Multiple Paths
Combining multiple paths in CorelDRAW allows for the creation of intricate shapes from basic components. Users can start by drawing individual paths using the Pen Tool.
Once these paths are drawn, they can be merged using features like the Combine command. This command helps to create a seamless path from several smaller ones while maintaining each path’s unique attributes.
Designers can also use the Weld and Trim functions to simplify paths. These tools are particularly useful for creating custom shapes that require a blend of curves and straight lines.
Experimenting with different combinations will yield diverse vector designs, making the most of the Pen Tool’s versatility.
Utilizing Layers for Complex Artwork
Layers are a powerful feature for organizing and managing complex artwork in CorelDRAW. By using layers, artists can separate different elements of their designs, allowing for greater control and flexibility.
For instance, detailed components can be placed on individual layers. This separation is handy when adjusting specific areas without disturbing other parts of the artwork.
Layers also facilitate easy editing and adjustments. Designers can hide, lock, or arrange layers to focus on specific elements, making the creative process more efficient.
Adding descriptive names to layers ensures easier navigation and organization, especially in projects with numerous components.
Working with Path Intersection
Path intersection is a technique that enhances the complexity of vector shapes. In CorelDRAW, this involves using tools like the Intersect command.
This command allows two or more overlapping paths to create a new shape where they intersect. It’s a handy feature for crafting intricate patterns or detailed parts of an artwork.
By practicing with interlocking paths and adjusting nodes, artists can create unique shapes. This method encourages creativity and can result in stunning visual effects when two paths intersect at carefully chosen points.
Efficiency Tips and Tricks
Improving efficiency with the CorelDRAW Pen Tool can greatly enhance productivity and accuracy. Key strategies involve using keyboard shortcuts and employing snap-to features effectively.
Using Shortcuts for the Pen Tool
Keyboard shortcuts can significantly speed up the design process. By memorizing and using specific shortcuts, designers can switch between tools quickly. In CorelDRAW, shortcuts like F5 for selecting the Pen Tool and Ctrl+Z for undoing mistakes are essential.
Another helpful shortcut is pressing Spacebar to switch between the Pen Tool and the last used tool. This toggling allows for seamless transitions in design tasks. Learning these shortcuts can reduce time spent searching through menus, leading to more uninterrupted creative flow.
Maintaining a cheat sheet for shortcuts within arm’s reach may benefit those still learning or occasionally forgetting them. Creating muscle memory with these shortcuts leads to a more efficient design process.
Leveraging Snap-to Features
Snap-to features are invaluable for achieving precise alignments without constant manual adjustments. By enabling features like Snap to Objects, designers can ensure that nodes and lines align perfectly with guides and existing shapes.
Using Snap to Grid helps in maintaining consistent spacing and alignment across the design. It is particularly useful for beginners who want to keep proportions neat and tidy.
Another handy tip is using Snap to Guidelines, which assists in positioning elements accurately along predefined lines. This reduces time spent making tiny adjustments and ensures a more polished final product. Utilizing these features can save time and improve the precision of vector art projects in CorelDRAW.
Practical Applications of the Pen Tool
The pen tool in CorelDRAW is powerful for creating precise vector art. It’s essential for designing unique logos, crafting detailed illustrations, and enhancing typography with custom lettering.
Designing Logos with the Pen Tool
The pen tool is a key feature for creating logos. Designers use it to craft clean lines and shapes that make logos stand out. With its ability to create smooth curves and angles, the pen tool allows for the creation of both simple and complex logo designs.
Beyond just creating shapes, the tool offers precision control over anchor points and paths. This ensures that every detail of the logo aligns perfectly. This precision helps maintain clarity and quality, even when the logo needs to be resized.
Using the pen tool in logo design also allows for a more customized approach. Designers can use it to create one-of-a-kind elements that set a brand apart from others. This customization can give logos a unique, memorable character that resonates with audiences.
Crafting Detailed Illustrations
The pen tool shines in crafting intricate illustrations. Artists use it to trace and create complex shapes that are difficult to achieve with other tools. This capability is essential for producing high-quality, detailed artwork.
Through precise control of lines and curves, artists can draw realistic images. Whether creating organic shapes or sharp geometric patterns, the pen tool offers flexibility. This makes it invaluable for both digital illustrations and replicating hand-drawn styles.
Another advantage is the ability to seamlessly edit shapes without losing quality. This means adjustments can be made at any stage of the creative process. The pen tool’s versatility empowers artists to experiment and refine their illustrations continuously.
Pen Tool for Typography and Lettering
Typography is another area greatly enhanced by the pen tool. It allows designers to craft custom fonts and lettering styles not available in standard font libraries. Designers can manipulate letterforms with precision, ensuring each character looks flawless and unique.
The pen tool helps in creating polished lettering that integrates easily into logos and other designs. By adjusting anchor points, designers can perfect every curve and angle of the letters. This results in text that looks clean and professional.
Moreover, using the pen tool for lettering allows for a great deal of creativity. Designers can invent new letterforms or adapt existing ones to create the desired style. This freedom opens up endless possibilities for expressive and impactful typography.
Best Practices for Pen Tool Precision
Mastering the Pen Tool in CorelDRAW requires attention to detail and practice. Understanding how to create smooth curves, keep a consistent line weight, and handle complex edits can significantly enhance the quality of vector art.
Achieving Smooth Curves
Creating smooth curves with the Pen Tool involves using anchor points effectively. Users should place fewer anchor points to ensure smoother transitions between curves. The position and angle of the handles are key in forming these elegant curves. Adjusting the handles symmetrically can help maintain the natural flow of the lines.
Another useful tip is to zoom in as much as possible while making these adjustments. This allows for finer control and precise alignment. Smooth curves result from a balanced approach between anchor point placement and handle positioning, making the artwork visually appealing.
Consistency in Line Weight
Consistency in line weight contributes to a polished look in vector art. CorelDRAW users benefit from setting a uniform stroke weight that matches the design’s theme. They should use the software’s tools to adjust line weight systematically across the artwork.
Maintaining even line weight can be challenging, but using guidelines and templates is helpful. By comparing different areas of the artwork, users ensure that the thickness of lines remains consistent. This careful attention to detail helps in achieving a cohesive design.
Maintaining Control over Complex Edits
Handling complex edits with the Pen Tool requires patience and precision. Breaking down a complex shape into smaller, manageable segments simplifies the process. Users are encouraged to tackle each section individually, ensuring accuracy and control.
The use of layers is beneficial in managing complex edits. By working on different layers, users have the flexibility to adjust specific parts without affecting the whole design. This approach protects other elements from accidental changes while focusing on the intricate parts of the artwork.