Krita is a powerful tool for beginners eager to explore the world of animation. It’s known for its user-friendly interface and comprehensive features, which are perfect for those just starting. By understanding Krita’s animation tools, anyone can bring their creative visions to life.
The software offers a special workspace designed for animation. This makes it easy to access tools like the Animation Timeline Docker, essential for creating animations. For those looking to create a simple animation such as a waving character, Krita provides a straightforward process to follow.
There are many resources available for newcomers eager to learn. Options include beginner-friendly guides like this one that show key poses and help navigate Krita’s unique features. With practice, anyone has the potential to turn their animation dreams into reality using Krita.
Getting Started with Krita
To begin with Krita, it’s crucial to explore the interface, set up the workspace, and adjust shortcuts and tools. These steps ease the transition into creating seamless digital animations.
Understanding the Interface
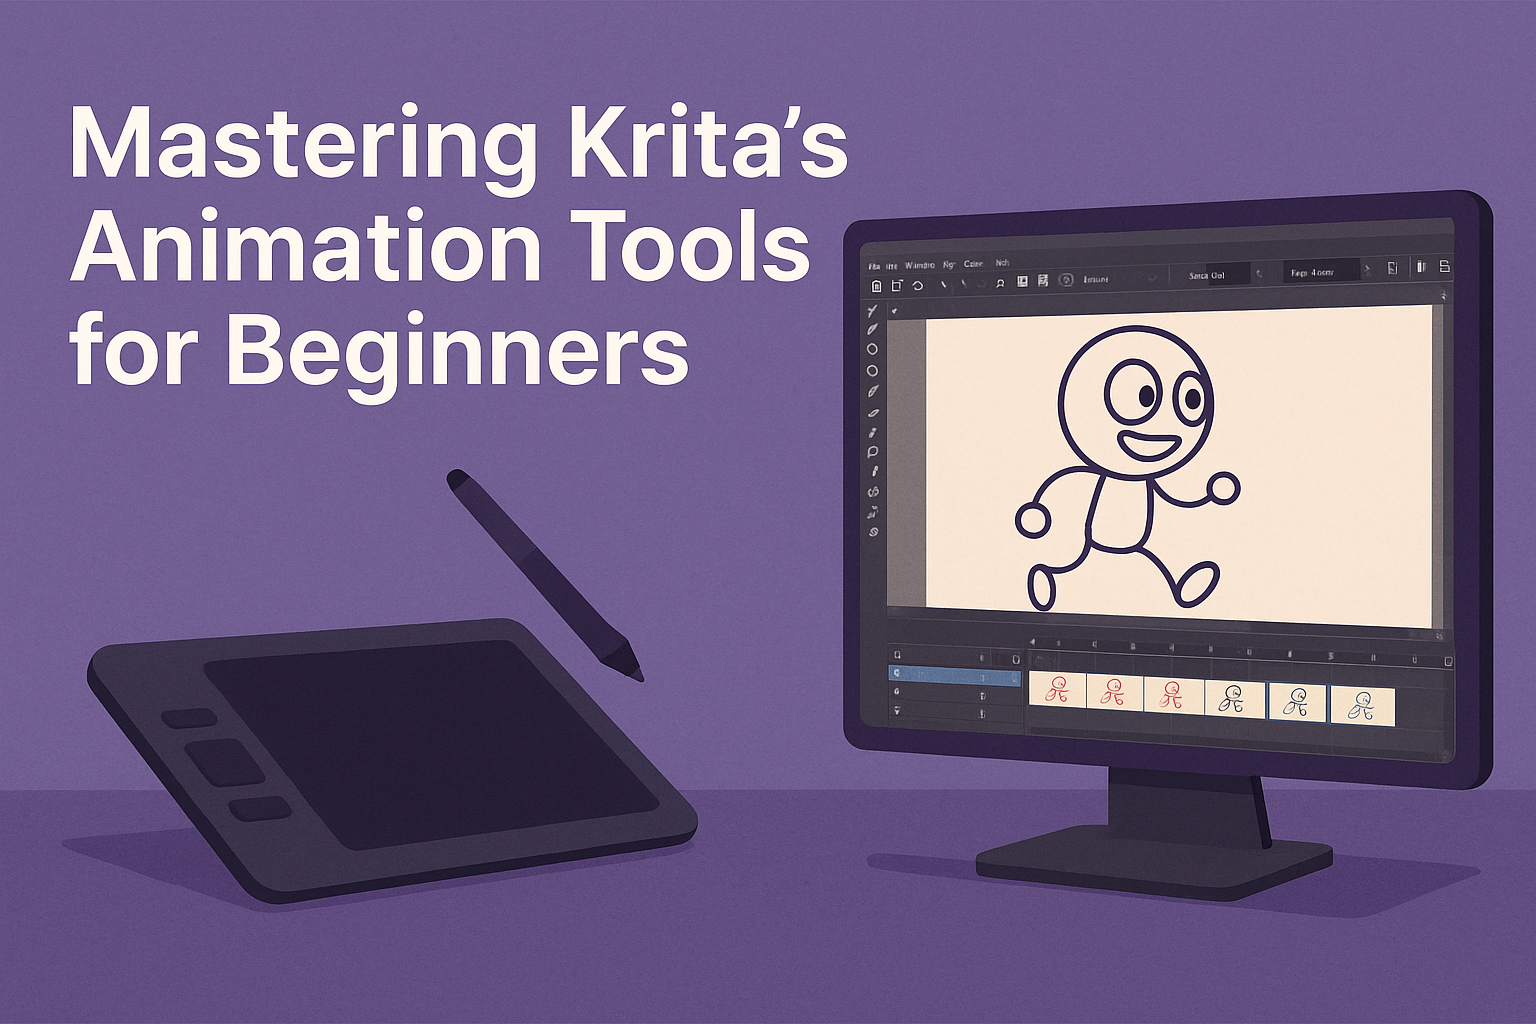
Krita offers a user-friendly layout that’s designed to streamline digital creativity. The main window features a robust menu bar and a variety of customizable toolbars. This setup ensures that key tools are always within reach. On the left, the Toolbox displays essential painting and editing tools. The color selector and brush editor are on the right side, providing quick access for fine-tuning artwork.
The bottom area hosts the Timeline Docker essential for animation projects, which allows users to manage frames efficiently. This space is crucial for anyone serious about animation. A new user should spend time experimenting with these components to navigate smoothly between tasks, and mastering this will significantly improve productivity.
Setting Up Your Workspace
Krita allows users to tailor their workspace according to specific needs. Under the Window menu, users can find predefined workspaces like “Animation” which optimizes the layout for animating. You can set up custom workspaces by arranging dockers and windows to personal preference, and then saving the configuration for future projects.
For animators, having easy access to the Timeline Docker and Animation Docker is a game-changer. It’s beneficial to position these dockers where it feels most intuitive. The default layouts are a good starting point, but tweaking them to personal comfort can enhance the overall workflow. Remember, a well-organized workspace is key to efficient project handling.
Customizing Shortcuts and Tools
Personalizing the tools and shortcuts in Krita can make a big difference in daily use. Krita provides an option under Settings > Configure Krita where users can modify keyboard shortcuts to match their preferences, which is especially helpful for speeding up frequent tasks.
Besides shortcuts, brush presets can also be customized or created from scratch to suit different styles. Users can create new tool presets and save them for future projects, ensuring consistency in the results. Exploring these settings will open up possibilities for unique creative processes, making Krita both versatile and personal.
Creating Your First Animation
Creating your first animation in Krita involves understanding frames and layers, drawing the initial frame, and working with keyframes. Each part is vital for bringing your animation to life and achieving smooth motion.
Understanding Frames and Layers
Frames and layers are the backbone of any animation in Krita. Frames are individual images that, when played in sequence, create the illusion of movement. Each frame sits within a timeline and represents a point in the animation’s progression. It’s crucial to know that the frame rate affects how fast your animation plays.
Layers, on the other hand, allow artists to separate different elements of a scene. This separation makes it easier to edit specific parts of the animation without altering others. For instance, a character might be on one layer, while the background is on another. By organizing these elements through frames and layers, animators can efficiently manage complex scenes.
Drawing Your First Frame
To get started, choose the Timeline from the Docker menu. This is where each frame of animation comes to life. Begin by selecting the frame where you want to start, typically frame 0. Drawing tools like the brush or pencil can be used to sketch the first image.
Having an initial rough sketch helps set the motion and flow for subsequent animations. It’s important to consider the position and movement direction of objects in the scene.
Make use of the onion skinning feature, which helps by showing the previous and next frames faintly, allowing the animator to make smooth transitions between frames. This visual aid is crucial for planning the sequence of motion clearly.
Working with Keyframes
Keyframes are critical in defining major points of an animation. They are the frames that mark the start or end of any action in a sequence. In Krita, once you’ve drawn the starting frame, move ahead to add your keyframes. These act as anchors for the animation, determining the primary motion.
Setting your animation rate, for example, a frame rate of 4, can influence how smooth or choppy the animation feels. Additional frames are added between keyframes to maintain fluidity and continuity in movement. By mastering keyframes, animators can efficiently guide the animation’s flow, ensuring a seamless transition from start to finish.
Timeline and Animation Docker
The timeline and animation docker in Krita are essential tools for creating animations. They let users manage frames and layers efficiently.
Navigating the Timeline
The timeline in Krita is where animators control their frames. It’s located at the bottom of the workspace. Users can see all the frames in a sequence and manage them easily.
To move between frames, use the arrow keys or click directly on the frame in the timeline. This makes it simple to edit specific frames or see the animation’s flow.
Understanding how to add, delete, or duplicate frames is crucial. Right-click on a frame to see options for these actions. This flexibility helps in creating detailed animations.
Using the Animation Docker
The animation docker in Krita was once a separate tool but is now part of the timeline docker. It allows users to play back animations directly.
With the animation docker, users can preview their work by selecting the play button. This feature helps see how the sequence appears in real time.
Users can set playback speed and loop animations to see them continuously. This can be adjusted in the docker settings, making it easy to catch mistakes or make improvements. The animation docker supports seamless transitions between frames, enhancing workflow efficiency.
Animation Techniques
In Krita, mastering animation involves understanding several key techniques. These include using onion skins for better frame alignment, tweaking in-between frames for a natural look, and applying easing to make motion appear fluid and continuous.
Animating with Onion Skins
Onion skins in Krita allow animators to see multiple frames at once. They display several frames before and after the current one, all blended together. This helps animators align movements and maintain smooth transitions between frames.
To activate onion skins, users select the lightbulb icon in the timeline docker. Adjusting the opacity of the frames helps focus on key movements. Artists often find this tool crucial for tracking subtle motion changes and ensuring the final animation flows smoothly.
Tweening and In-Betweens
Tweening is about creating in-between frames. These frames help connect keyframes and maintain fluid motion. In Krita, users can manually draw these frames. Although time-consuming, it gives artists full control over each movement.
Understanding how different objects move aids in creating believable motion. Practicing with simple shapes like bouncing balls can improve these skills. Over time, artists can move to more complex figures with joints and multiple moving parts. This practice fosters mastery over dynamic movements.
Applying Easing for Smoother Movement
Easing refers to the variation of speed within an animation to create natural motion. When an object starts moving, it gradually accelerates, reaches peak speed, then slows down, similar to real life.
Krita requires animators to manually adjust easing by adding more frames at the start or end of a movement. This helps create a natural acceleration and deceleration. Experimenting with different pacing helps artists understand how easing affects perception. Adding extra frames at strategic points can make animations feel more lifelike, enhancing the viewing experience.
Color and Effects
In Krita, exploring color options and applying various effects can enhance animation projects significantly. Users can dig into palettes, textures, brushes, and filters to bring their creations to life.
Using Colors and Palettes
Krita offers a wide range of color palettes to choose from, making it simple for artists to select and apply colors to their artwork. Custom palettes are especially useful for saving and reusing specific sets of colors. This is handy for maintaining consistency across a project.
Moreover, the advanced color selector tool allows artists to pick hues with precision and adjust brightness and saturation easily. Using this feature, they can experiment with different shades and tones within their animations.
Color management tools are also beneficial. They support tasks like converting between color spaces or adjusting profiles to fit different media outputs. Users should become familiar with these to ensure that their animations look great on any device.
Adding Textures and Brushes
Textures and brushes significantly influence the look and feel of an animation. Krita’s brush engines offer a variety of textures that can be layered onto animations, adding depth and detail. Artists can select from pre-existing textures or create custom ones.
By leveraging the array of brush types, animators can mimic traditional paint strokes or experiment with digital effects. They can tweak settings such as opacity and flow to achieve the desired texture effect.
Creating a set of favorite brushes can save time. This allows animators to switch between different brush styles quickly, perfect for projects demanding varied texture applications.
Implementing Effects and Filters
Effects and filters are powerful tools in Krita, enabling artists to alter and enhance animations. They have access to transformative effects like blurs, distortions, and light adjustments, which can add dynamism to static elements.
Filters modify colors and contrast, making scenes more vivid or giving them a different mood. By using these tools, artists can set the tone for their animations effectively.
Layer effects introduce a non-destructive way to implement changes, allowing modifications without altering the original artwork. Practicing with these features helps users find exciting new ways to enrich their animation projects in Krita.
Exporting Your Animation
Once your animation is complete in Krita, exporting it correctly is the next important step. This involves selecting a suitable file format, rendering the animation, and finally sharing your work with others. Each step ensures your animation maintains its quality and reaches the intended audience effectively.
Choosing the Right File Format
Choosing the correct file format for your animation is crucial. Common options include MP4 and GIF, which are widely supported and user-friendly. MP4 is recommended for high-quality video and is suitable for platforms like YouTube. It’s known for preserving detail and offers a good balance between size and quality.
On the other hand, GIF is ideal for short, looping animations and easily shared on social media. It compresses files, which may reduce quality, but makes sharing simpler.
When working with Krita, you can also consider AVI for better compatibility with editing software. Ensure you know where your animation will be viewed to make the best choice.
Rendering Your Animation
Rendering in Krita is straightforward. First, open the animation and go to the File menu. Select Render Animation. This opens a dialog where you can set the output folder, file name, and format.
Next, choose the resolution and check that the frame rate matches what you’ve used during creation. Higher resolution and frame rate will result in a larger file but better quality.
Krita also allows the inclusion of audio tracks if needed. Once settings are confirmed, click OK to start rendering. Rendering time will depend on animation length and complexity, so be patient.
Sharing Your Work
After exporting your animation, sharing it is the final step. Consider the audience and platform to ensure the format and file size are appropriate.
For social media, smaller formats like GIFs are quick to upload and view. For more professional sharing, such as a portfolio or showreel, higher-quality files like MP4 or AVI are preferable.
Utilizing platforms like YouTube or Vimeo enhances visibility as they offer easy sharing and embedding features. Always ensure the rights are maintained when sharing publicly, especially if using third-party content.
Breaking your work into smaller clips or teasers can engage audiences and increase interest in the full animation.
Improving Your Workflow
Enhancing your workflow in Krita can make digital animation more efficient and enjoyable. By using keyboard shortcuts and knowing how to fix common problems, artists can focus more on creativity and less on technical hurdles.
Keyboard Shortcuts to Speed Up the Process
Keyboard shortcuts in Krita can significantly improve an artist’s speed. Common shortcuts include pressing B for the brush tool and E for the eraser. These allow quick toggling between essential functions without using the mouse.
Adjusting frame visibility is another helpful task. Using the key V lets users view onion skins, which is crucial for frame-by-frame animation. The spacebar toggles between functions like panning and zooming.
Customizing these shortcuts to fit one’s workflow can further speed up tasks. Users can access the settings menu and adapt shortcuts to their own preferences. By making smart changes to these shortcuts, animators can streamline their process and work more swiftly.
Troubleshooting Common Issues
Troubleshooting is an essential part of digital animation. A common issue in Krita is lagging due to high-resolution files or too many layers. Reducing resolution or merging layers can help solve this.
Another problem is missing frames or layers not appearing correctly. Double-checking the timeline and ensuring all frames are visible can resolve this. Users can also use Krita tutorials for guidance.
Sometimes, brushes may not respond correctly. When this happens, resetting Krita’s settings might fix it. Regularly updating the software ensures access to the latest fixes and improvements.