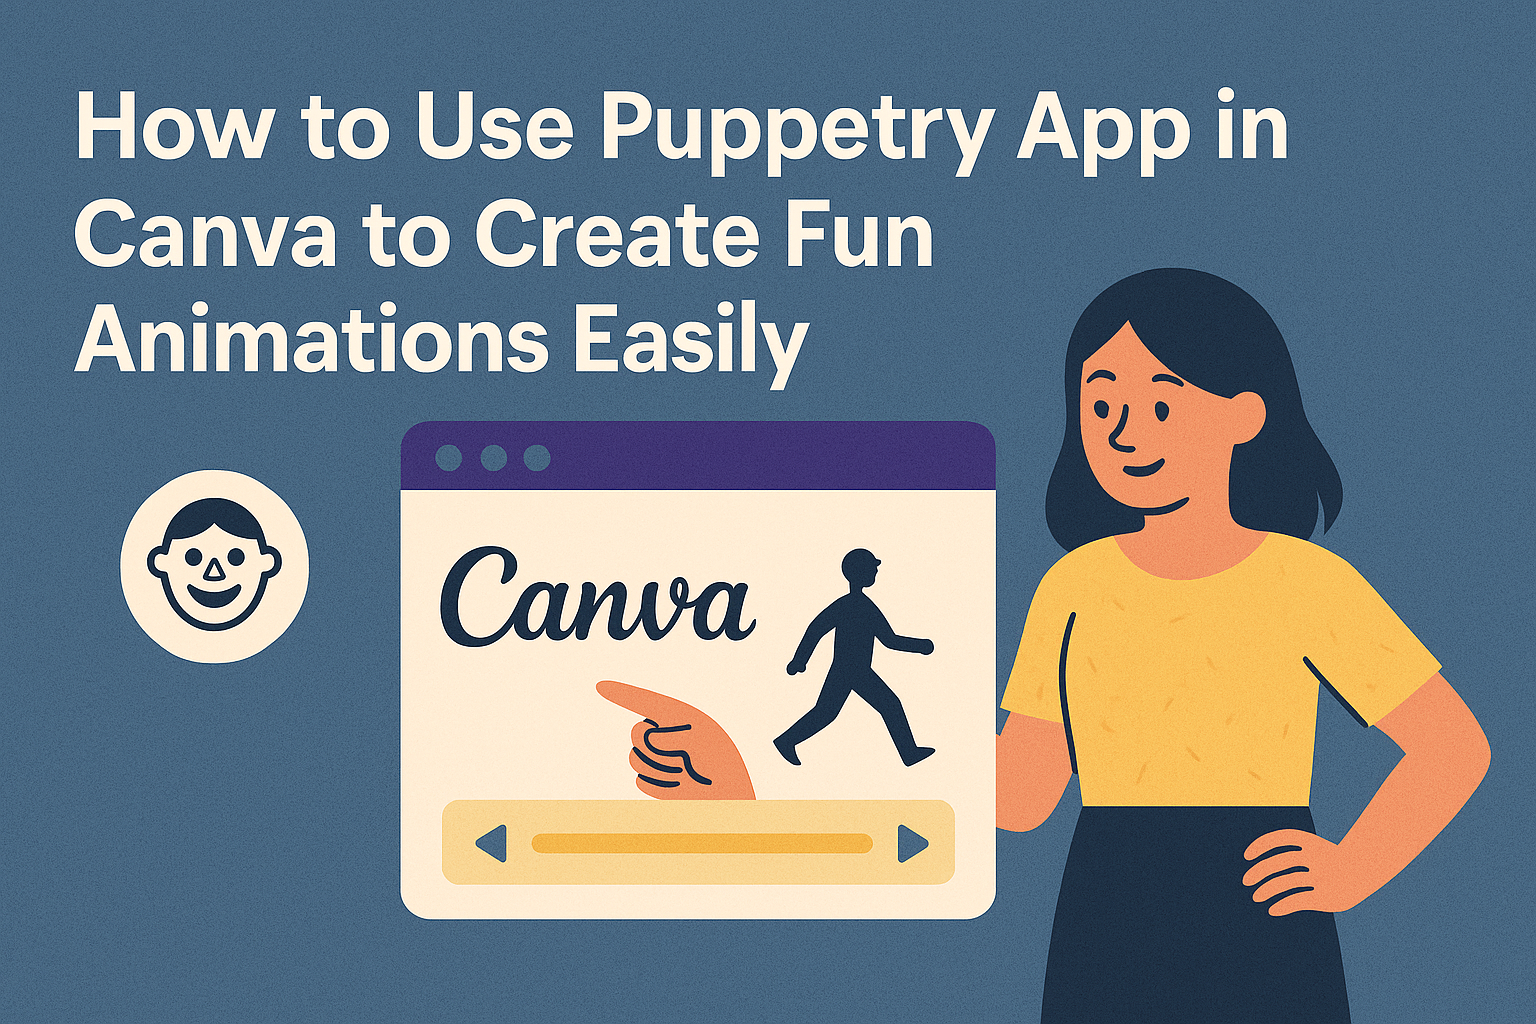
Using the Puppetry app in Canva lets users create animated videos quickly by turning text into a talking presenter. It works by typing a script, and Puppetry automatically animates a character to speak the words, making video creation simple and fast. This is helpful for anyone wanting to make training videos, presentations, or social media content without needing advanced skills.
Getting started is easy because Puppetry is built right into Canva’s app section. Users just open a design, find Puppetry, create their puppet, and add the desired text. This makes it convenient to add animated characters directly into Canva projects without using other software or tools.
People who try Puppetry will find it works for both free and Pro Canva users. While it might take a little time to generate the video, it still saves a lot of effort compared to traditional video editing.
Learn more about using Puppetry in Canva here.
Getting Started With Puppetry App in Canva
Using Puppetry with Canva involves a few clear steps to get everything ready. The user needs to install the app, connect it properly to Canva, and arrange their workspace for smooth video creation. Each part plays a role in making the process easy and effective.
Installing the Puppetry App
To start, the user should visit the Canva Apps section and search for “Puppetry.” Clicking the install button will add it directly to their Canva account. This step requires a stable internet connection and may ask the user to sign in or sign up for a Puppetry account.
After installation, Puppetry appears in the Canva sidebar. The app is designed to integrate smoothly, with no need to download extra software outside Canva. This simple setup lets users access Puppetry tools quickly.
Connecting Puppetry to Canva
Once Puppetry is installed, the user needs to link their Puppetry account with Canva for full access. Usually, a prompt appears inside Canva the first time Puppetry runs, asking for login details or account creation.
After logging in, Puppetry syncs with Canva projects automatically. Permissions for using microphone and camera might be requested, especially if users want to include voice or facial animations.
The link between Puppetry and Canva stays active unless the user logs out or revokes access from either platform.
Setting Up Your Workspace
A clean Canva design page helps users work faster with Puppetry. The user should open a new or existing design where they want to add a talking character or avatar.
On the side panel, launching Puppetry shows input fields and control buttons for scripts, voice options, and animations. It’s useful to keep text clear and short for smooth video creation.
Users can drag and drop Puppetry avatars onto the canvas, then use the app’s tools to customize speech timing, expressions, and backgrounds. Organizing layers and assets around the video helps avoid clutter and mistakes.
Creating Animations Using Puppetry App
Using Puppetry in Canva makes it simple to turn images into talking animations. Users need to upload their images, then add controls to make the face move, and finally adjust settings to get the best result.
Uploading Images for Animation
To start, the user uploads a clear image of a face or character. The picture should show the face facing forward for best animation results. Puppetry works best with images that have good lighting and no extreme angles.
Images can be uploaded directly into Canva through the Puppetry app. Once uploaded, the app scans key facial features automatically. This helps set the foundation for smooth animation.
The clearer and simpler the image, the easier it is for Puppetry to track movements. Users can upload photos or illustrations, but faces must be recognizable to trigger animation controls correctly.
Adding Puppetry Controls
After uploading, the app adds controls to the image to animate facial features. Users can move these controls to make the face talk, blink, or change expressions. Controls are usually placed on the mouth, eyes, and head.
The user types the script they want the character to say. Puppetry then syncs the talking animation with the text. This step turns a still face into a speaking presenter.
It’s easy to test different movements by dragging controls or changing the voice. Puppetry offers options to adjust the pace and expression for more natural results.
Configuring Animation Settings
Once controls are set, users can fine-tune the animation settings. This includes choosing the animation speed, voice type, and lip-sync accuracy. Adjusting these helps match the animation to the message tone.
Users can also decide how much the face moves during speech. For example, subtle movements for professional videos or more exaggerated actions for fun content.
The app may take some time to generate the final video after settings are chosen.
For more details on working with Puppetry in Canva, visit the page on how to use Puppetry on Canva.
Customizing Animated Characters
The Puppetry app in Canva lets users tailor animated characters with simple tools. Adjustments to facial features and voice settings help make videos more engaging and match the message clearly.
Personalizing Facial Expressions
Users can change facial expressions to match the script’s emotion. Puppetry offers options like smiling, frowning, or neutral looks.
These expressions help bring the character to life, making them feel more natural. Subtle movements like blinking or eyebrow raises can also be added.
Users select the face and then apply different presets or fine-tune features. This helps the character appear more human and connected to the dialogue.
Using Voice and Audio Options
Puppetry allows adding voiceovers or using text-to-speech for animated characters. Users can upload audio files or type scripts for automatic voice creation.
The app supports changing voice tone, pitch, and speed. This flexibility lets users match the voice to their style or target audience.
Background sounds or music can also be included to improve video quality. Adjusting volume and timing ensures voices sync well with character mouth movements.
For more detail on how to use these features, see how to use Puppetry on Canva.
Integrating Puppetry Animations Into Canva Designs
Using Puppetry in Canva lets users add talking characters and animations directly to their projects. It’s important to import these animations properly, adjust their size and placement, and arrange them well with other design parts so the project looks smooth and clear.
Importing Animations to Canva Projects
To add Puppetry animations, users first open the Puppetry app inside Canva. They click the button to import their scripted animation into the current design. This process links the animated character to the text script, turning it into a talking head or animated figure.
Once imported, the animation appears as an element within the Canva project. Users can access it just like any other image or video clip. This means it can be edited, moved, or deleted freely without affecting the rest of the design.
Resizing and Positioning Animated Elements
After adding the animation, resizing is key. Puppetry animations can be made larger or smaller by dragging their corners. It’s best to keep the aspect ratio locked so the animation’s shape doesn’t get stretched.
Positioning the animated character affects the viewer’s focus. It works well to place animations on the side or corner of the design, leaving space for text or other visuals. Canva’s grid and alignment tools help ensure the animation lines up neatly with other items.
Layering Animations With Other Design Elements
Animations can go behind or in front of other design parts. Using Canva’s layering feature, users drag elements up or down to choose which appears on top. For example, a speech bubble or caption might sit above the animated character for better clarity.
Grouping animations with related objects also helps keep everything organized. When grouped, moving or resizing happens all at once. This makes the design process faster and keeps the animation synced with related text or graphics.
For more tips on using Puppetry in Canva, see how to animate talking characters easily.
Advanced Tips for Using Puppetry App in Canva
Using Puppetry in Canva can be improved with some expert techniques. These tips help enhance animation quality and allow combining effects to make videos more engaging. Paying attention to timing and layering creates a smoother and more polished result.
Optimizing Animation Smoothness
To make animations look smooth, users should focus on the script’s pacing and how Puppetry moves facial features. Short pauses and natural speech rhythms help avoid stiff or robotic motion. Adjusting the speed of the dialogue in Canva allows better syncing with the presenter’s gestures.
It’s also useful to test different voice styles and tones. Some voice options work better with certain animations, reducing glitches. When possible, break longer scripts into smaller parts to make transitions seamless.
Checking the preview multiple times before finalizing helps catch awkward pauses or fast mouth movements.
Combining Multiple Animations
Puppetry allows layering animations for more dynamic presentations. For example, adding background movements or switching between different presenters in one video keeps viewers interested. Users can upload additional media to Canva and insert it around the animated avatar.
To combine effects smoothly, aligning timing is key. Each element should start and end in harmony with others. Using Canva’s timeline feature helps control when each animation plays.
Mixing facial animations with body movement or text overlays adds depth. Creators should avoid overcrowding the design, keeping focus on key messages while adding subtle motion.
More information about Puppetry’s features inside Canva can be found at Puppetry – Canva Apps.
Sharing and Exporting Your Animated Designs
After creating an animated design with the Puppetry app in Canva, it’s important to know how to share and export the final product. This section explains the best ways to save your videos or GIFs and how to publish them directly to social media platforms.
Exporting as Video or GIF
Users can export their animated designs from Canva in different file formats like MP4 video or GIF. To do this, they should click on the “Download” button at the top right of the Canva interface. Next, select the file type (video or GIF) from the dropdown menu.
Videos are ideal for longer animations and work well on most platforms. GIFs suit shorter loops or simpler animations, especially for use in emails or websites. Canva allows users to choose the quality of their export, which balances file size and clarity. After confirming the format and quality, clicking “Download” saves the file to the user’s device.
Publishing Directly to Social Media
Canva also lets users publish animated designs straight to social media without downloading first. When ready, users click the “Share” button, then select a social media platform listed among options like Facebook, Instagram, or Twitter.
They can add captions or tags before posting. This direct publishing saves time and ensures the animation looks right for each platform’s specifications. Users must be logged into their social media accounts through Canva to use this feature.
For detailed steps on using Puppetry with Canva, visit how to use Puppetry on Canva in 7 steps.
Troubleshooting Common Issues
If the Puppetry app in Canva isn’t working right, the first step is to check the internet connection. A weak or unstable connection can cause delays or stops in the app’s performance.
Sometimes the app may crash or freeze. In this case, refreshing the browser or closing and reopening the Canva app often helps. If problems continue, clearing the browser cache or restarting the device can fix many issues.
It’s important to keep both Canva and Puppetry updated. Using the latest versions ensures the app runs smoothly and includes the newest features and bug fixes.
If animation or video export doesn’t work, users should check file size limits and formats. Large files might slow down processing, and certain video formats are required for proper exporting.
For ongoing problems, visiting the Canva Help Center or checking the Canva Status page can reveal if there are service outages.
Quick checklist:
- Confirm internet connection
- Refresh or restart the app
- Clear cache if needed
- Update Canva and Puppetry to latest versions
- Check file size and format for exports