Creating balanced art can feel like a challenge, but with the Symmetry Tool in Procreate, it becomes much easier. This tool allows artists to effortlessly create mirrored images, resulting in visually pleasing and harmonious designs. Whether working on digital paintings, sketches, or complex graphic designs, this feature is an invaluable addition to any artist’s toolkit.
The Symmetry Tool offers various options, such as vertical, horizontal, quadrant, and radial symmetry. Each type opens up new possibilities for creativity, letting artists experiment with different patterns and compositions. By understanding how to harness these options, artists can push their creativity to new heights.
Not only does it simplify complex designs, but it also saves time, making the artistic process more enjoyable. The convenience of using symmetry allows for more focus on details and overall composition, without getting bogged down in intricate manual adjustments. With a bit of practice, anyone can achieve the perfect balance in their artwork, making their creations stand out.
Understanding Procreate’s Symmetry Tool
Procreate offers artists powerful symmetry features that help create perfectly mirrored and well-balanced art. This tool allows for easy adjustments and offers different symmetry options to fit various artistic needs.
Exploring the Basics of Symmetry
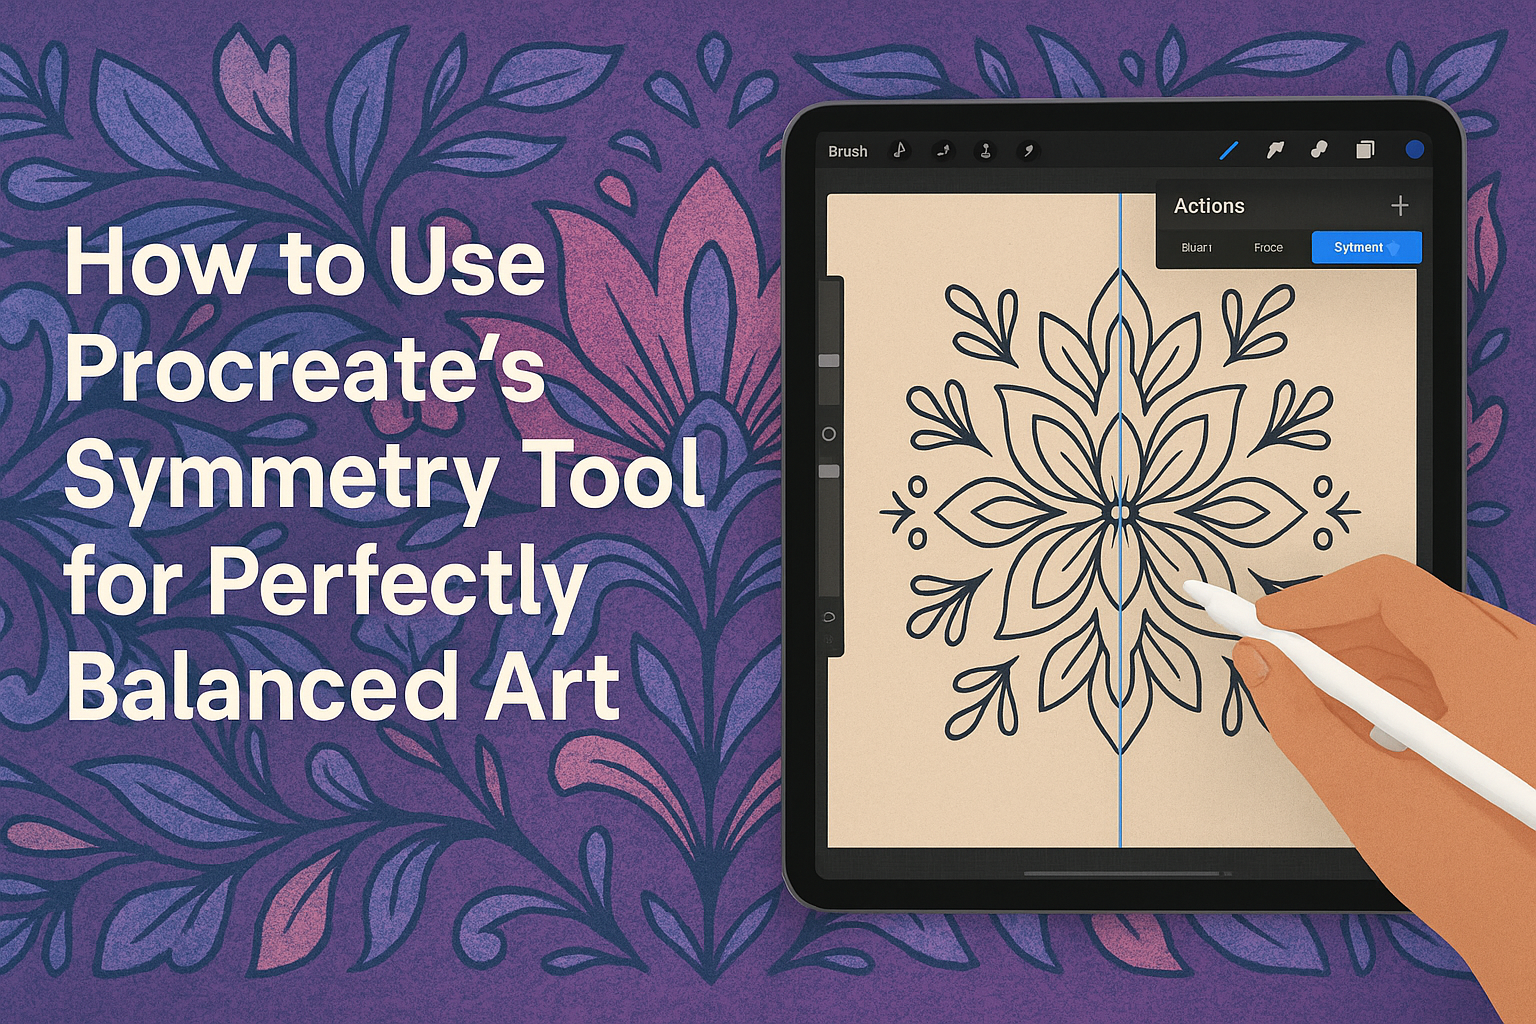
Symmetry in Procreate starts by activating the Drawing Guide. This tool helps artists create mirrored lines that can simplify the creation of balanced designs. To access it, users can tap the Actions menu (symbolized by the wrench icon) and then select the Canvas option.
Once the Drawing Guide is open, selecting Symmetry reveals several customization options. Users can adjust position, rotation, and even the color and thickness of the symmetry line. This makes it easier to see and use in different artworks.
Artists can also change the guide’s opacity, which helps blend the symmetry line with their design or keep it visible as needed. These features combine to make the symmetry tool adaptable for many styles.
Different Types of Symmetry in Procreate
In Procreate, there are several types of symmetry to explore. Each type offers a unique way to mirror art, improving creativity and design accuracy. The main types include vertical, horizontal, quadrant, and radial symmetry.
Vertical symmetry mirrors the left side of the canvas with the right. Horizontal symmetry creates reflections from the top to the bottom. These two are ideal for simple mirrored designs.
On the other hand, quadrant symmetry divides the canvas into four mirrored sections, while radial symmetry forms patterns around a central point. These are perfect for more complex and detailed designs. Adjusting the color and thickness of the symmetry line helps in perfecting these creations. Explore more about Procreate’s symmetry options to enhance your art.
Getting Started with Symmetry
Procreate’s symmetry tool allows artists to create balanced designs effortlessly. Learning how to access and set up this feature is key to making the most of your digital art experience.
Accessing the Symmetry Tool
To begin using the symmetry tool, open Procreate and create a new canvas. Start by tapping the Wrench icon at the top of the screen, which opens the Actions menu. From here, select the Canvas tab, where you’ll find the Drawing Guide option. Turn on the Drawing Guide, then tap Edit Drawing Guide to proceed.
In the Drawing Guides settings, look for the Symmetry button. Once selected, you can choose from different symmetry options like vertical, horizontal, quadrant, or radial. Each choice provides various ways to reflect your artwork across the canvas, allowing for beautifully even designs. Understanding these options will enable artists to select the style that best matches their artistic vision.
Setting Up Your Canvas for Symmetry
After accessing the symmetry tool, it’s important to set up the canvas correctly to begin drawing. Adjust the symmetry options by selecting your desired type of symmetry. Then, look for the Options to further customize your preference like adjusting thickness or color of the symmetry lines.
Alignments can be tweaked to fit the specific art style desired. Procreate gives you flexibility to modify and preview the layout before you start creating. As you draw, any strokes made will mirror based on the symmetry settings you’ve selected, ensuring that all elements of the design are perfectly balanced. Play around with these settings to find the best fit for your project.
Creating Symmetrical Art
Drawing symmetrical art in Procreate offers a fun and effective way to achieve balance in your designs. By using the symmetry tool, working with layers, and employing assisted drawing techniques, artists can create stunning symmetrical pieces with ease.
Drawing with the Symmetry Tool
The symmetry tool in Procreate allows artists to draw mirrored designs smoothly. Users can access this tool by tapping the wrench icon and selecting “Canvas.” By enabling the “Drawing Guide” and choosing the “Symmetry” option, artists can pick from vertical, horizontal, quadrant, or radial symmetry.
Experimenting with these settings can enhance creative projects. The symmetry lines guide the brushstrokes, ensuring that each stroke made on one side of the canvas is mirrored precisely on the opposite side. This feature makes it simple to create balanced sketches and intricate patterns without having to manually mirror each element.
Using Layers in Symmetrical Designs
Layers play a crucial role in organizing symmetrical art. By separating elements onto different layers, artists can manipulate individual parts without affecting the entire composition. This technique allows for easy adjustments and changes to specific details.
In Procreate, artists can add new layers using the layer menu. They can also modify the opacity or blend modes of a layer to create unique effects. By using multiple layers, artists can experiment with color and shading in their symmetrical designs without disrupting the underlying structure, providing greater control over the artistic process.
Mastering the Use of Assisted Drawing
Assisted Drawing in Procreate is a powerful feature that enhances precision when creating symmetrical artwork. When symmetry is enabled, artists can engage assisted drawing to ensure that their strokes are automatically aligned with the symmetry guides.
By toggling the “Assist” option in the layers menu, each brushstroke aligns perfectly with the symmetry paths. This feature is particularly helpful for detailed work, where accuracy is vital. Artists benefit from the confidence of knowing their designs will remain balanced as they explore creative possibilities. With practiced use, assisted drawing can become an essential part of creating polished, professional-looking symmetrical art.
Advanced Techniques
Creating intricate and vibrant art using Procreate’s symmetry tool is both challenging and rewarding. Key techniques involve clever use of color and shading, as well as fine-tuning symmetry options to suit complex artistic needs.
Incorporating Color and Shading
Color and shading can transform simple symmetrical designs into stunning pieces. Artists can start by selecting a color palette that enhances the symmetrical structure. Using gradients or contrasting colors can add depth and interest.
Experiment with shading to emphasize different elements. Light and shadow can create an illusion of three-dimensionality. One effective strategy is to use layer modes for blending colors naturally, adding complexity without overwhelming the design.
Artists may also try using brightly colored accents to highlight focal points. This approach draws the eye and makes symmetrical designs more dynamic. Thoughtful choices in color and shading can turn a basic pattern into an engaging work of art.
Adjusting Symmetry Options for Complex Art
To manage intricate designs, adjust the symmetry options in Procreate. Besides basic vertical and horizontal symmetry, users can explore quadrant or radial symmetry to open new creative avenues.
Quadrant symmetry divides the canvas into four equal parts, allowing repeated patterns to evolve more complexly. Radial symmetry, on the other hand, radiates outwards from a central point, perfect for creating mandala-like designs.
The artist can also manipulate the size and orientation of the symmetry lines for different effects. By doing so, they maintain control over the structure, ensuring the resulting art remains balanced. This versatility helps artists tailor symmetry tools to suit their unique artistic vision.
Symmetry Tool Tips and Tricks
To create balanced art using Procreate’s symmetry tools, it’s important to focus on uniform strokes and resolving any issues that might arise. Here are some helpful tips to enhance your artwork using this feature.
Ensuring Uniform Strokes
Creating uniform strokes is crucial when using Procreate’s symmetry tool. To achieve this, artists can adjust brush settings to maintain consistent line weight. Brushes with smooth textures help create even, clean strokes. Users can explore different symmetry options in Procreate like vertical, horizontal, quadrant, or radial, which provide different ways to approach balance and uniformity in art.
Zooming in on the canvas can also be helpful. This allows for detailed work on intricate parts of the design, ensuring every line mirrors perfectly across the symmetry axis. Keeping the Apple Pencil pressure consistent is key, as varying pressure can lead to uneven strokes that distract from the overall symmetry.
Troubleshooting Common Symmetry Tool Issues
Common issues with the Procreate symmetry tool include alignment problems and unexpected mirror effects. If alignment seems off, users should check the positioning of the symmetry line in the Drawing Guide and adjust as needed. Making use of Procreate’s grid feature can assist with precise alignment.
For those encountering unexpected mirroring, verifying the settings under the Edit Drawing Guide can be useful. If an error persists, resetting the Drawing Guide might resolve the issue. It’s also helpful to update Procreate regularly, as new updates often fix bugs related to symmetry and other tools. These practical solutions can help ensure a smoother experience when creating art with symmetry.
Inspirational Ideas for Symmetrical Creations
Creating symmetrical art with Procreate can open up a world of design possibilities. Here are some ideas to spark creativity:
Architectural Designs
Symmetry is ideal for drawing architectural elements. Users can create beautifully balanced cityscapes or structures. Try imagining futuristic buildings or ancient temples. Using the symmetry tool helps ensure every line is perfectly mirrored on the canvas.
Mandalas and Patterns
Mandalas are intricate patterns that often symbolize unity and harmony. Experiment with geometric shapes, flowers, or abstract motifs. With the symmetry tool, artists can explore radial symmetry to craft stunning circular designs.
Nature and Wildlife
Incorporating symmetry in drawings of animals or plants can lead to unique creations. Think about butterflies with perfectly mirrored wings or a series of symmetrical leaves. This approach helps emphasize the natural balance found in nature.
Character Design
For those interested in character illustration, symmetry can aid in creating characters with balanced features. Try drawing a character from one side of the face, and let Procreate mirror the other side. This technique is useful for experimenting with facial expressions or designing costumes.
Incorporating these ideas into one’s workflow makes the most out of Procreate’s powerful symmetry features. Enjoy the process and see what unique creations emerge.
Preserving and Sharing Your Symmetrical Art
Artists often want to preserve their work in high-quality formats and share them effectively with others. Key steps include exporting designs and sharing them on social media.
Exporting Your Symmetrical Designs
When ready to save art, choosing the right format is important. Procreate allows exporting in formats like PNG, JPEG, and TIFF. Each has its uses: PNG is great for high-quality web sharing with transparency, while JPEGs are smaller for easy uploading. TIFFs preserve quality for printing.
To export, tap the wrench icon, select “Share,” and choose the desired format. Save the file to your device or a cloud service. For printing, ensure settings maximize resolution. Review the export settings to maintain the art’s symmetry and colors.
Best Practices for Sharing on Social Media
Sharing art on social media involves attention to detail. Visuals matter, so prepare images in optimal sizes for different platforms. Use 1080×1080 pixels for Instagram or 1200×628 pixels for Facebook posts.
Engaging captions can capture attention. Explain what makes the piece unique or ask followers for their thoughts. Use hashtags like #symmetricalart or #procreateart to reach a larger audience. For a polished look, consider using a photo-editing app to adjust brightness and contrast before posting.
Remember to engage with comments and feedback to build a community around your art. Regularly updating followers with creations can boost visibility and engagement.