The Lattice Deformation tool in Inkscape opens up a world of creative possibilities for digital artists and designers. This tool allows users to manipulate paths and shapes, adding wavy or distorted effects that can greatly enhance graphical projects. By adjusting nodes, artists have the flexibility to create custom designs that stand out from the norm.
For those new to graphic design or looking to expand their skills, the Lattice Deformation tool provides a simple yet powerful way to explore new artistic directions. With intuitive controls, users can experiment with different shapes and patterns, resulting in unique and engaging visuals.
Whether creating a logo or a more complex piece, using this feature can elevate any project. By learning how to apply these effects, designers can add a layer of complexity that is both eye-catching and professional. This creates an opportunity to develop distinct styles that capture viewers’ attention.
Getting Started with Inkscape
Inkscape is a powerful, free design software used to create vector graphics. It’s popular for its variety of tools that help artists and designers bring their ideas to life with precision and creativity.
Installation and Setup
Installing Inkscape is simple. To begin, visit the Inkscape website, where you’ll find download options for Windows, macOS, and Linux. Select your operating system and download the appropriate version. Once downloaded, open the installer file and follow the on-screen instructions to complete the setup.
After installation, it’s wise to check for updates to ensure you have the latest features and bug fixes. Inkscape often releases improved versions, so staying updated can enhance your experience.
You might also want to explore the available extensions that can be integrated with Inkscape to expand its functionality. Extensions can be easily added through the Extensions menu in the software.
Overview of Inkscape Interface
The Inkscape interface is designed to be user-friendly, with a variety of tools readily accessible. When you first open Inkscape, the canvas appears in the center. On the left side, there is a toolbar containing essential tools such as the Select Tool, Rectangle Tool, and the Bezier Curve Tool.
At the top, you’ll find the command bar offering quick access to file options, object manipulation, and alignment settings. The right side often features panels like Layers and Fill and Stroke, essential for intricate design adjustments.
The bottom displays the color palette, enabling quick color changes. Familiarizing the layout makes navigating Inkscape more intuitive, allowing users to focus on their creative projects.
Understanding Lattice Deformation
Inkscape’s Lattice Deformation tool allows users to manipulate objects using a grid system. This feature provides designers with the ability to create unique and dynamic effects in their artwork.
What Is Lattice Deformation?
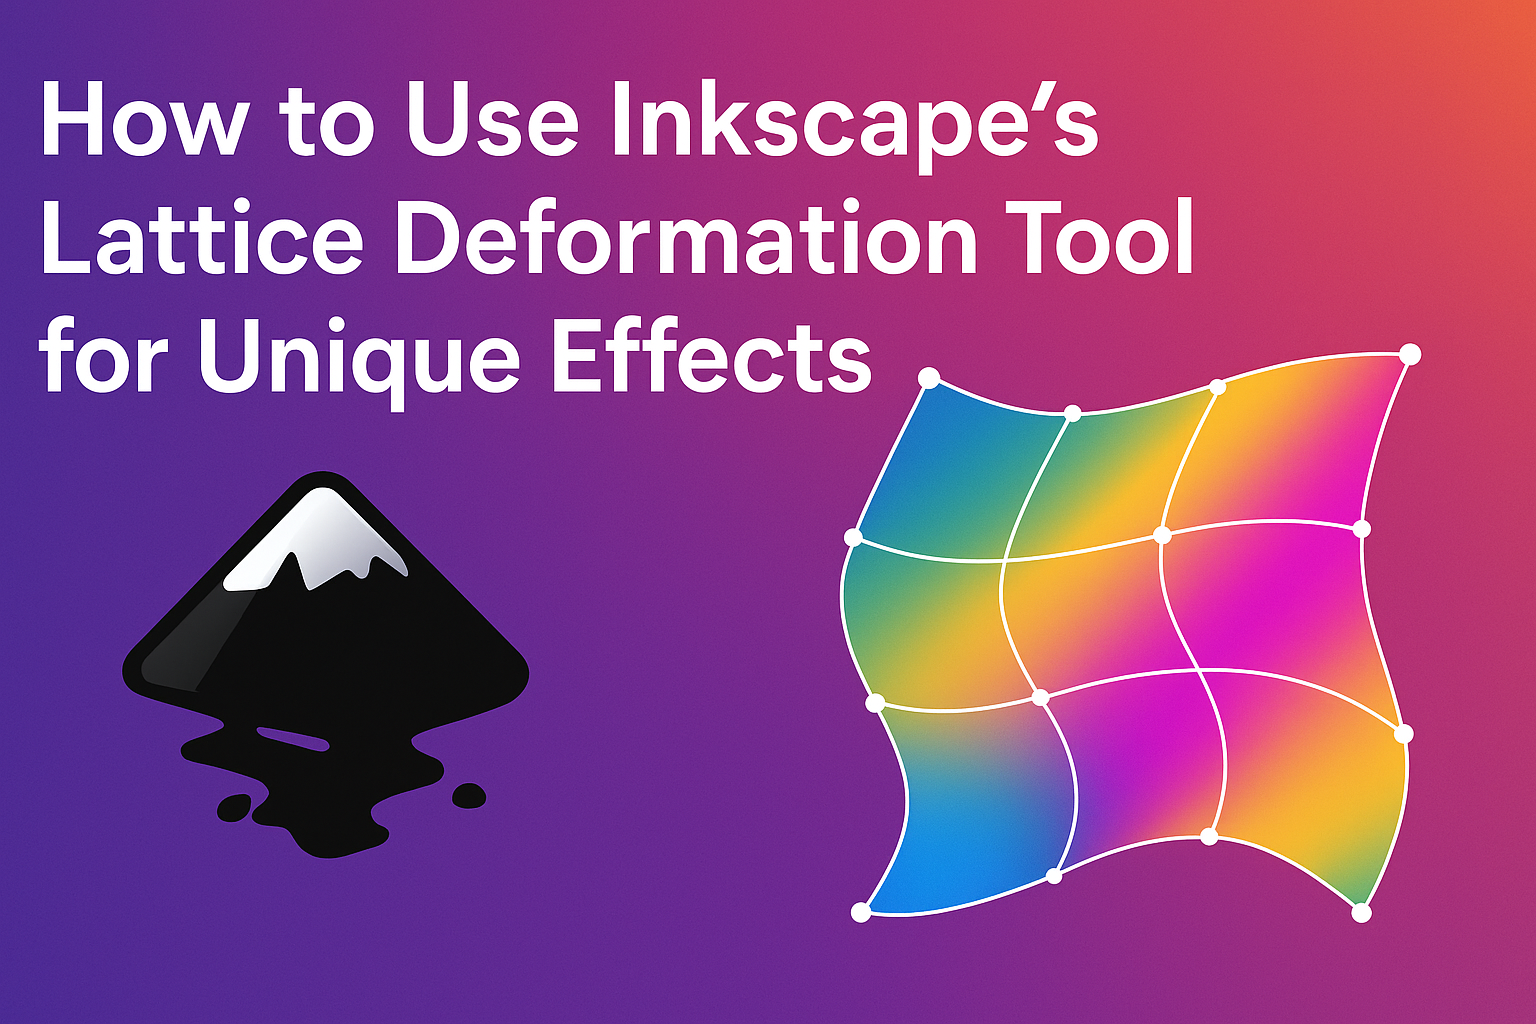
Lattice Deformation is a feature in Inkscape that lets users warp objects by manipulating a grid of nodes. This technique allows for flexible transformation of lines and shapes, giving artists control over their designs. By selecting an object and applying the Lattice Deformation path effect, a grid overlay appears, enabling precise edits. Designers can adjust individual nodes to create customized distortions and wavy patterns.
This tool offers creative possibilities, making it valuable for illustrators and graphic designers seeking to add movement and depth to their projects. With Lattice Deformation, users can explore unique artistic visions within their digital work.
Applications of Lattice Deformation in Design
Lattice Deformation can be used for various design purposes, enhancing creativity and originality. It suits projects requiring intricate patterns, such as abstract art or complex backgrounds. Designers often use it to craft wavy lines or warped text, enhancing visual appeal. This tool is ideal for creating surreal or three-dimensional effects, making graphics more engaging.
For example, users might apply it to transform a straight line into a wave-like shape for a dynamic background. Using the Lattice Deformation effect, artists achieve a wide range of stylistic effects without complicated steps. In essence, it’s a versatile tool that unlocks new possibilities in graphic design.
The Lattice Deformation Tool
Inkscape’s Lattice Deformation tool offers creative ways to reshape vector graphics. Users can access this feature through the Path Effects menu, allowing for transformation flexibility. The tool comes with adjustable nodes that enable detailed manipulation of design elements.
Accessing the Tool in Inkscape
To use the Lattice Deformation tool, users start by selecting their desired object within the workspace. The next step involves navigating to Path > Path Effects. Here, a variety of options become available.
By clicking the plus icon (+), a new list appears. From this list, users should choose Lattice Deformation. Clicking “Add” integrates this effect into the selected object. Once activated, the tool displays a grid overlay across the object, ready for manipulation.
The grid consists of numerous nodes arranged in a lattice pattern. Users can then utilize the Nodes tool to modify these individual nodes, which enables creating complex shapes and patterns. Adjustments can lead to smooth curves or more abstract forms, depending on the design needs.
Tool Options and Settings
The Lattice Deformation tool provides several settings to refine designs. Users can adjust the grid to have more or fewer nodes, which directly affects the level of detail and control over the shape.
Modifying node density creates opportunities for more intricate designs or broader changes. The tool also allows for undoing and redoing changes, making it easier to experiment without permanent alterations. This setup offers a balance between complexity and ease.
Each node in the grid can be individually altered, offering precise control. A designer can drag these nodes in different directions to achieve unique deformations. Understanding how these movements affect the overall shape ensures the desired result is met efficiently.
Creating Basic Lattice Deformations
Lattice Deformation in Inkscape helps transform simple paths into intricate designs. Learn how to define the grid that dictates the deformation and how to adjust the individual nodes for impressive results.
Defining the Lattice Grid
To begin with Inkscape’s Lattice Deformation, the lattice grid must be defined. First, select the object you wish to transform. Proceed to the top menu and choose Path > Path Effects. Clicking the plus icon (+) will open a list of effects: select Lattice Deformation to enable it.
Once added, the lattice grid overlays the selected object. The grid acts as a scaffold for deformation, where each intersection is a node you can modify. Adjusting these nodes alters the shape of the object, allowing for creative distortion and new designs. The grid’s density can be increased or decreased, directly impacting the precision and complexity of the transformation.
Manipulating Nodes for Deformation
After activating the grid, manipulation of nodes becomes the focus. Use the Nodes tool from the toolbar to select and drag nodes within the grid. Each movement reshapes sections of the path.
For smoother deformations, consider moving nodes incrementally. This approach allows for subtle changes and prevents unwanted distortion. If necessary, utilize keyboard shortcuts like Shift+Click to select multiple nodes for simultaneous adjustments.
Node color indicates its selected status. Active nodes appear highlighted, making it easier to identify which ones are being edited. By strategically altering node positions, artists can create both simple waves or more complex, abstract patterns on their objects.
Advanced Techniques
Exploring advanced techniques with the Lattice Deformation tool in Inkscape allows users to achieve distinctive text styles, manipulate complex shapes, and enhance projects by integrating with other tools.
Applying Lattice Deformation to Text
The Lattice Deformation tool can transform plain text into a visually dynamic element. First, convert the text to a path by selecting it and using the “Object to Path” option. Then, apply the Lattice Deformation effect by navigating to Path > Path Effects.
By adjusting nodes, users can create wavy or curved text that stands out. This technique is especially useful for creating eye-catching headlines or artistic typography in design projects. With careful manipulation, the text can mirror the contours of various shapes, adding depth and interest to the design.
Complex Shape Manipulation
Using the Lattice Deformation tool, complex shapes can be warped and twisted into unique forms. To begin, apply the tool to a shape by selecting it and accessing the Path Effects menu.
Through precise node adjustments, intricate patterns, and effects are possible. Users can experiment with different grid sizes and node placements to see varied results. This technique is beneficial for creating organic-looking designs, such as flowing lines or abstract art. By exploring these possibilities, designers can push the boundaries of conventional shape design.
Integrating with Other Tools and Effects
Combining Lattice Deformation with other Inkscape tools opens up further possibilities for creative projects. After setting up the lattice effect, adding filters like blurs or shadows can enhance the visual impact.
By overlaying textures or gradients, users can achieve more complex visual styles. This integration makes projects more dynamic and can be applied to backgrounds, logos, or any design needing an innovative touch. Furthermore, pairing lattice deformation with interpolation effects can result in smoothly transitioning designs. For more on techniques involving this tool, consider visiting the Inkscape Wiki.
Practical Tips
Using Inkscape’s Lattice Deformation can add a creative touch to designs. Here are some useful practices and solutions for common problems users may encounter.
Best Practices for Lattice Deformation
To begin with, ensure that the object you are working on is a path. Convert shapes and text to paths by going to Path > Object to Path. This step is essential as Lattice Deformation works exclusively on paths.
When applying the effect, use the Nodes tool. By clicking and dragging nodes, users can create unique wave-like distortions. Adjust the density of the grid by modifying the settings in the path effects menu. A fine grid provides higher control but may require more attention to detail.
Experimenting with different patterns and node placements can yield surprising and artistic results. To prevent data loss, save work frequently in Inkscape’s native SVG format. This ensures that all effects remain editable.
Troubleshooting Common Issues
One common problem is objects not transforming as expected. This is often because the object is not a path. Always check if the object is converted by using Path > Object to Path.
If the nodes aren’t showing up, make sure that the Lattice Deformation effect has been added correctly. Navigate to Path > Path Effects, then add Lattice Deformation from the list. Any missing nodes could indicate an improperly applied effect.
Another issue can be overly complex grids causing performance lags. Simplify the grid to enhance performance by reducing the number of subdivisions. Simplified grids make it easier to manage while still creating interesting designs. If unwanted distortions occur, reset the nodes to their original positions using the reset option in the path effects menu to start fresh.
For more detailed guidance, consider this Inkscape tutorial.
Creative Uses and Inspiration
Using Inkscape’s Lattice Deformation tool can transform ordinary paths into dynamic and unique designs. By exploring various projects and experimenting creatively, users can harness the tool for innovative and artistic results.
Inspiring Projects and Ideas
Lattice Deformation opens up a world of creative possibilities. Designers can create wavy lines or warped shapes for digital illustrations. This technique is ideal for projects like creating vibrant backgrounds for posters or textured effects for artwork.
For example, an artist can use the lattice feature to add movement to otherwise static vector art, lending a more organic feel to objects. Some illustrators enjoy making optical illusions by distorting paths, which can become eye-catching centerpieces in their portfolio.
Experimenting with Lattice Deformation
Experimentation is key with Lattice Deformation. By adjusting individual nodes on the grid, users can discover unique shapes. Beginners might start with simple geometric figures, distorting them to learn how the tool reacts.
Artists can test different path effects to see how they interact with the Lattice Deformation. This interactive process enables users to find unexpected results, inspiring new directions for their projects.
Pairing the deformation tool with other effects, such as color gradients or transparency, can lead to striking designs. Trying out different path settings helps artists push the boundaries of what they can create with Inkscape.