Creating dynamic designs in CorelDRAW can be a game-changer for any designer. The Perspective Tool in CorelDRAW allows users to transform ordinary designs into stunning, three-dimensional visuals. By mastering this tool, designers can easily add depth and dimension to their artwork, making it more engaging and realistic.
Understanding how to effectively use the Perspective Tool is key. It offers options like two-point and three-point perspectives, giving designers flexibility in how they present their concepts. This tool can help showcase a design’s potential in real-world applications, providing an added layer of professionalism and creativity. To start using it, designers can apply a two-point perspective by dragging nodes and adjusting field density.
Incorporating perspective into design work can offer fresh and unique visual effects. With a few simple steps, designers can enhance their projects, making them stand out in any setting. Using techniques like drawing directly in perspective can transform a basic layout into a captivating piece of art. This level of creativity can set professional work apart from the crowd.
Unveiling CorelDRAW’s Perspective Tool
CorelDRAW’s Perspective Tool is a powerful feature that allows users to create realistic drawings by simulating depth and space. This section explores the core concepts of perspective drawing and provides guidance on where to find and how to use the Perspective Tool in CorelDRAW.
Core Concepts of Perspective Drawing
Perspective drawing is an art technique that creates the illusion of three-dimensional space on a two-dimensional surface. It involves lines that lead to a point on the horizon, known as the vanishing point. CorelDRAW allows artists to choose from one-point, two-point, or three-point perspectives to add depth to their designs.
One-point perspective uses one vanishing point and is ideal for objects facing the viewer head-on. Two-point perspective, with two vanishing points, is useful for corner views of objects. Three-point perspective adds a third vanishing point for an overhead or ground-level look.
With CorelDRAW’s Perspective Tool, users can easily switch between these perspectives and adjust the perspective field. This flexibility helps in crafting dynamic designs that interactively model real-world views.
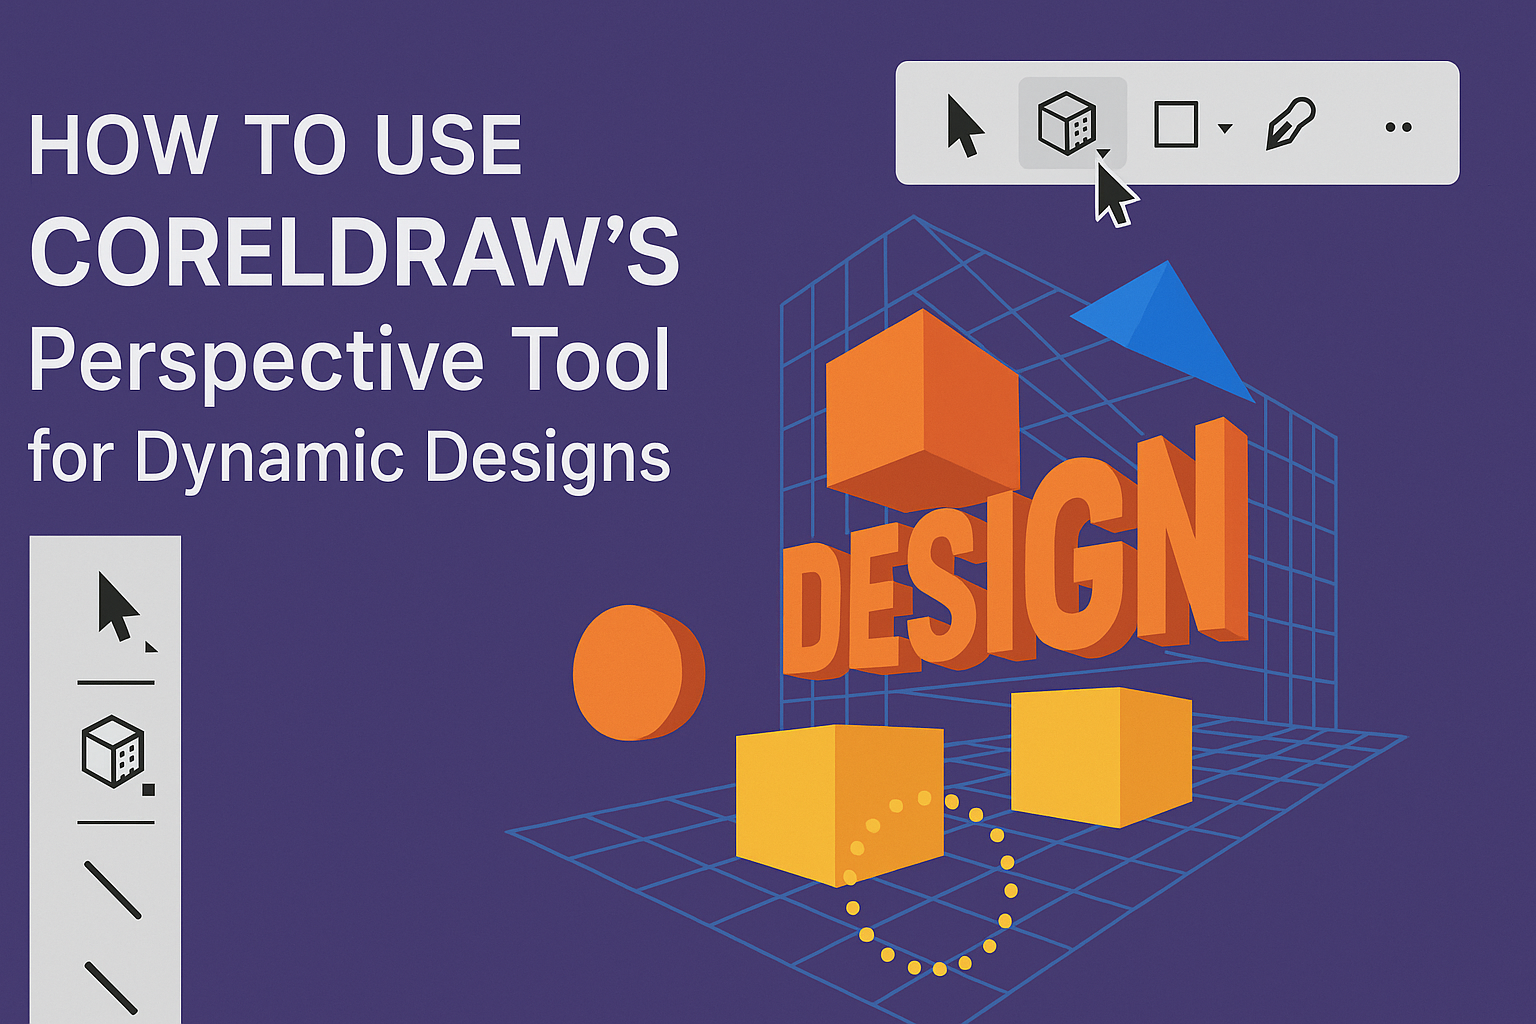
Locating the Perspective Tool in CorelDRAW
In CorelDRAW, the Perspective Tool can be found under the Object menu. Users should ensure that no objects are selected before accessing the tool. Simply click on “Object,” then proceed to “Perspective” and select “Draw in Perspective.”
Once selected, the tool offers a type list box where different perspectives can be chosen. Users then click and drag in the drawing window to set the perspective field, allowing for precise control over the depth and dimension of their designs.
This user-friendly setup simplifies the creation of perspective views, making it accessible even for those new to digital art. The tool is designed to promote creativity while maintaining an intuitive and straightforward approach.
Setting Up Your Workspace for Perspective Designs
To get started with CorelDRAW’s perspective tool, it’s important to have a workspace that’s tailored to your design needs. This involves customizing the interface to fit personal preferences and creating a new document suited for perspective drawing.
Customizing the Interface
CorelDRAW offers a flexible interface to enhance workflow efficiency. Users should begin by adjusting the toolbar, ensuring it includes perspective drawing tools. This arrangement saves time during the design process.
Dockers, small panels providing options related to selected tools, can also be customized. By adding relevant dockers, users can access perspective options with ease. Personalizing shortcuts is another step to streamline actions. Assign keys for common tools to reduce time spent navigating menus.
Finally, selecting the right color palette helps maintain consistency in design work. Users can create custom palettes featuring frequently used colors. This can lead to more cohesive perspective drawings.
Creating a New Document for Perspective Work
Setting up a new document specifically for perspective drawings is essential. Begin by opening CorelDRAW and opting for a blank canvas. Here, users can adjust dimensions and settings according to project needs.
For perspective work, selecting the correct units is vital. Choose between inches, millimeters, or other units that fit the design requirements. After determining units, set dimensions that suit the particular project in mind.
Next, go to the Object menu and select Perspective > Draw in Perspective. This action engages CorelDRAW’s perspective grid, which is adjustable based on the complexity of the design. Bringing in a perspective field helps in aligning elements within the perspective framework. This structure acts as a guide for dynamic and well-aligned designs.
Creating Basic Shapes with Perspective
CorelDRAW’s perspective tool makes it easier to add depth and dimension to everyday shapes like rectangles, squares, circles, and ellipses. By adjusting these shapes, users can create more dynamic designs.
Drawing Rectangles and Squares
To draw rectangles and squares with perspective in CorelDRAW, users first need to activate the perspective mode. This can be done by selecting Object > Perspective > Draw in Perspective. Once activated, a perspective grid appears.
Users can select the Rectangle tool and draw the shape within this grid. The shape will follow the perspective lines, giving it a three-dimensional look. Adjusting the nodes on the corners allows further customization.
For added realism, users can manipulate the vanishing points. These control how the rectangle or square appears to taper off into the distance. This aspect is crucial for realistic depth and ensuring the design aligns with other elements.
Manipulating Circles and Ellipses
Creating circles and ellipses in perspective requires a slightly different approach. Begin by selecting Object > Perspective > Draw in Perspective to bring up the perspective grid.
Once the perspective mode is set, users can draw a circle or ellipse using the Ellipse tool. The perspective grid helps transform these shapes into ovals or elongated circles that appear to recede into space.
Adjusting the nodes can further modify the shape’s appearance. By clicking and dragging, users can expand or compress the circles and ellipses. This flexibility makes it possible to fit the shapes seamlessly into any design.
Advanced Techniques
In CorelDRAW, advanced techniques with the perspective tool can enhance designs significantly. These techniques allow users to add depth to objects and create a dynamic feeling by distorting text within a perspective grid.
Adding Depth to Objects
Creating depth in objects using CorelDRAW involves manipulating perspectives to make elements stand out. By using the Object Perspective feature, designers can simulate three-dimensional effects. This tool lets users adjust angles and perspective lines, helping to create lifelike drawings.
To start, select an object and apply the perspective grid. Then, drag the grid’s anchor points to adjust the object’s apparent depth and angle. For more complexity, combining objects with different perspectives can enrich the composition, giving it a more realistic appearance.
With these techniques, designers can improve their illustrations by providing a more immersive and engaging visual experience. Adding shadows and highlights further enhances the illusion of depth, making objects appear as though they are popping out of the screen.
Distorting Text for Perspective
Distorting text in perspective makes designs more dynamic. When using CorelDRAW’s text tools, users can manipulate letters so they align with perspective grids, creating an engaging graphical element.
First, convert text to curves to apply perspective distortion. This conversion lets you edit text paths as if they were vector shapes. Then, select the perspective tool, drag the text to fit the desired perspective, and adjust it into place.
Text alignment with the grid is essential for maintaining readability. Additionally, try playing with colors and shading to add even more style and depth to your text. This trick works great for headlines or any design element that needs to stand out in a composition.
Manipulating and Adjusting Perspective Views
Using CorelDRAW’s perspective tool allows designers to create dynamic and engaging visuals. It involves altering the perspective angle and fine-tuning the depth of field to enhance the visual impact.
Changing the Perspective Angle
Adjusting the perspective angle is key to creating dynamic scenes. By using CorelDRAW’s tool, users can easily select the type of perspective, such as 1-point, 2-point, or 3-point. This choice affects how viewers perceive depth and distance.
To modify the angle, use the handles that appear around the perspective grid. Drag these handles to swivel or tilt the grid, aligning it with your design’s needs. This flexibility lets designers adapt to unique viewpoints, making illustrations more realistic or stylized as required for their projects.
Changing the perspective angle can transform a flat design into a three-dimensional visual masterpiece. Designers find this especially useful when aiming to depict complex scenes or architecture with more depth.
Fine-Tuning the Depth of Field
The depth of field adjustment allows designers to control how deep or shallow the scene appears. By dragging nodes within the perspective grid, one can either extend or compact the visual space. This helps in highlighting specific areas of a design while subtly pushing others into the background.
CorelDRAW offers precise control over depth adjustments. Designers should focus on maintaining proper scaling, so objects don’t appear distorted. This feature is crucial when dealing with multiple objects or complex layouts.
Fine-tuning the depth of field enhances storytelling in visuals. It guides the viewer’s eye to the most important elements of the design, ensuring that the main message stands out while keeping the entire composition harmonious.
Creative Applications of the Perspective Tool
The CorelDRAW Perspective Tool can transform simple designs into dynamic works of art. It is especially useful in creating eye-catching logos and adding depth to complex scenes. This tool brings a sense of realism and sophistication to designs.
Designing Logos with Perspective
Creating logos with the perspective tool can make them stand out and look more engaging. By adding perspective, a flat logo can gain depth and dimension. This technique can help showcase the brand’s name in a bold and innovative way.
Designers can use the perspective tool to tilt or angle text and shapes. This might involve a two-point perspective where the logo extends toward two different vanishing points. Adding perspective tricks the eye into seeing the logo as more three-dimensional.
This approach is perfect for brands wanting a modern and striking appearance. With careful adjustments, elements gain a unique angle, enhancing the overall visual appeal.
Crafting Complex Scenes
Creating intricate scenes is another exciting application for the perspective tool. It allows artists to build environments that have depth and realism, adding richness to the design.
Using various perspective types like one-point or three-point, designers can construct scenes where objects naturally recede into the distance. This is especially helpful in illustrations involving buildings, streets, or other deep scenes.
Designers can quickly manipulate and align elements to fit the desired perspective. This gives them the freedom to illustrate scenes such as cityscapes or landscapes, making each piece vibrant and lifelike. It is a powerful feature for crafting immersive and dynamic compositions.
Exporting Your Dynamic Designs
Exporting designs from CorelDRAW for various uses requires careful consideration of different factors. These include preparing designs for both web and print, and understanding the best practices for file formats and resolution.
Preparing for Web and Print
When preparing designs for the web, it’s important to optimize file sizes for fast loading times. Designs should be exported in formats like JPEG or PNG, which are widely supported. PNG is helpful for transparent backgrounds, while JPEG is often better for photographs.
For print, designs require higher resolution to ensure quality. Exporting in formats such as TIFF or PDF is recommended, as they preserve detail and are compatible with many print services. Setting the resolution to at least 300 DPI is crucial for maintaining sharpness in printed materials.
File Format and Resolution Best Practices
Choosing the right file format can significantly affect how your design is displayed and shared. For web designs, formats like PNG and JPEG are ideal due to their compatibility and efficiency. TIFF and PDF formats are best for printing because they support high-quality resolution and color profiles.
Resolution matters too. Web images typically need only 72 DPI, as they are meant for screens. In contrast, print images need at least 300 DPI to ensure clear, high-quality prints. Adjusting the resolution accordingly before exporting is crucial to achieving the best results for your design’s intended use.