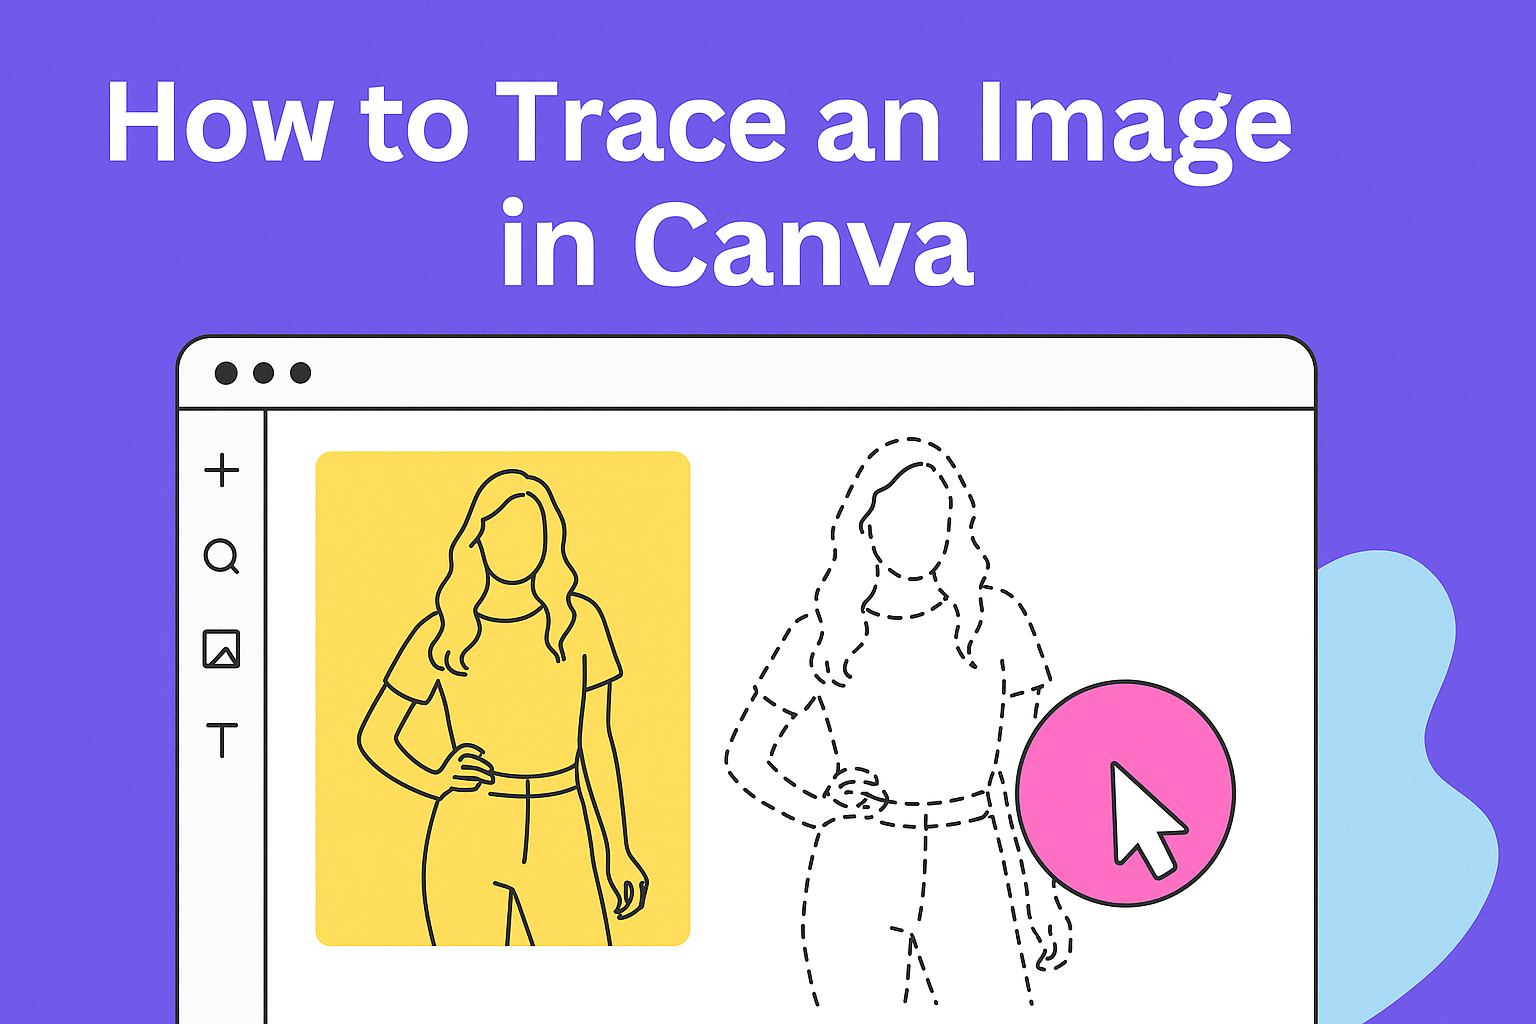
Tracing an image in Canva is a simple way to turn a photo or sketch into a clean, editable design. With tools like the Stencil effect, anyone can quickly outline and transform an image into a graphic that can be customized without losing quality. This makes it easy to create logos, posters, or unique digital artwork.
They can access Canva’s built-in tracing options or explore apps that add even more flexibility. Once the image is traced, it’s possible to adjust colors, add text, or apply effects to match the project’s style.
This guide walks through the process step by step, from finding the right tracing tools to customizing the final design. Along the way, it also highlights best practices and important copyright considerations to keep projects both creative and safe.
Accessing Image Trace Tools in Canva
Canva offers built-in tools and app integrations that make tracing images simple. Users can choose between quick automatic tracing features or more flexible app-based options depending on the level of control they need.
Locating the Stencil Tool
The Stencil tool is one of the easiest ways to trace an image in Canva. To use it, a person first uploads or selects the image they want. Then, they open the Image Editor, go to the Trippy effects, and click on Stencil.
This tool automatically outlines the image, creating a clean traced version. Users can adjust settings like contrast and detail to refine the look. For example, lowering detail produces a bold, simplified outline, while higher detail keeps more of the original image intact.
The Stencil tool is especially helpful for logos, sketches, or simple graphics. Since it generates the trace automatically, beginners can create usable designs without much manual effort. According to Template Fonts, the tool works well for repurposing artwork or simplifying busy images.
Finding Canva Apps for Tracing
Beyond built-in effects, Canva also provides apps that expand tracing options. The Tracer app lets users convert images into sharp vector-style graphics, including both black-and-white and full-color versions. This makes it useful for projects where scalability and precision matter.
To access it, users open the Apps section in Canva, search for Tracer, and install it. Once active, they can upload an image and instantly generate a traced version.
Other apps, like Trace to Frame, allow users to outline or trace images to build custom frames and shapes. These integrations give more flexibility compared to the Stencil tool. Exploring apps like Tracer or Trace to Frame can be helpful for users who want more creative control.
Using the Stencil Tool to Trace Images
The Stencil tool in Canva makes it easy to turn regular images into clean outlines. By applying effects, adjusting settings, and checking the preview, users can create simple traced designs that are ready for customization.
Applying the Trippy Effect
To begin tracing, the user selects an image and opens the Image Editor. From there, they scroll to the Trippy effect section, where the Stencil tool is located. This tool automatically generates an outline of the image.
The Trippy effect works best with clear images that have strong edges. Busy or low-quality pictures may not trace as cleanly, so it helps to start with a simple photo or logo.
Once the tool is applied, Canva quickly converts the image into a stencil-style outline. This gives the user a starting point that can be refined with further adjustments.
Adjusting Stencil Settings
After applying the stencil, the user can fine-tune the results. Canva provides sliders for intensity, detail, and smoothness. Each setting changes how sharp or soft the traced lines appear.
For example:
| Setting | Effect on Trace |
|---|---|
| Intensity | Darkens or lightens the outline |
| Detail | Adds or removes small features |
| Smoothness | Rounds or sharpens edges |
He or she can experiment with these controls until the traced image matches the desired style. A higher detail level works well for logos, while smoother lines are better for posters or simple graphics.
These adjustments allow the traced image to look clean without needing extra editing.
Previewing and Applying the Trace
Before saving, it’s important to preview the traced image. Canva shows real-time changes, so the user can compare the stencil version with the original photo.
If the trace looks too rough, they can return to the settings and make small tweaks. It often takes a few tries to balance detail and clarity.
Once satisfied, the user applies the trace and continues designing. At this stage, they can add color, text, or other elements to the outlined image. This step finalizes the trace and makes it ready for use in logos, posters, or other projects.
For more guidance on this process, users can check tutorials like how to trace an image in Canva.
Exploring Canva Tracing Apps
Canva includes built-in apps that let users turn images into editable graphics. These tools give more control over outlines, shapes, and frames compared to simple effects.
Using the Tracer App
The Tracer App in Canva converts regular images into vector-style graphics. This is helpful when someone wants to scale a design without losing quality. It works with both black-and-white and full-color options.
To get started, users open the Apps menu and search for Tracer. After selecting an image, the app automatically processes it into a vector. Settings like threshold can be adjusted to refine how much detail gets traced.
A key benefit is that traced images can be saved as SVG files, which makes them flexible for logos, icons, and other designs that need resizing. This process is especially useful for sketches, hand-drawn art, or low-resolution graphics that need a cleaner look.
For a step-by-step walkthrough, Canva offers a guide on using the Tracer App.
Using Trace to Frame
The Trace to Frame app focuses on creating custom frames from images. Instead of turning a picture into a vector, it allows users to outline objects and instantly generate a frame shape.
To use it, they select an image, choose Trace to Frame, and follow the edges with a mouse or finger. Canva then builds a frame that matches the traced outline. This frame can hold other photos, colors, or patterns.
This tool is practical when someone wants unique shapes beyond Canva’s standard frames. For example, tracing around a product photo creates a frame that fits the object perfectly. The app is available directly within Canva under Trace to Frame.
Customizing Your Traced Image
Once an image has been traced, it becomes more flexible for editing. Users can add design elements, adjust layers, and combine graphics to create a polished look that fits their project.
Adding Text and Shapes
Text and shapes help give context and structure to a traced image. For example, a traced logo can be paired with a brand name in bold, clean fonts. Shapes such as circles, rectangles, or lines can frame the image or highlight key details.
In Canva, text can be customized with different fonts, sizes, and colors. Users can also apply effects like shadow or outline for better readability. Shapes can be resized, rotated, and recolored to match the traced design’s style.
When combining text and shapes, it helps to keep spacing consistent. Using Canva’s alignment tools ensures everything looks neat and balanced. Designers often place text inside or around shapes to make information stand out, such as a traced icon with a caption below.
A simple table can help organize design choices:
| Element | Customization Options | Example Use |
|---|---|---|
| Text | Font, size, color, effects | Add a tagline under a traced logo |
| Shapes | Resize, rotate, recolor | Create a border around the traced image |
Layering Elements
Layering allows users to control which parts of the design appear in front or behind others. For instance, a traced image can sit on top of a colored background while text floats above both. This creates depth and helps guide the viewer’s attention.
In Canva, the Position tool makes it easy to move elements forward or backward. Users can also group items together so they stay aligned when moved.
Layering is especially useful when combining multiple traced images. A designer might overlap shapes, add icons, or place decorative graphics behind the main subject. Keeping contrast in mind ensures that important details remain visible.
By adjusting transparency, users can soften background elements without distracting from the traced image. This technique works well for posters, social media graphics, and presentations where clarity is important.
Tips for Best Results When Tracing Images
Good tracing in Canva depends on starting with a clear image and making careful adjustments to the edges. Clean visuals and proper contrast settings help the tracing tool pick up the right details without creating too much noise or distortion.
Choosing the Right Images
The quality of the image makes the biggest difference. A high-resolution photo with sharp lines will trace more cleanly than a blurry or pixelated one. For example, a logo in PNG format usually produces better results than a low-quality JPEG.
Simple images with bold outlines are easier to trace. Complex pictures with lots of tiny details may not translate well when converted. If the goal is a clean outline, it helps to pick an image that already has strong separation between shapes.
Formats like PNG or JPEG work best in Canva. While Canva supports multiple file types, clean PNGs preserve edges better. Images with transparent backgrounds can also make the process smoother since there’s less visual clutter for the tool to process.
When possible, users should avoid images that are too dark or have busy backgrounds. These features can confuse the tracing tool and result in jagged or incomplete outlines.
Adjusting Contrast and Edges
Once the image is uploaded, adjusting the contrast and edge settings helps the traced version look sharper. Canva’s Stencil tool within the Trippy effect allows users to fine-tune settings like Edges Amount and Edges Passthru. Small changes here can make a big difference.
For example, lowering the passthru setting reduces unnecessary detail. Increasing the edge amount slightly can strengthen outlines without overwhelming the image. Keeping RGB shift values at zero ensures colors stay clean and don’t blur the traced lines.
It’s best to make adjustments gradually. A small tweak to contrast or edge thickness often improves clarity more than extreme changes. Testing different levels and previewing the results helps find a balance between smooth lines and visible detail.
Users can also zoom in after applying the effect to check for broken or uneven edges. If needed, they can adjust again until the traced image looks consistent across the entire design.
Legal and Copyright Considerations
When tracing an image in Canva, users need to think about copyright. Not every image uploaded or found online is free to use. Canva’s own media library follows a licensing system that gives permission under certain conditions rather than full ownership.
Canva offers both free and Pro content. Free items usually come with a standard license, while Pro users get access to a broader commercial license. This means they can use stock photos, graphics, and templates in marketing or social media, but they still don’t own the copyright to those elements.
A simple way to remember the rules is:
- Personal use: Often allowed.
- Commercial use: Allowed if licensing terms are met.
- Reselling or redistributing Canva content: Not allowed.
For example, Canva explains that users must follow its content licensing agreement. This helps avoid issues like selling unmodified stock images or claiming Canva’s elements as original artwork.
It’s also important to note that tracing an image uploaded from outside Canva does not remove its copyright. If the original image is protected, the traced version may still count as a derivative work. Users should either create their own artwork or confirm that the image is free to use, such as public domain or licensed for modification.