Removing the ruler in Canva can make the design process smoother and more enjoyable.
To get rid of the ruler, users can easily disable it through the View menu. This simple step can help clear up the workspace when the ruler gets in the way.
Many designers find that the ruler can be distracting, especially when focusing on precise image placement and layout. With just a few clicks, individuals can create a cleaner canvas that allows for greater creativity.
In this blog post, readers will learn practical steps to remove the ruler in Canva and enhance their design experience. This quick guide will help you take control of your workspace and improve your workflow.
Getting Started with Canva
Canva is a user-friendly graphic design tool that helps users create various visual content.
Understanding the layout and tools available can make the design process smoother and more enjoyable.
Overview of Canva’s Interface
Canva’s interface is intuitive and easy to navigate.
On the left side, users find the toolbar, where they can choose templates, elements, text, and backgrounds.
The design area, in the center, allows users to create and edit their projects.
At the top, there are options for saving, sharing, and downloading designs. Users can also access account settings here.
The menu bar includes features like undo and redo, which are handy for making quick adjustments.
Understanding these sections helps users work efficiently. Familiarity with the interface ensures smoother design experiences.
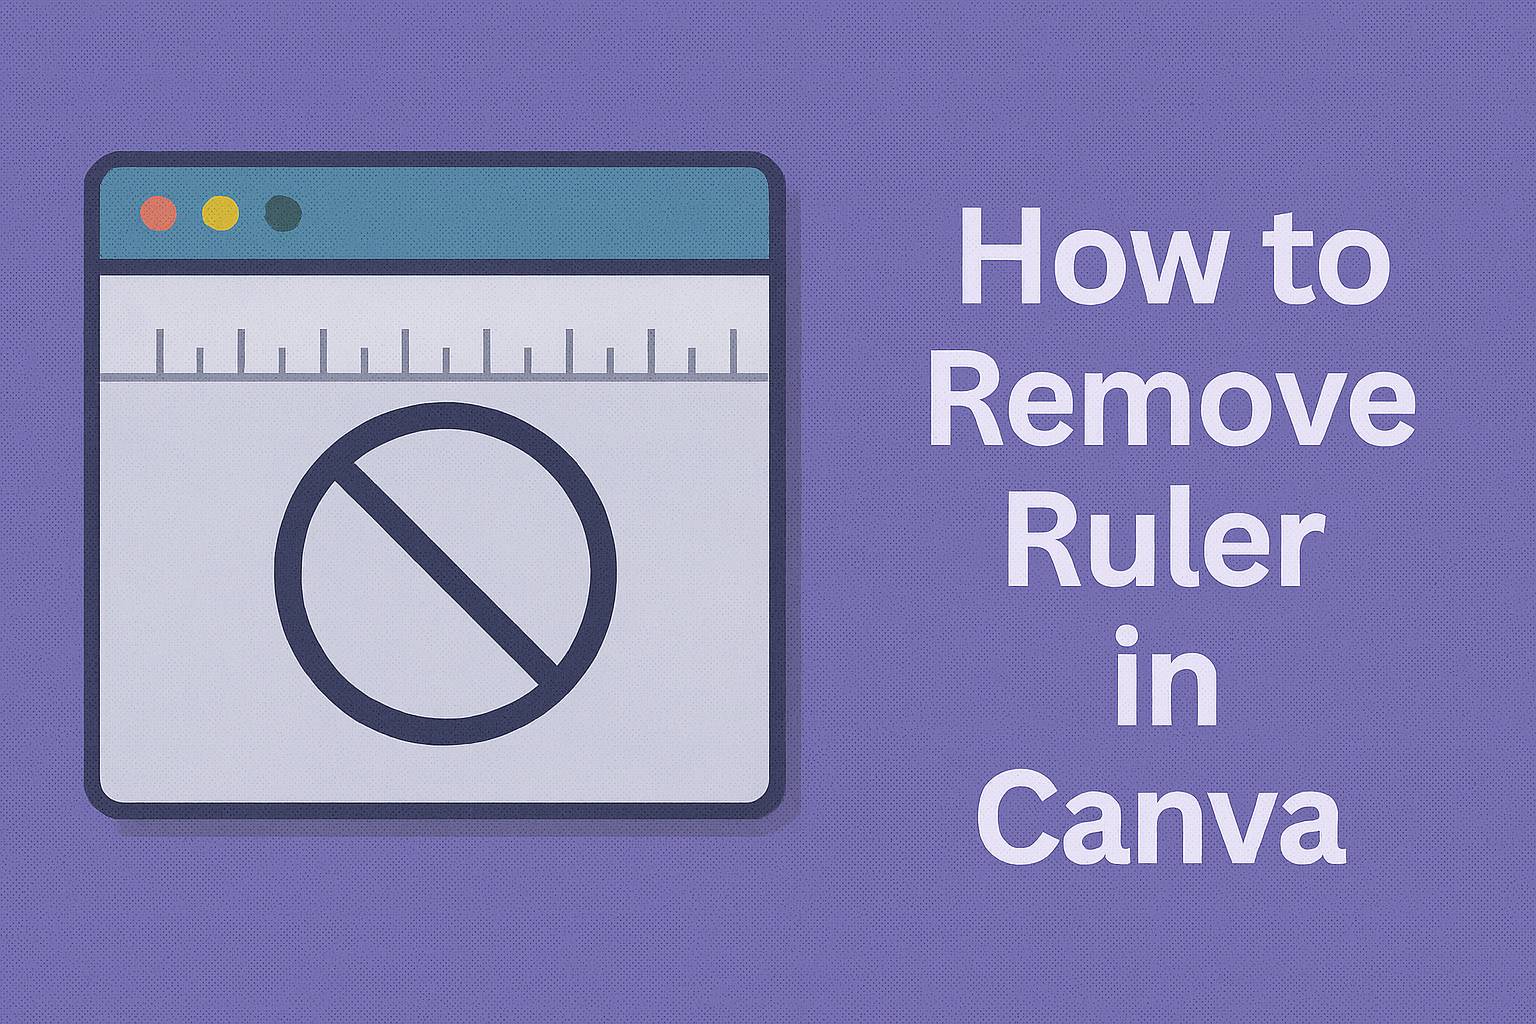
Understanding the Canva Ruler
The ruler in Canva is a helpful tool for aligning elements precisely. It appears at the top and left sides of the design area. Users can drag it to set custom margins or guide lines.
To ensure accuracy, the ruler can be turned on or off. This is useful for cleaning up the workspace. Knowing how to toggle the ruler helps users focus on creativity without distractions.
Using guides alongside the ruler provides additional support. Users can align text, images, and other elements easily. Mastery of these tools allows for polished and professional-looking designs.
Steps to Remove the Ruler in Canva
Removing the ruler in Canva is a straightforward process. This section will guide users through accessing the ruler settings and turning off the ruler with ease.
Accessing the Ruler Settings
To begin, the user needs to find the settings menu in Canva. They can do this by clicking the gear icon located in the top right corner of the screen. This icon will open a dropdown menu with various preferences.
In this menu, they should look for the option labeled “View settings.” Here, they will find the choice to show or hide rulers and guides.
Clicking this option allows them to view the current settings. They can see if the ruler is enabled or disabled.
By knowing how to access this area, users can easily adjust their workspace according to their needs.
Turning off the Ruler
Once users have accessed the ruler settings, turning off the ruler is simple.
To disable it, they need to uncheck the box next to “Show rulers” in the View settings menu. This action will remove the visible ruler from the workspace.
After unchecking the option, users may notice immediate changes within their design. The workspace becomes clearer, allowing for a more focused approach to creating designs.
If they want to turn the ruler back on later, they can simply repeat the steps and check the box again. This flexibility makes it easy for users to customize their Canva experience according to their preferences.
Troubleshooting Common Issues
Removing the ruler in Canva can sometimes lead to unexpected issues. Understanding these common problems can help users navigate their design process more smoothly.
Ruler Not Disappearing
If the ruler does not disappear after attempting to hide it, this can be frustrating.
First, make sure to go to the top menu and click on the “View” option. Then, look for “Hide Ruler.”
If it’s still visible, try refreshing the page.
Sometimes, a cached version of Canva may need updating. Clearing the browser’s cache might also solve the issue.
Another possibility is that the user has multiple tabs open or is using a slow internet connection. This can cause Canva to lag, preventing changes from taking effect immediately.
Closing extra tabs or improving the internet connection may resolve the issue.
Changes Not Saving
When changes do not save in Canva, users may feel anxious, especially after putting in a lot of effort.
It’s crucial to check if there’s an internet connection issue. Canva requires a stable connection to save work.
Additionally, users should look for a notification that indicates whether the project has been saved.
Sometimes, users might not notice that their session has expired, leading to unsaved changes.
If an error occurs, it may help to log out and log back in. Reopening the design can refresh the connection to Canva’s servers.
If problems persist, contacting Canva support can provide further assistance.