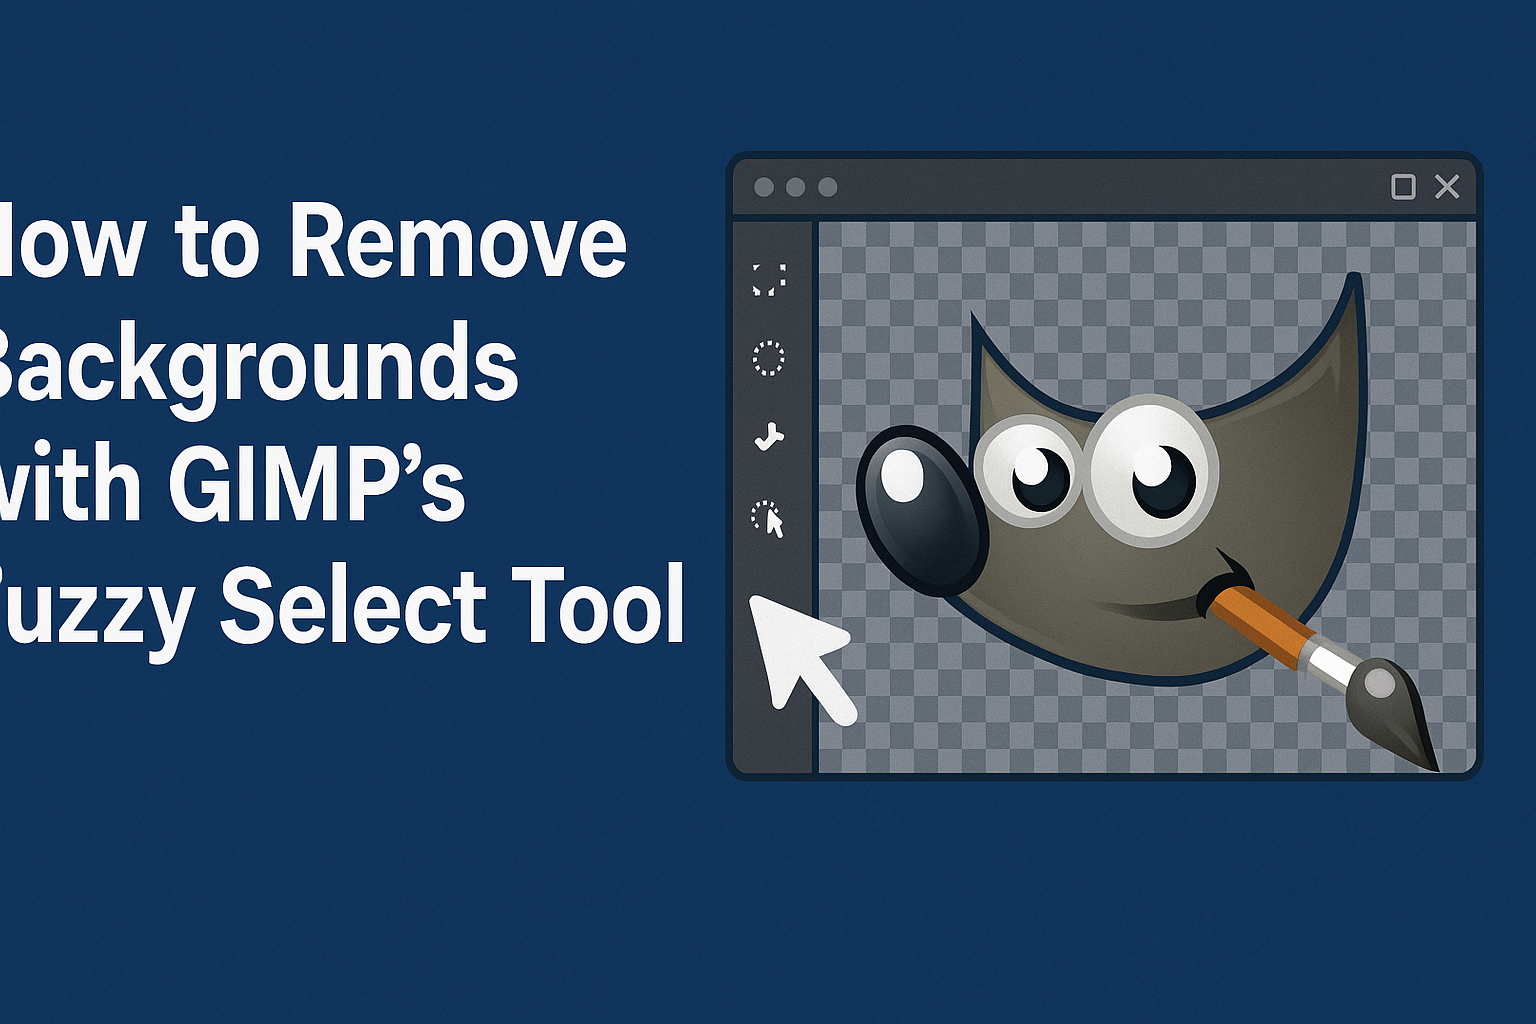
For those looking to make their images stand out, learning to remove backgrounds in GIMP can be a game-changer. The Fuzzy Select Tool in GIMP allows users to easily separate the subject from the background, making it perfect for quick edits. This tool works by selecting areas of similar color, which is ideal for backgrounds that are relatively uniform.
Using this tool is a straightforward process, even for beginners. By simply opening an image and selecting the Fuzzy Select Tool, users can click on areas they want to remove. Dragging to adjust the threshold ensures that similar colors are selected, making the process customizable.
The addition of an alpha channel is crucial for transparency, creating a polished, professional look. For more detailed instructions, you can refer to guides like this one from GIMP Documentation. With practice, anyone can master this tool and elevate their photo editing skills.
Essentials of GIMP
GIMP is a powerful, open-source image editor. It allows users to work on various photo editing tasks, including background removal. Available for Windows, macOS, and Linux, GIMP offers flexibility and is free to use.
Features of GIMP:
-
Layers: Manage different parts of an image separately. Layers help users edit non-destructively, keeping original elements safe.
-
Selection Tools: Includes Fuzzy Select, Foreground Select, and more. These tools enable precise editing by selecting specific areas of an image.
-
Brushes and Patterns: Users can choose from a variety of brushes. Custom patterns allow for creative, detailed work in designs.
Basic Tools:
-
Crop Tool: Trim images to desired sizes quickly.
-
Resize Tool: Adjust image dimensions without losing quality.
-
Text Tool: Add text to images in different styles and fonts.
GIMP supports various formats like JPEG, PNG, and TIFF. This ensures users can save and export their work according to their needs.
For beginners, exploring GIMP can be exciting. Tutorials and forums are widely available, fostering learning and sharing. Using the Fuzzy Select Tool, as part of the selection tools, is a great way to start experimenting with background removal.
With its extensive features and community support, GIMP proves to be a valuable tool for both amateurs and professionals in photo editing.
Understanding the Fuzzy Select Tool
The Fuzzy Select Tool in GIMP is a powerful feature for separating an object from its background by selecting areas based on color similarities. Users can control sensitivity through the threshold setting to ensure precise selection.
How the Fuzzy Select Tool Works
The Fuzzy Select Tool, often called the “Magic Wand,” selects pixels in an image that have similar colors. It starts from a single click on the image and extends to areas of similar color value, making it perfect for simply colored backgrounds.
This tool is intuitive as it requires just a single click to start the selection. The tool explores all adjacent pixels with a similar color intensity. The threshold setting allows users to adjust how far this exploration goes, determining how diverse in color the selected pixels will be. A high threshold results in a broader selection, while a low threshold focuses on a limited range of colors. This flexibility enables precise editing, especially in images with complex backgrounds.
Adjusting Tool Options for Better Results
Optimizing the Fuzzy Select Tool options can greatly improve selection results, making it ideal for detailed projects. Key options include threshold adjustments, which control the color range, and the capability to include or exclude nearby pixels based on color similarity.
Antialiasing smoothens the edges of selections to prevent jagged lines, enhancing overall image quality. Feather Edges softens the selection edges for a more natural blend. Draw Mode displays outlines of the selected area for visual clarity. By experimenting with these settings, users can efficiently refine their selections and achieve professional-looking results.
Preparing Your Image for Editing
Before diving into background removal with GIMP’s Fuzzy Select Tool, it’s important to get your image ready. Start by opening your image in GIMP. This can be done by clicking on File in the menu bar, then selecting Open. Choose the image you want to edit and click Open.
The next step is to add an Alpha Channel to your image. This allows for transparency when you remove the background. To do this, right-click on the image layer in the Layers dialog. Choose Add Alpha Channel from the menu.
It’s helpful to organize your workspace for better efficiency. Make sure the toolbox is visible, as well as the Layers dialog. If they are not displayed, go to the Windows menu, then Dockable Dialogs, and select Tool Options and Layers.
Once your image is open and layered correctly, it’s a good practice to zoom in on your subject. This will help you see the edges more clearly. Use the zoom tool, found in the toolbox, to get closer details.
A clean edge will make removing the background easier. Make sure any unwanted elements are cropped out or positioned correctly in the frame. Use the Crop Tool to trim any unnecessary parts of the image.
Using the Fuzzy Select Tool
The Fuzzy Select Tool in GIMP is great for removing backgrounds from images. It differentiates areas on the basis of color, making it quite precise for selecting contiguous regions. Here, you will find steps for creating a selection, refining edges, and troubleshooting common problems.
Making Your First Selection
To start using the Fuzzy Select Tool, first open your image in GIMP. Access the tool through the menu bar by navigating to Tools > Selection Tools > Fuzzy Select. You can also select it from the toolbox by clicking on the magic wand icon.
Click on the area of the image you want to select. The tool will find colors similar to the pixel you clicked on and outline them. This is useful when working with images having distinct color backgrounds. Adjust the Threshold feature to increase or decrease the sensitivity of the selection. A higher threshold results in selecting a broader range of similar colors, while a lower one narrows it down.
Refining the Selection Edges
After making the initial selection, edges might appear jagged or not well-defined. To refine them, explore the Feather Edges option. Access this by right-clicking on the selection and choosing Select > Feather. Set a small value to slightly soften the edges, which helps in blending.
Another way to refine edges is by using Select > Grow or Shrink to adjust the selection size. This alteration helps ensure that all targeted elements are either included or excluded from the selection. For more precision, utilize Quick Mask mode by activating it with Shift + Q. This feature allows visual tuning of the selection boundaries by painting directly on the mask.
Troubleshooting Common Selection Issues
While using the Fuzzy Select Tool, some users might face difficulties with overlapping or incomplete selections. If your tool picks up unwanted areas, it’s a good idea to lower the Threshold. This setting helps in limiting the selection range to closely match the color you want.
For stubborn or ignored areas, try switching to the Add to Selection mode, which can be found in the tool options. This allows additional areas to be selected without losing the current selection.
Another issue might be an overly complex image with many colors. In such cases, consider learning more about GIMP’s Magic Wand to better understand how it can be tailored for your specific needs.
Removing the Background
Using GIMP’s Fuzzy Select Tool makes the process of removing backgrounds both effective and easy. By deleting the selected area and adding transparency to the image, users can create clear and professional visuals.
Deleting the Selected Area
Once the Fuzzy Select Tool is activated, the user must click on the area they wish to remove. This tool works best on backgrounds with a consistent color or pattern. By selecting the unwanted background, users can then press the Delete key on their keyboard to remove it.
For best results, enabling options like Antialiasing can help smooth the edges. This prevents jagged lines and creates a cleaner separation between the subject and the background. If the initial selection is not perfect, adjustments can be made by holding down the Shift key to add to the selection or the Ctrl key to subtract from it. This flexibility ensures users have control over what is kept or removed.
Adding Transparency to the Image
After removing the unwanted background, transparency needs to be added to the image. This is done by adding an Alpha Channel to the layer. Right-click on the image layer in the layer panel and choose “Add Alpha Channel.” This adds transparency information to the image, allowing the deleted background to appear clear and see-through.
It’s important to remember this step, as skipping it will result in the background being filled with a solid color instead of becoming transparent. For more precise adjustments, features like Feather Edges can be enabled. This softens the transition between the subject and the transparent background, giving a more polished look.
Further Enhancing Your Image
After removing the background, you can improve your image quality by adjusting the levels and colors. Applying effects and filters can add creative flair. Here’s how to further enhance your edited image in GIMP.
Adjusting Levels and Colors
To make your image look its best, adjusting the levels can balance the brightness and contrast. In GIMP, you can do this by selecting Colors from the top menu and then choosing Levels. This tool lets you modify shadows, highlights, and midtones using the sliders. Fine-tuning these elements can make colors pop and increase the overall clarity.
Color correction is another essential step. Select Colors > Color Balance to tweak shadows, midtones, and highlights. Adjusting these settings can fix color casts and enhance the image’s natural tones. Experimenting with the Hue-Saturation option under the Colors menu can also saturate or desaturate colors, giving you control over how vivid the image appears.
Applying Effects and Filters
GIMP offers a variety of effects and filters that can transform your image’s appearance. Start by exploring the Filters menu at the top. Options like Blur or Sharpen can soften or clarify details as needed. Using the Artistic filters, such as Oilify or Cartoon, adds unique textures or styles to your photo.
Moreover, applying a vignette effect can draw attention to the center of the image. Go to Filters > Light and Shadow > Vignette to create this effect. Tailoring the settings here will let you control the vignette’s size and softness, giving your image a professional touch.
Saving and Exporting Your Work
After editing an image with GIMP’s Fuzzy Select Tool, the next important step is saving your work in a suitable format. Choosing the right file type can preserve your image’s quality and transparency and ensure compatibility with different platforms.
Exporting to Different File Formats
GIMP offers several file formats, and each has unique features. To maintain transparency, PNG is a preferred choice. It keeps the background clear and is compressed without losing image quality. Another option is JPEG, which is great for web use, though it doesn’t support transparency.
For projects needing high detail, TIFF is ideal due to its ability to handle large file sizes and lossless quality. Other formats like GIF might be suitable for simple graphics with a limited color palette. To export, go to File > Export As, and choose your desired file type. Use the settings to adjust compression levels and quality.
Best Practices for File Naming and Saving
Organizing files is crucial for easy access later. Use descriptive names with clear details about the image or project, like including the date or version number. Consistent naming conventions, such as “ProjectName_Version_Date,” can prevent confusion.
Store files in dedicated folders for each project or client. This keeps similar files grouped and avoids clutter. Remember to save your work frequently to prevent data loss. Consider creating backup copies, especially before making significant changes. This way, they can safeguard their progress and revert to earlier versions if needed.