Managing digital clutter is just as important as tidying up a physical space.
When it comes to organizing designs in Canva, knowing how to clean up the workspace can be a real game changer.
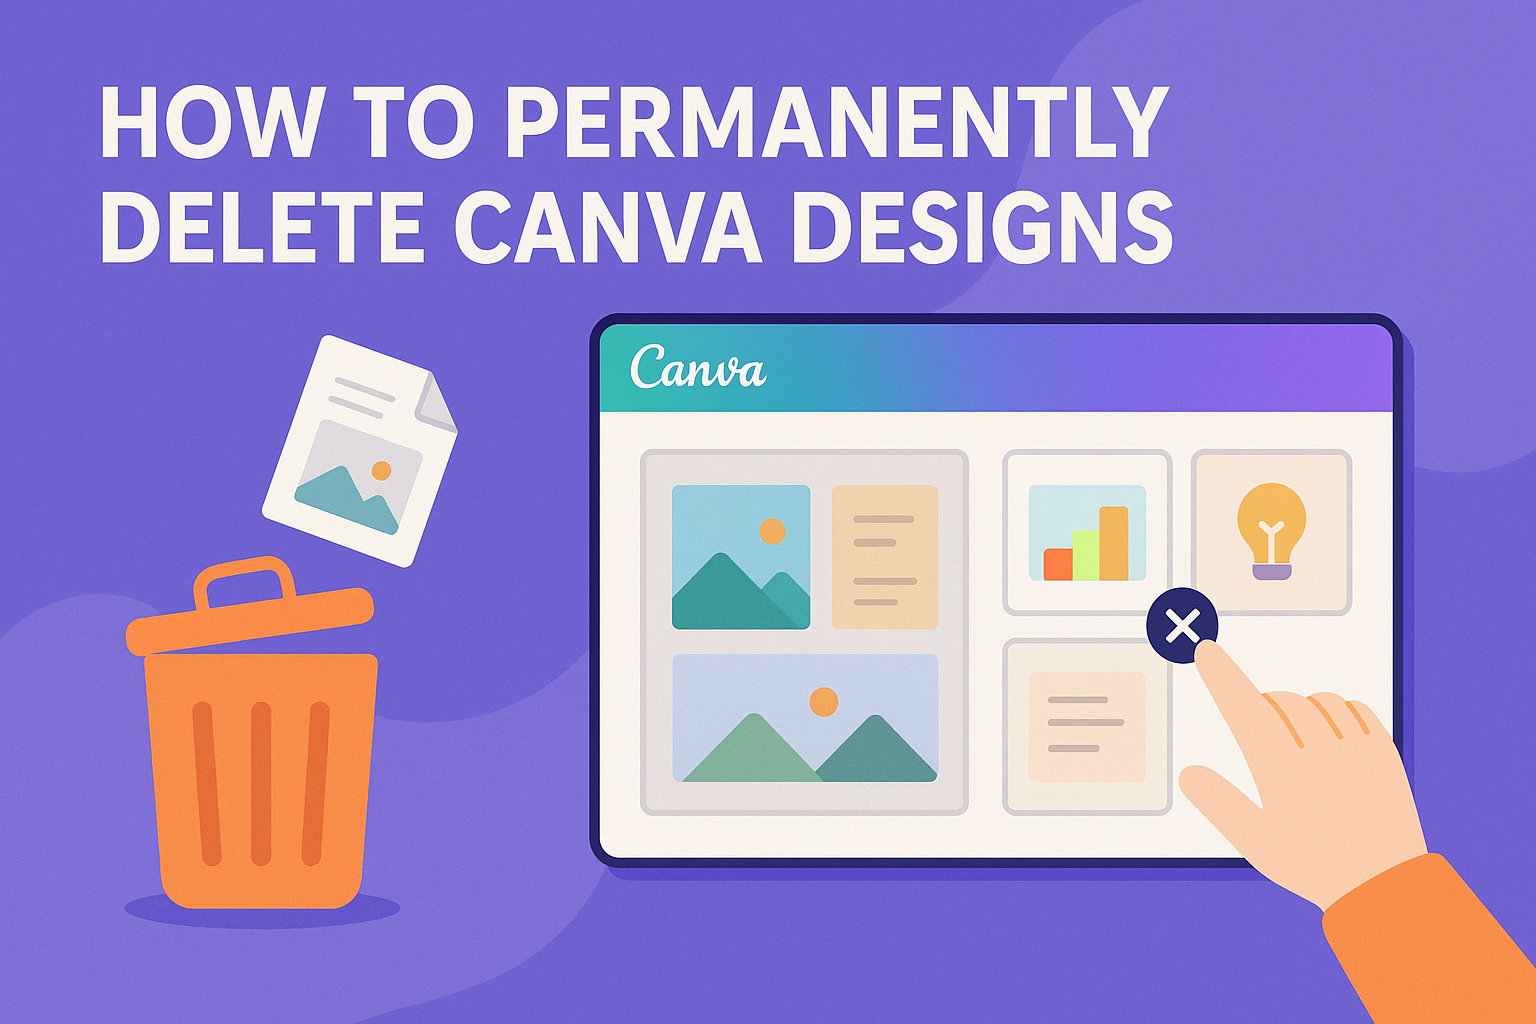
To permanently delete Canva designs, users need to move unwanted items to Trash and then delete them from there. This ensures a tidy workspace and helps focus on current projects without distractions.
Understanding the process of deleting designs not only saves space but also keeps things organized.
By regularly clearing out old or unused projects, users can make room for fresh ideas and new creations.
Sending a design to the Trash is one step, but making sure it’s permanently deleted seals the deal for a clutter-free space.
People often overlook the importance of cleaning up their design files, thinking it might not be worth the hassle.
Yet, a well-organized design folder can make work more efficient and enjoyable.
With a little effort, anyone can master the art of permanent deletion in Canva, simplifying their creative process significantly.
Understanding Canva and Design Deletion
Canva is a versatile tool used by many for creating various design types.
Knowing how to manage and delete designs can help users keep their workspace organized and efficient.
Here’s a closer look at Canva and what design deletion involves.
What Is Canva?
Canva is a graphic design platform that allows users to create a wide range of visual content. It is popular among both beginners and professionals because of its user-friendly interface and extensive library of templates and elements.
Users can design everything from social media graphics to presentations and marketing materials. With drag-and-drop features, Canva simplifies designing, making it accessible to those without a background in graphic design.
Users can collaborate on projects, making it ideal for teams. The platform provides various tools that cater to different design needs, supporting creativity and innovation. It even offers free and premium accounts, giving different levels of access to resources.
Types of Canva Designs
Canva supports several design types, catering to a broad spectrum of creative needs.
Users can create social media posts, flyers, invitations, banners, logos, and more. Each design type has dedicated templates that help users streamline their creation process.
Print designs like posters and business cards are also available. Additionally, users have the option to work on digital content such as videos and animations with Canva’s editing tools. Understanding these design types allows users to maximize their use of Canva’s offerings.
Implications of Deleting a Design
Deleting a design in Canva is a way to manage storage and organization within the platform.
When a design is deleted, it is removed from the user’s project list. However, permanent deletion means it cannot be restored, making it important to decide if a design is no longer needed.
Users can choose to delete designs individually or in batches. Permanently deleting a design helps clear clutter, but users should exercise caution and consider using folders to manage their designs properly. Deleting is irreversible, which might be critical if files are needed later.
Preparing to Delete Your Canva Design
Before deleting a Canva design, it is crucial to take certain preparatory steps. These steps ensure that you won’t lose any important work unintentionally and that the correct design is selected for deletion.
Backing Up Your Design
Saving a backup of your design is important. By doing so, you can ensure you have access to your work if you need it later.
He or she can download the design by clicking the download button in the top right corner of the Canva interface. This process offers options such as selecting the file type, like PNG, JPEG, or PDF.
Depending on the design complexity, this step may take a little time, but it’s always worth doing.
Sometimes, a simpler way to back up a design is by duplicating it within Canva. A user can do this through the “File” menu by selecting “Make a copy.” This copy will appear right in their Canva projects, providing a quick safety net.
Keeping backups on their computer or cloud storage, they reduce the risk of losing their creative work forever.
Ensuring Design Is Selected
Selecting the right design for deletion is key.
He or she should navigate to the “Your Projects” page, which displays all designs. From there, it’s easy to scroll through and find the specific design.
By clicking once on the design thumbnail, they can select it.
After selecting a design, clicking the three dots provides several options. It’s important to click on “Move to Trash” initially. Doing this step ensures that only the intended design is marked for deletion.
If desired, multiple designs can be selected by holding the shift key and clicking additional thumbnails. Remember, accidental deletion can happen if the wrong design is chosen, so careful review is crucial.
Step-by-Step Guide to Deleting a Design
Deleting a Canva design involves accessing your dashboard, finding the design you wish to remove, and then permanently deleting it. Here’s how to do it efficiently and effectively.
Accessing Your Canva Dashboard
To begin, the user needs to log into their Canva account. Once logged in, they will be directed to the main dashboard. This page acts as a central hub where all designs and tools are available.
On the left side of the dashboard, there is a menu with various options. Here, they should look for the “Projects” tab, which houses all saved designs. Clicking on this tab will reveal a list of every project created, making it easy to manage designs.
The dashboard also allows sorting and filtering designs, which helps if the user has numerous projects. By using these features, they can quickly locate specific designs without scrolling through long lists.
Locating the Design to Delete
After accessing the projects, the next step is to find the exact design for deletion. Users should scroll through their projects to locate the particular design.
For quicker access, highlight the design by hovering the mouse over it. Canva offers a feature to bulk select designs by clicking on them, which is useful if multiple designs need to be deleted.
If unsure about the design’s details, Canva provides thumbnails and names for easy identification. These small previews help in recognizing projects without opening them fully.
Permanently Deleting the Design
Once the design is identified, start the deletion process by clicking on the three dots associated with the project. This reveals a menu with the option to “Move to Trash” from how to delete or recover a design in Canva.
After moving it to the trash, go to the side panel where the trash icon is located. Click on this icon to view all trashed items. To permanently remove the design, select it from the trash and look for the delete option, often marked by a trash icon.
Confirm the deletion to ensure the design is removed from the account permanently. This step is crucial as it clears space and helps maintain an organized workspace.
After Deletion: Confirming and Recovery Options
When a design is deleted on Canva, it’s important to ensure that it’s completely removed. If a mistake happens, there are ways to recover some designs. This section details how to confirm the deletion and explore the recovery features Canva offers.
Confirming the Deletion
After you decide to delete a design in Canva, making sure it’s gone is the next step.
Navigate to the Trash in Canva to check if the design appears there. Designs usually stay in the Trash for a certain period before being permanently erased.
If the design is not in the Trash, and you cannot find it anywhere else in your account, it is likely permanently deleted.
While some changes are immediate, others might take a little time. This depends on server updates. If unsure, recheck the Trash folder after waiting for a bit, keeping in mind the account’s grace period for recovery.
Understanding Canva’s Recovery Options
Canva provides recovery options for some deleted designs. If a design is in the Trash, users have a chance to restore it. This can usually be done directly from the Trash, where users can click to recover the design before it is permanently deleted.
Recovery isn’t always possible if designs have been erased permanently after a grace period.
In such cases, it’s good practice to frequently back up important designs. Accidental deletions can happen to anyone, and understanding these options ensures that one can act quickly to recover lost work. For detailed steps, you can refer to guides like those found on bwillcreative.com.
Alternatives to Deletion
Sometimes, it might be better to keep designs instead of deleting them permanently. Canva offers options like archiving and revising, which can be helpful if you want to revisit your work later or make improvements. These alternatives help in organizing and refining your creative projects.
Using Canva’s Archive Feature
Canva’s archive feature is a great way to tidy up your workspace without losing your designs forever.
He or she can move designs to the archive instead of deleting them. This allows easy retrieval in the future if needed.
To archive a design, the user can go to their Projects, select the design, and click on the archive option. Archived designs are accessible from the “Archived” section in Canva, making it convenient when one needs them again.
Archiving is useful if someone wants to temporarily remove a design from the main workspace without losing it completely. It provides peace of mind, empowering creators who may later change their mind or see value in old designs.
Revising Instead of Deleting
Revising can be an effective approach for users who are unsure about deleting their designs.
Instead of getting rid of them, she or he can make changes or improvements, giving the design a fresh look.
Sometimes, a simple tweak or updated elements can significantly improve a design’s appeal. By revising, creators can preserve their original work, allowing them to compare different versions and decide which is more effective.
If a design is not quite right, consider changing colors, fonts, or layouts. This can result in a design that feels brand new without starting from scratch. Revising hones one’s skills and ensures that designs are continually improved and remain useful.
Maintaining Your Canva Portfolio
Keeping a well-organized and up-to-date Canva portfolio can help users easily access their designs and showcase their best work. This involves organizing designs effectively and conducting regular reviews to ensure everything is current and relevant.
Organizing Your Designs
Organizing designs in Canva is crucial for efficient management.
Users can create folders to categorize their projects. They might have different folders for work projects, personal designs, or specific clients.
Tagging designs with keywords is another way to keep track of them. It helps users find specific designs using the search function.
Consistent naming conventions can also make finding files easier. Using clear and descriptive titles helps in quickly identifying the content of each project.
Deleting unnecessary or outdated designs can free up space and reduce clutter. Regularly reviewing files is helpful to decide which designs to archive or remove. A clean workspace not only improves efficiency but also ensures quick access to important projects.
Regular Portfolio Review
A regular review of a Canva portfolio is essential to maintain its relevance.
Users should examine their archives monthly or quarterly.
This process involves checking if the designs still align with their current style and goals.
Identifying outdated designs that no longer represent one’s abilities or brand image is important.
These can be removed or updated.
It’s also beneficial to highlight recent or successful projects by moving them to a featured section.
Undertaking a review helps in spotting trends in design work, identifying strengths, and areas for improvement.
This continuous evaluation keeps the portfolio fresh and engaging for any audience.