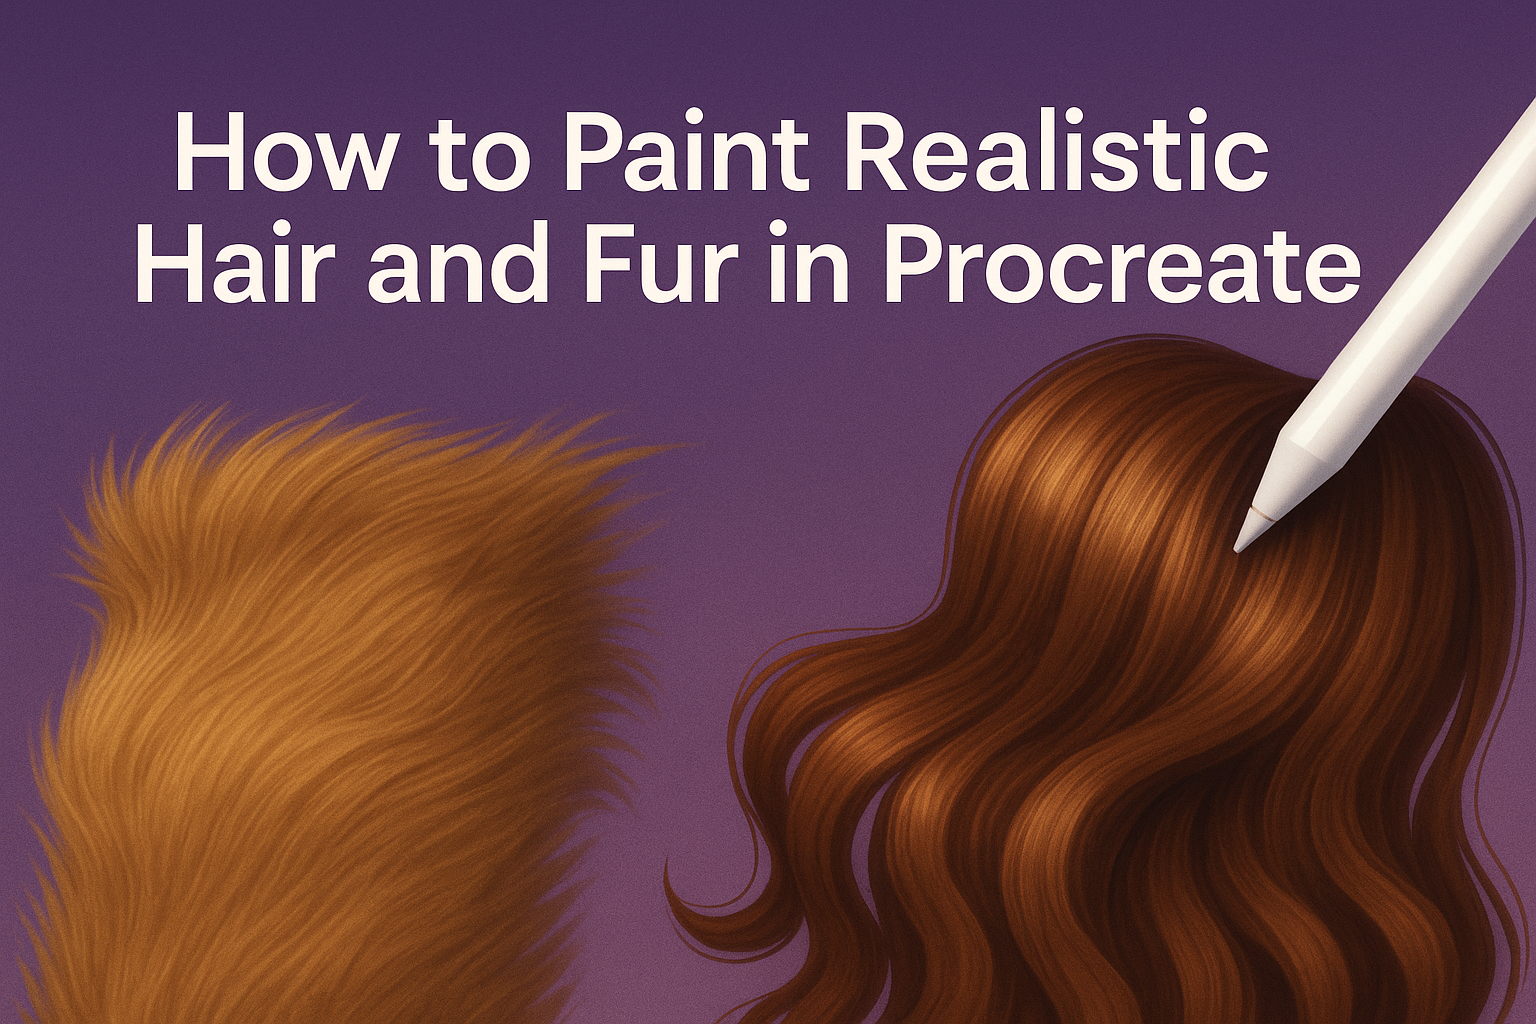
Painting realistic hair and fur in Procreate can elevate digital artwork to a new level of detail and professionalism. The secret lies in mastering the app’s brush tools and techniques to achieve the texture and flow of natural hair and fur. With the right approach, artists can transform their animal portraits and character designs with lifelike detail.
For those looking to enhance their skills, exploring different brush sets is vital. There are many resources available, including tutorials and specialized brushes, such as those found in the FUR brushes for Procreate collection. These tools simplify the process, allowing artists to focus on creativity rather than technique.
Learning from experts can also be beneficial. Many artists share their step-by-step processes, such as this Procreate tutorial for drawing realistic fur. By following these guides, both beginners and seasoned artists can develop a deeper skill set and bring their artistic visions to life.
Getting Started in Procreate
Navigating Procreate for the first time can be exciting. Users should familiarize themselves with the interface, select appropriate brushes, and set up their canvas. These steps help in creating vibrant and realistic hair and fur drawings.
Understanding the Procreate Interface
When starting with Procreate, it’s crucial to know where all the tools are located. The top bar holds essential features like brushes, layers, and colors. On the left, there is a sliding bar that adjusts brush size and opacity.
The gallery is the first stop and helps you manage projects. The ‘+’ button creates new canvases. Layers, a key part of digital painting, help make complex designs easier by keeping elements separate. Navigating through these options ensures a smooth workflow for artists.
Choosing the Right Brushes
Picking the right brush is vital for realistic effects. Procreate offers a wide array of brushes, including those suited for hair and fur. The standard brush set includes many choices, but there are also special brushes made for detailed textures.
Some artists find specific sets better for creating realistic fur effects. For example, brushes from creators like Bardot or Eldar Zakirov are praised for their realism. Practicing with different brushes lets artists find what works best for their style.
Setting Up Your Canvas
Setting up the canvas before starting a project is important. Procreate allows users to choose the canvas size and resolution. A higher resolution is often better for detailed work such as hair and fur.
Artists should decide the dimensions based on their device capability and project needs. The document settings let users select width, height, and DPI. Starting on the right canvas size helps ensure the final artwork looks polished and professional, especially when detailed textures are involved.
Basics of Hair and Fur Textures
To create realistic hair and fur in Procreate, understanding the texture details is crucial. This involves studying the way hair and fur flow, recognizing different types, and considering how lighting affects them.
Studying Hair and Fur
Observing real hair and fur is the first step towards capturing authenticity in digital painting. Artists should notice how light plays across the strands and how different angles can change the appearance. It’s helpful to gather reference photos to see variations and natural patterns.
Breaking down these textures into simple shapes can simplify the process. Consider how clumps form and separate, creating distinct highlights and shadows. Analyzing these characteristics helps in creating a more believable texture when painting.
Different Types of Hair and Fur
Hair and fur vary greatly across species. For example, cat fur is often soft and short, while a horse’s mane is long and flowing. Understanding these differences allows artists to adapt their techniques to suit each subject.
Textures can be broadly categorized. Fine hair tends to clump together, while coarse fur can be more bristly. Creating layers and depth is important for each type. Artists should practice rendering various types to achieve versatility in their artwork.
Color and Lighting Basics
Color choice is vital in making hair and fur look realistic. Artists should start with a base color that matches their subject, and gradually build upon it with darker and lighter tones. This helps create depth and volume.
Lighting is equally important. It dictates where highlights and shadows fall. Soft lighting creates gentle shadows, while harsh lighting can produce stark contrasts. Practicing with different lighting setups can aid in mastering textures, making them more dynamic and life-like.
Creating Realistic Hair Strands
Creating realistic hair strands involves using layers for depth, deliberate brush strokes for natural appearance, and attention to individual strand details. These techniques combine to give digital hair a lifelike texture.
Layering Techniques
Layering is crucial for painting realistic hair. It adds depth and dimension, making hair look more natural. He or she can start by defining the base layer with a mid-tone color. This forms the foundation for adding highlights and shadows.
Using multiple layers allows for flexibility. The base layer provides the overall tone, while subsequent layers focus on highlights and lowlights. Switching between layers can help in adjusting individual sections without disturbing other parts of the hair. This method ensures each section has a cohesive look.
Experimenting with layer opacity can also enhance realism. Lowering the opacity of certain layers can create softer transitions. This helps in blending strands together and achieving a more natural look.
Brush Strokes for Realism
The choice of brush and the type of strokes used are essential for achieving realism. Selecting a brush designed for hair or fur can make a significant difference. These brushes mimic the flow of strands, capturing their natural movement.
Applying long, fluid strokes with a steady hand can create smooth, consistent strands. Short, flicking strokes can add texture and direction. It’s important to vary the stroke length and pressure to achieve different hair types.
Practicing different strokes is key to perfecting the technique. Varying the spacing and angles of strokes can replicate the diversity found in real hair. This approach ensures each strand follows a natural path, enhancing the overall appearance.
Detailing Individual Strands
Detailing individual strands brings the hair to life. Incorporating fine details like stray hairs and split ends adds realism. These small details can break up uniform sections and make the hair more dynamic.
Zooming in on sections to paint fine details is effective. Using a smaller brush with a contrasting color can help outline individual strands. This creates depth and emphasizes each hair’s unique characteristics.
It’s useful to focus on key areas such as the crown or where the hair parts. These sections often require extra attention. Adding varied textures around these points enhances the lifelike quality and gives the impression of volume and richness.
Painting Different Hair Styles
Different hair types require unique techniques in Procreate. Learning to paint straight, curly, and varying lengths of hair can add realism and detail to any digital artwork. Understanding light and shadow, and using the right brushes, are essential for these styles.
Straight Hair
Straight hair often appears sleek and shiny. To paint it well, focus on capturing the smooth flow and shine. Use a soft brush for the base to create a smooth look. Highlight sections where light hits the hair for added realism. Small details like flyaways can add authenticity. Layers are useful to build depth and texture.
Use a thin brush for single strands that catch light, adding natural variation. Brushes with smooth edges help in defining the hair’s direction and flow. For shadows, choose darker shades of the base color to keep it subtle yet effective. Using Procreate’s smudge tool lightly blends the edges, maintaining the sleek appearance.
Curly Hair
Curly hair is full of movement and volume. Begin with the overall shape and flow using bold strokes. Highlight coils where the light hits to enhance the three-dimensional look. Brushes designed for curls can make this task easier. Add depth by layering darker shades underneath.
Focus on the light and shadow play in each curl ring. Different lighting angles can drastically change how curls appear, so consider that in your painting. Use brushes with varying pressures to create curls of different sizes and softness. The eraser tool can help define tighter curls by erasing parts lightly to create highlights.
Long and Short Hair
Long hair typically requires attention to how it falls and gathers. Use Procreate’s brushes to paint long strokes, indicating the length and flow. Pay special attention to how light and shadow interact, especially with movement. Short hair might include more texture and volume at the roots. Use shorter strokes to create a tousled look, which can make it appear more realistic.
Consider the placement of highlights to suggest the direction and style of the hair. This can help differentiate between long, loose styles and short, cropped ones. Utilize the symmetry and texture tools in Procreate to maintain consistency and detail in all hair types.
Techniques for Fur Detailing
Painting fur in Procreate involves mastering various techniques to mimic the texture and depth of real fur. By focusing on short fur, long fur, and combining fur textures, artists can create realistic and detailed artwork that stands out.
Short Fur
Short fur detailing starts with selecting the right brush. Using a fine, soft brush helps in capturing the dense texture. Short fur requires careful layering to replicate natural shadows and highlights. Artists should vary their strokes to add depth.
A good practice is to start with a base layer of a mid-tone color. Then, add shadows and highlights by using lighter and darker shades. Use short, quick strokes to mimic the direction and flow of fur. This technique ensures the fur looks soft and not too heavy.
Adjusting brush opacity helps to blend the colors effectively. It’s important to follow the natural growth pattern of the fur, which adds an authentic look to the painting.
Long Fur
Long fur involves using a different set of techniques to achieve a flowing texture. It requires longer brush strokes and more attention to detail. Selecting a brush with longer bristles in Procreate is essential for capturing these details.
Begin with a base coat using a neutral color. Add depth by layering long strokes of different shades. Gradually build the highlights and shadows to mimic light reflecting off the fur. Use a gentle hand to make the fur appear soft and flowing.
For extra detail, use a hair brush to add stray hairs that can make the fur more lively. It’s important to consider where the light hits to properly reflect highlights.
Combining Fur Textures
Combining different fur textures in a single piece can enhance realism. To achieve this, artists should switch between brushes and techniques. Using textured brushes allows for a seamless transition between short and long fur areas.
Start by mapping out areas where different fur lengths blend. Then, layer the fur using strokes specific to each texture. This method helps in portraying mixed fur types seen in many animals, such as a fluffy tail with a short fur body.
Experimentation with various brush settings and colors helps to create depth. By blending seamlessly, artists can present a more coherent image that effectively captures the essence of the subject. Balancing the textures ensures that no section appears too flat or unrealistic.
Adding Depth and Dimension
In order to create realistic hair and fur in Procreate, mastering shadows, highlights, and color variation is key. This process involves adding depth, volume, and dimension with strategic use of different techniques.
Shadows and Highlights
Adding shadows and highlights is crucial for a realistic look. Shadows give depth and make hair or fur appear three-dimensional. Artists should pay attention to the light source and shadow placement. Use a soft brush to add shadows gradually and avoid harsh lines.
Highlights catch the light and add vibrancy. By selecting a lighter color, artists can create highlights that mimic the way light naturally hits and reflects off hair or fur. Apply them sparingly for a natural effect.
Creating Volume
Volume is what makes hair and fur look full and lifelike. A combination of techniques can achieve this effect. Start with a base layer of color and apply additional layers to build texture. Varying the brush size can also add depth by creating sections that appear closer or farther away.
Using tools like the smudge brush helps blend layers and avoid a flat appearance. Layers of different opacities can be adjusted until the desired volume is reached. Experimentation is encouraged to find what works best for the piece.
Depth with Color Variation
Color variation enhances the realism of hair and fur by preventing them from looking flat. Even in one color, multiple shades are usually present. Artists can create realism by intermixing these subtle variations. Utilize an eyedropper tool to sample and replicate color nuances from references.
Incorporating a variety of shades, such as midtones and lowlights, helps achieve a natural look. These variations play a big part in making the fur or hair seem multidimensional. Practicing with different hues further elevates the texture integrity of the artwork.
Refining Edges
Refining edges is crucial for a polished look. It’s about ensuring hair or fur strands naturally blend into the background while remaining distinct. Artists should zoom in to carefully check each edge of the hair or fur strands.
Using a small, soft brush or blending tool can help soften hard edges without losing detail. It’s helpful to use the eraser tool on a low opacity to carefully trim any unrealistic stray lines. Paying attention to light direction and how strands overlap also enhances realism.
Adjusting Contrast
Contrast adjustment is key in making the painting stand out. It involves tweaking highlights and shadows to create depth and dimension. Artists should aim to enhance natural light and shadow interaction in their work.
Procreate’s adjustment tools like the curves function can be used to fine-tune contrast. Slightly boosting the highlights makes lighter areas pop, while deepening shadows can add richness. Testing different contrast settings while keeping the image natural is essential.
Overall Harmony Check
Ensuring harmony means making sure all elements of the artwork blend together smoothly. This involves assessing color balance, texture, and composition. Artists should look at the artwork as a whole to see if any areas disrupt the visual flow.
To achieve harmony, they can use layer adjustments to tweak colors, ensuring they complement each other. Checking the artwork from various angles or distances can help spot any inconsistencies. Making sure the hair or fur doesn’t look too distinct from other elements is important for a cohesive look.