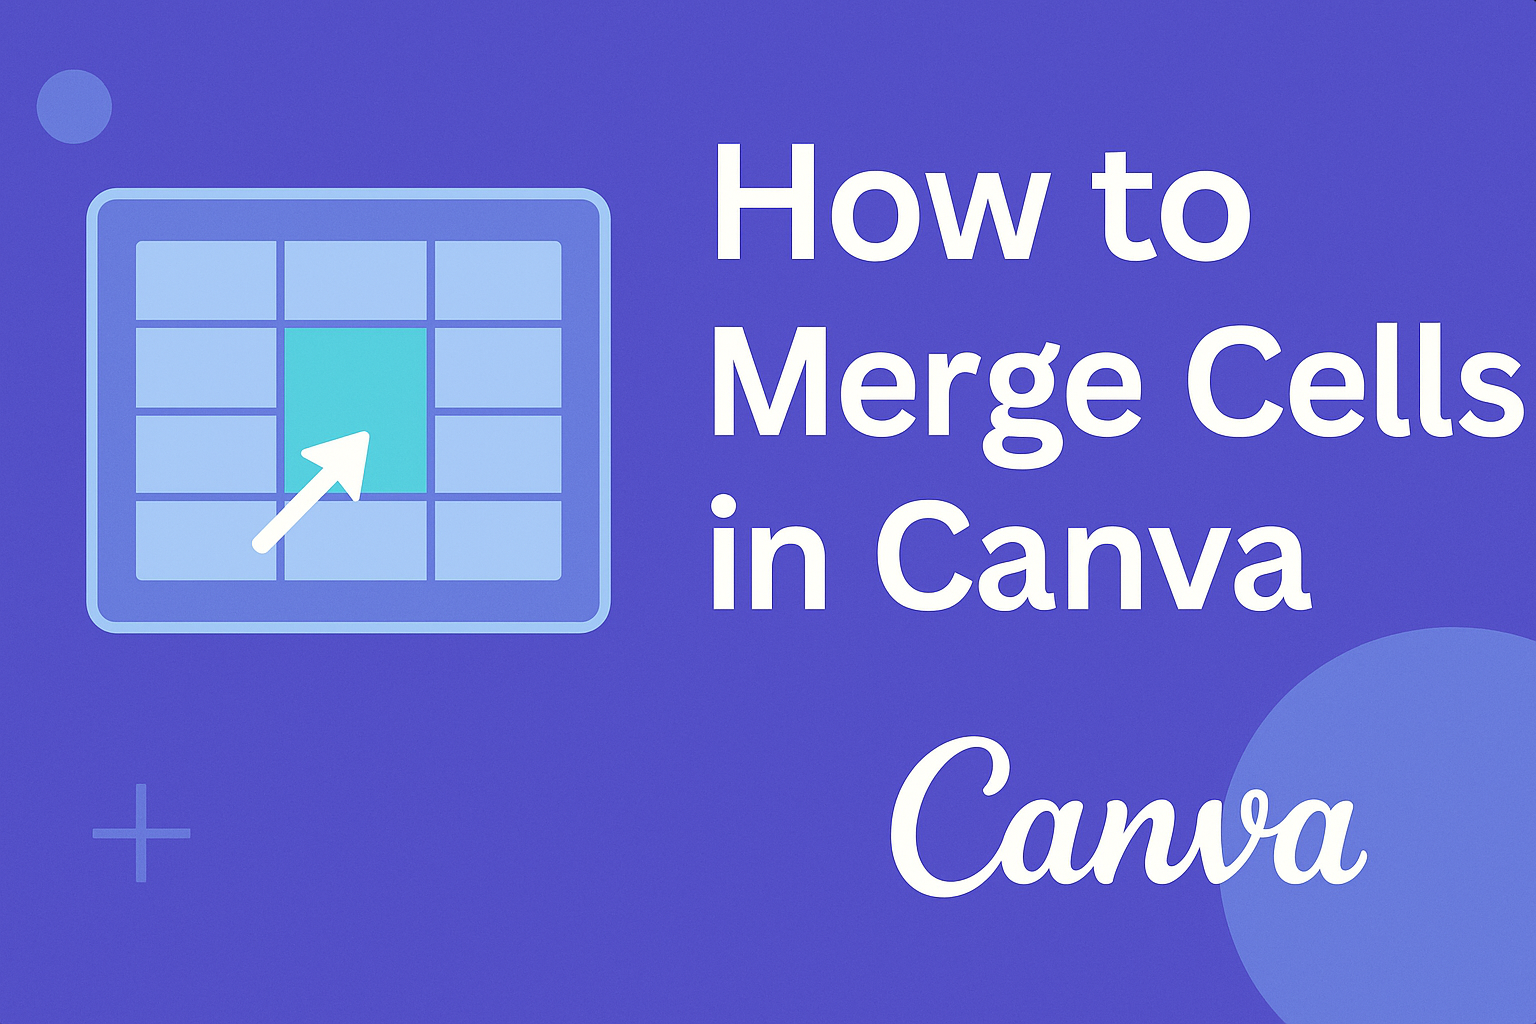
Merging cells in Canva can greatly enhance the look of tables and improve readability.
This simple process allows users to combine multiple cells into one, creating a cleaner and more organized design. It is particularly useful for creating professional presentations or eye-catching graphics that require structured information.
For those new to Canva or looking to streamline their design workflow, knowing how to merge cells is a valuable skill.
With just a few clicks, anyone can transform a cluttered table into a polished visual element. This guide will walk through the steps needed to make cell merging easy and effective.
Whether for a school project, business presentation, or social media post, mastering this feature can make a big difference in design quality. Readers will discover practical tips and techniques that will help them take their Canva projects to the next level.
Getting Started with Canva
To use Canva effectively, it’s important to know how to create a new document and familiarize oneself with the interface. Understanding these basics helps users navigate the platform smoothly.
Creating a New Canva Document
To start designing in Canva, the user must create a new document. She can do this by visiting the Canva website or opening the app.
Click on “Create a design” in the top right corner. This opens a list of templates and document sizes, including social media posts, presentations, and custom dimensions.
Once she chooses a size, she will enter the design workspace.
Here, users can use various tools to add elements like text, images, and shapes.
It’s simple to experiment with layouts and arrangements, which makes designing fun and creative.
Understanding Canva’s Interface
Canva’s interface is user-friendly.
On the left side, users will find a toolbar with options for templates, elements, text, and more.
Each section includes various categories which help in locating items easily.
The main workspace in the center is where the design happens. Users can drag and drop elements into this area.
At the top of the screen, there are options for undoing actions, saving, and downloading completed designs.
With a little practice, users will feel comfortable navigating and utilizing Canva’s features fully.
Steps to Merge Cells in Canva
Merging cells in Canva is a straightforward process. This section outlines the key steps involved in selecting, merging, and adjusting merged cells to create a clean and organized design.
Selecting the Cells to Merge
To start, the user needs to select the cells they wish to merge.
First, they should click on the first cell and then hold the Shift key on the keyboard. While holding Shift, they can click on the additional cells they want to include.
This method allows the user to select multiple cells at once.
It’s important to ensure that the cells are adjacent; otherwise, they will need to select them individually. Once the desired cells are selected, the user is ready to move on to the merging process.
Merging Cells Using the Toolbar
After selecting the cells, the next step is to merge them.
The user can right-click on one of the selected cells. A menu will appear, and from there, they should choose the Merge Cells option.
This will combine all the selected cells into a single cell.
The merging process is quick and effective, giving the user the flexibility to create larger cells for enhanced design or to better organize information. For those using the toolbar at the top, there may also be an option to merge cells directly from there, making it even easier.
Adjusting the Content After Merging
Once the cells are merged, the next step is adjusting the content.
Sometimes, the text might not fit neatly in the new cell. To fix this, the user should click inside the merged cell and edit the text as needed.
Additionally, they can change the font size or text alignment to ensure it looks good. If needed, adjusting the cell size itself can help fit the content better. This attention to detail helps maintain a professional appearance in the design.
Designing with Merged Cells
Merged cells can enhance design flexibility and create a more organized layout. By adjusting styles and repositioning elements, users can effectively utilize merged cells to improve visual appeal.
Styling Merged Cells
When working with merged cells in Canva, styling becomes crucial.
Users can change the background color of the entire merged area, creating a cohesive look. Bright colors can highlight important sections, while soft hues can improve readability.
Text within merged cells can also be styled. Users can adjust font size, type, and alignment.
Centering text usually works well in merged cells, making it easy to read. Adding borders can define the area further, giving it depth.
With Canva’s design tools, users can apply shadows or effects to merged cells for more depth and interest. Utilizing these features helps draw attention to critical areas and enhances the overall design.
Repositioning Elements in Merged Cells
Positioning elements in merged cells allows for creativity and organization.
Users can place images, icons, or text within these larger areas. This can simplify complex layouts and improve clarity.
For effective positioning, users should consider balance.
Placing elements evenly in the center of merged cells often looks best.
Users can also layer elements to create depth, combining text with a background image, for instance.
Alignment tools in Canva assist users in repositioning elements accurately.
They can snap items into place, ensuring everything aligns nicely. This tool helps maintain a neat and professional look in designs.