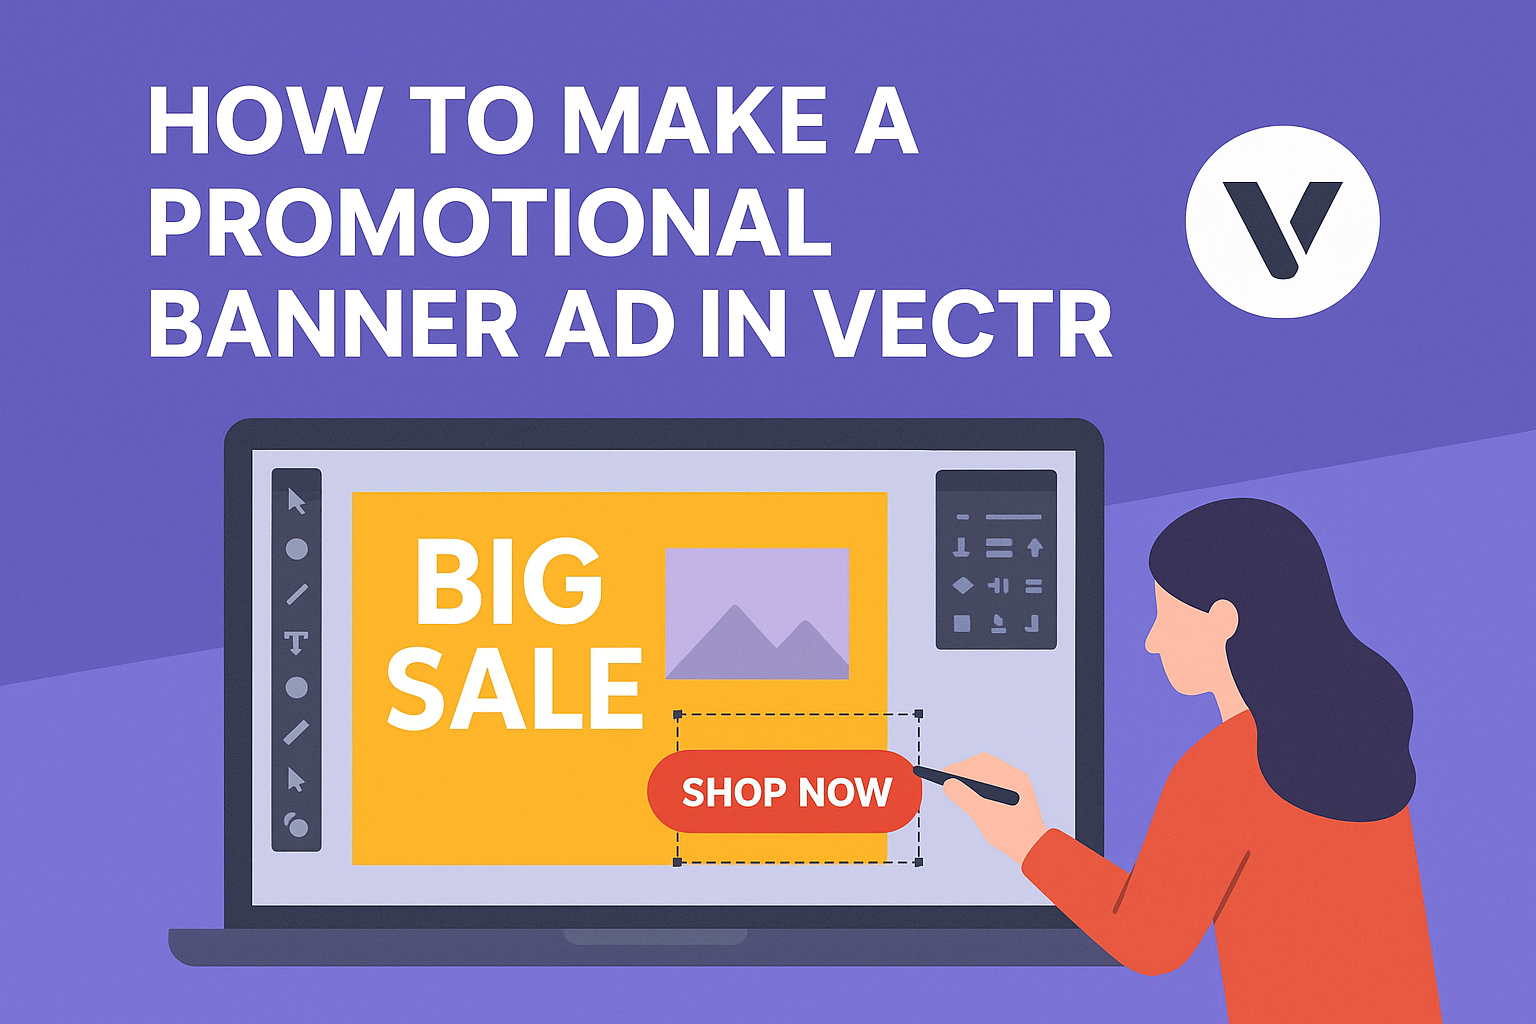
Creating a promotional banner ad can be an exciting project for anyone looking to showcase a product or event. Using Vectr, a free and easy-to-use graphic design tool, users can design eye-catching banner ads without needing advanced skills.
With its intuitive interface, Vectr allows for quick adjustments and creative flexibility, making it accessible for beginners and seasoned designers alike.
In this blog post, readers will learn step-by-step how to make an impressive promotional banner ad in Vectr. By following these simple instructions, they can effectively communicate their message and style while attracting potential customers.
Whether for an online campaign or a special event, a well-designed banner can really make a difference.
Get ready to dive into the world of graphic design as they explore the features of Vectr and discover helpful tips along the way. With just a few clicks, anyone can create stunning visuals that capture attention and drive engagement.
Getting Started with Vectr
Getting started with Vectr is simple and accessible for everyone. Setting up an account is quick, and the interface is user-friendly, making it easy to create designs right away.
Creating an Account and Navigating the Interface
To use Vectr, the first step is creating an account. This can be done quickly through the Vectr website or by downloading the software for desktop use.
After signing up, users will log in to a dashboard that shows available projects.
The interface is clean and organized. On the left, there are menus for file options and tools. The top toolbar provides shortcuts for common actions like saving and exporting. Users can easily navigate their projects and find what they need.
Understanding the Workspace and Tools
The Vectr workspace offers an intuitive setup for designing. When a user starts a new project, they see a canvas area where all the design work happens. Alongside the canvas, a toolbar displays various tools.
Key tools include:
- Selection Tool: For moving and resizing objects.
- Shape Tool: To create basic shapes like rectangles and circles.
- Text Tool: For adding and editing text.
Within this workspace, users can also adjust colors, gradients, and layers. It’s easy to apply changes and see the results immediately, which enhances the design experience.
Designing Your Banner
Creating an effective promotional banner involves careful planning and attention to detail. Key elements include dimensions, background choices, text design, images, and icon usage.
Each of these aspects contributes to the overall appeal and functionality of the banner.
Setting the Dimensions
Choosing the right dimensions is the first step in designing a banner. He or she needs to consider where the banner will be displayed. Common sizes include 728×90 pixels for a leaderboard and 300×250 pixels for a medium rectangle.
Using preset sizes helps maintain quality. Aiming for a resolution of at least 72 DPI ensures the banner looks sharp online.
In Vectr, users can set dimensions easily by inputting the desired width and height in the workspace settings.
Choosing a Background
The background sets the tone for the entire banner. A simple, clean background helps the main message stand out. Options include solid colors, gradients, or even images.
It is best to select a background that aligns with the brand. Soft colors can evoke calmness, while bright colors may grab attention.
Using tools in Vectr, one can adjust opacity and add effects to make the background visually appealing without overshadowing the main elements.
Adding Text and Typography Best Practices
Text is crucial for conveying the banner’s message. He or she should choose fonts that are readable and match the brand’s style. Sans-serif fonts are often easier to read in small sizes.
Using a hierarchy helps direct the viewer’s attention. It is effective to use larger fonts for headlines and smaller ones for supporting text. Ensuring high contrast between text and background enhances visibility.
Vectr also allows for text styling, making it easy to adjust size, spacing, and alignment.
Inserting Images and Logos
Images and logos can add personality to the banner. Using high-quality images ensures the banner looks professional. They should be relevant to the message the banner conveys.
When inserting a logo, it is important to place it in a prominent but not overwhelming position. He or she should ensure the logo’s colors complement the overall design.
Vectr provides tools to crop and adjust images, making it easier to fit into the design while maintaining quality.
Utilizing Shapes and Icons
Shapes and icons can enhance the banner’s design and help convey messages without using words. Geometric shapes can create a structured look, while organic shapes add a friendly feel.
Using icons to represent actions can make the banner more interactive. It is best to keep shapes simple and in harmony with the rest of the design.
Vectr offers a variety of shape tools, making it easy to incorporate these elements seamlessly into the banner.
Refining Your Design
Refining the design of a promotional banner ad is crucial to ensure it captures attention and communicates the desired message effectively. Focus on color schemes, layering, and adding visual effects to elevate the overall look.
Applying Color Schemes
Choosing the right color scheme sets the mood for the banner. He can start by selecting a primary color that matches the brand’s identity. Next, he should consider complementary colors for accents.
Using tools like Adobe Color can help create a balanced palette. For example, a business aiming for a professional look might use blue as their base and pair it with shades of gray or white.
He should also remember color psychology. Colors like red can evoke urgency, while green suggests tranquility. A thoughtful choice of colors can significantly enhance the banner’s effectiveness in catching the viewer’s eye.
Layering and Grouping Elements
Layering is essential for creating depth in a banner. She should arrange elements such as text, images, and shapes to avoid clutter. For clarity, he can group related elements together.
Using separate layers for text and images allows for easy adjustments without disrupting the entire design. He can use Vectr’s layer management tools to organize elements logically.
Additionally, adjusting the opacity of certain layers can create a soft backdrop that enhances visibility of main text. Ensuring key elements are prominent helps guide the viewer’s eye through the design smoothly.
Adding Filters and Effects
Filters and effects add flair to a banner. They can make elements stand out or blend seamlessly into the background.
She might consider applying drop shadows to text or images to give them a 3D effect.
Creating a sense of motion with gradients or subtle animations can engage viewers. However, it’s vital to maintain balance; too many effects can overwhelm the design.
He can also use blurring techniques to focus attention on the main message. Experimenting with various effects can lead to a unique design that resonates with the target audience.
Exporting and Sharing
When creating a promotional banner in Vectr, knowing how to export and share designs can enhance visibility and allow for better collaboration. Understanding the options available will help users effectively showcase their work and gather valuable feedback.
Exporting Your Banner in Different Formats
To export a banner in Vectr, users can access the export menu. They can choose between exporting the entire page or just selected elements.
- Select the Design: Highlight the specific area or elements to include in the export.
- Choose Format: Vectr supports various formats like PNG, JPEG, or SVG. Selecting the right format is key for the intended use.
- Download: After choosing the desired format, users can click the export button to download their banner.
Remember, selecting the right format is vital for clarity and quality, especially if the banner is for print or digital use.
Sharing Your Design for Feedback
Sharing the design for feedback can enhance its effectiveness.
Vectr allows users to create a link that others can use to view their project in real-time.
- Get the Share Link: Click on the sharing option in the interface to generate a link.
- Send the Link: Users can easily share this link via email or social media.
- This allows others to see the design exactly as it appears in Vectr.
- Live Collaboration: This feature is especially useful for gathering quick feedback.
- Collaborators can see changes as they happen, making it great for teamwork.