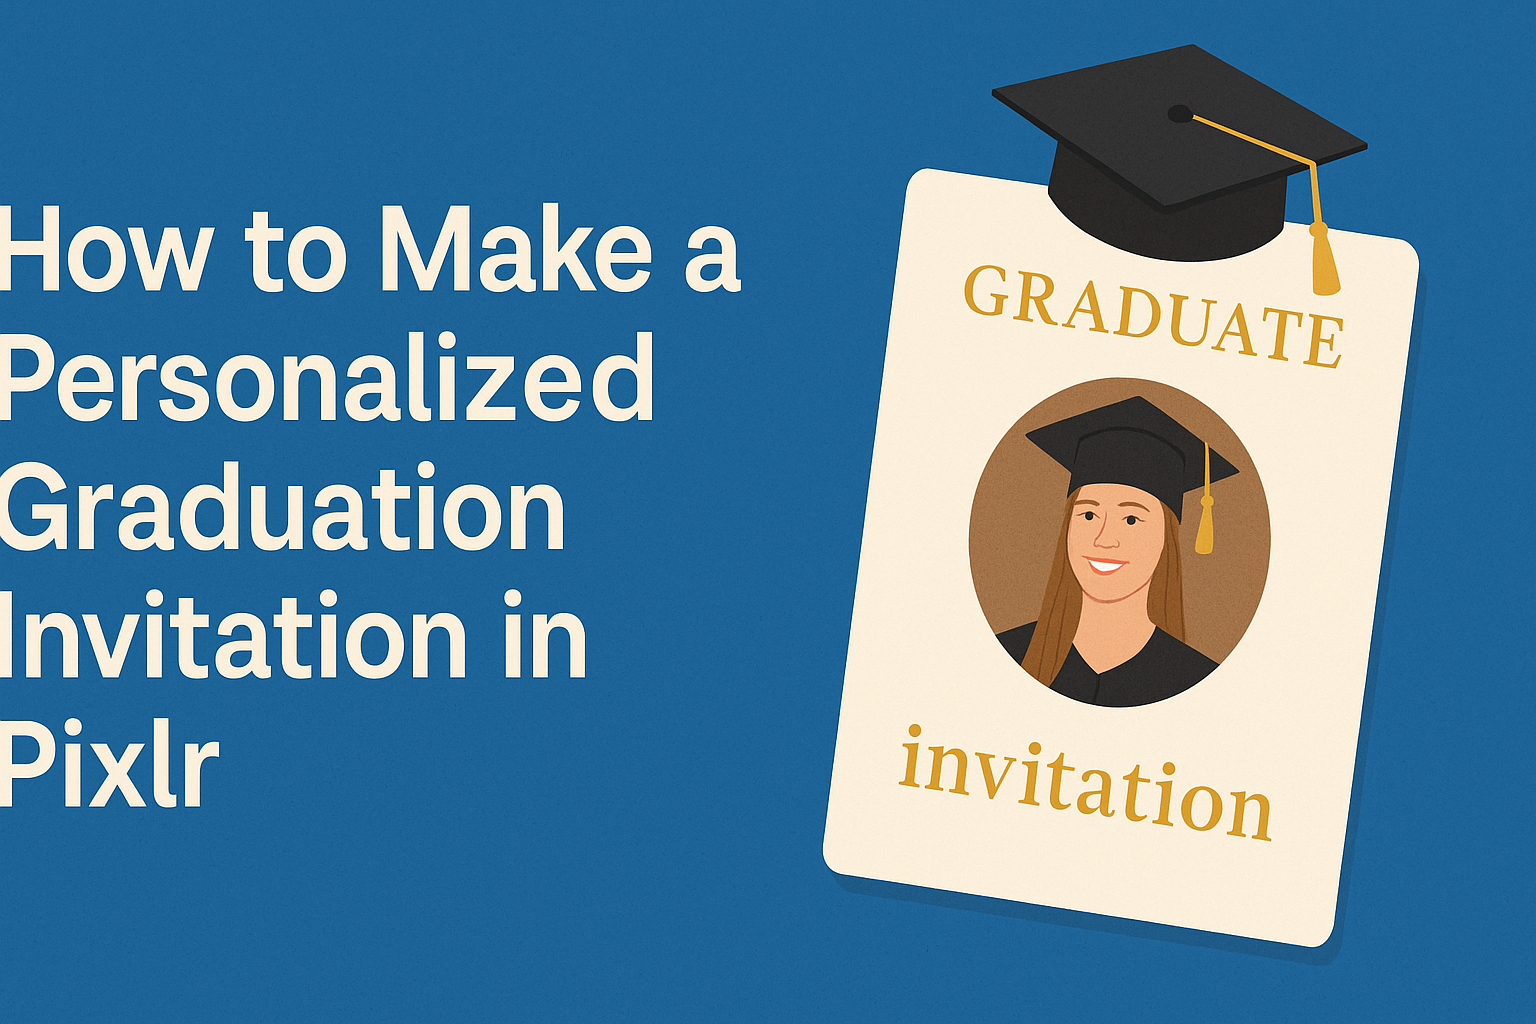
Creating a personalized graduation invitation can be an enjoyable way to celebrate a special milestone. With tools like Pixlr, anyone can design a unique and stylish invitation that reflects their personality and style.
Pixlr offers easy-to-use templates and editing features that make it simple for anyone to create a standout graduation invitation.
Using Pixlr, she can add her favorite colors, images, and personal touches to make her invitation truly one-of-a-kind. The platform allows for customization, ensuring her invitation matches the theme of her graduation celebration.
This way, her guests will feel the excitement of the event the moment they receive the invite.
Whether she wants a classic look or something more modern, Pixlr provides the flexibility needed to bring her vision to life. Getting started with the invitation-making process is straightforward, and she’ll enjoy every step as her ideas come to fruition.
It’s time to make a memorable invitation that captures the spirit of this significant achievement!
Getting Started with Pixlr
To create a personalized graduation invitation in Pixlr, it’s important to know how to start a new project, navigate the interface, and choose a suitable template. These steps will help users make effective use of the tools available.
Creating a New Project
Starting a project in Pixlr is simple. First, users need to visit the Pixlr website and select the option to create a new project. They can choose from different formats like a blank canvas or a preset size.
After selecting a format, they should click on “Create” to open the editing window.
It’s helpful to set the right dimensions based on the chosen invitation design. Users might want a standard size for printed invitations or different dimensions for digital sharing.
Understanding the Interface
Once the project is open, understanding the Pixlr interface is key. The left side contains tools for editing, like cropping, drawing, and adding text. The top menu provides options for layers, adjustments, and filters.
Users can find their uploaded images on the right side, showing layers and settings for each element. Familiarizing oneself with these sections allows for a smooth editing experience and helps in efficiently creating a unique invitation design.
Choosing the Right Template
To simplify the design process, users can select from various templates available in Pixlr. Starting with a template allows for quick customization. They can browse through categories that fit their graduation theme.
Once a template is chosen, users can customize colors, fonts, and images to match their personal style. This flexibility helps make the invitation feel unique and special, ensuring it represents the graduate’s personality and achievements effectively.
Using templates saves time and provides inspiration, making it easier to create an attractive invitation.
Designing Your Invitation
Creating a personalized graduation invitation is a fun way to celebrate this special milestone. Using Pixlr, anyone can easily add personal touches that reflect their style and achievements. Below are the key steps for making a unique invitation.
Adding Personal Photos
Adding personal photos can make the invitation truly special. To begin, users can upload their favorite images by clicking the “Upload” button on the Pixlr platform.
Tips for Choosing Photos:
- Select high-quality images to ensure a clear print.
- Choose photos that capture joyful moments, such as graduation day or group photos with family and friends.
Once photos are uploaded, they can be resized and positioned on the invitation. Pixlr offers tools to crop or apply filters, enhancing the overall look. Personalizing with images allows graduates to share their story visually.
Selecting Fonts and Colors
Fonts and colors play a vital role in making the invitation eye-catching.
In Pixlr, users can browse a variety of fonts to find one that fits the tone of the celebration.
Considerations for Fonts:
- Formal Events: Choose elegant, serif fonts.
- Casual Celebrations: Opt for fun, playful scripts.
When it comes to colors, selecting a palette that matches the school’s colors or the graduate’s favorite hues can create a cohesive design. Using contrasting colors for text ensures readability against the background.
Inserting Text and Messages
Inserting text is the key to sharing important details about the graduation. Users should include the graduate’s name, date, time, and location of the ceremony.
Text Tips:
- Keep the wording clear and concise.
- Highlight the graduate’s accomplishments with a short message.
In Pixlr, text can be adjusted for size, alignment, and style. Adding decorative elements like banners can also enhance the message’s visibility. A personal touch in the wording makes the invitation feel warm and inviting.
Adding Final Touches
Adding the final touches to a personalized graduation invitation can make all the difference. It ensures the design is polished and perfectly reflects the celebrant’s personality. Key aspects include using filters and effects, adjusting the layout, and reviewing the overall design for any improvements.
Using Filters and Effects
Filters can dramatically change the look of an invitation. They enhance colors and add a unique flair.
Filters are often applied with a single click, saving time while allowing for creative expression.
Popular Effects:
- Vintage: Gives a timeless feel that can evoke nostalgia.
- Black and White: This can create a classic and elegant look.
- Vibrant Colors: Brightens up dull designs, making them cheerful.
Experimenting with different filters helps find the perfect fit for the invitation’s theme. It’s important to remember not to overdo it. Subtlety often leads to a more sophisticated invitation.
Adjusting Layout and Spacing
The layout is crucial for readability and overall aesthetics. In Pixlr, users can easily move text and images around.
Adjusting spacing between elements ensures that nothing feels cramped.
Tips for Layout:
- Balance: Keep a good mix of text and graphics. This helps maintain the viewer’s interest.
- Alignment: Make sure text lines up well with images. This creates a professional look.
- Margins: Ensure enough space around the edges to prevent text from getting cut off during printing.
Making these adjustments can elevate the invitations from ordinary to extraordinary.
Reviewing Your Design
Finally, reviewing the design is essential. Taking a step back helps in spotting any errors or areas for improvement.
Things to Check:
- Spelling and Grammar: Ensure all text is error-free. Mistakes can detract from the celebration.
- Color Combinations: Check that colors work well together and match the intended theme.
- General Flow: Make sure the eye is drawn naturally across the design.
Doing a final review ensures that every detail shines through on the big day.
Saving and Sharing
Once the personalized graduation invitation is ready, it’s important to know how to save and share it effectively. This ensures that it remains accessible and can be easily distributed to guests. Here are the key aspects of exporting the invitation, sharing it digitally, and printing it for mail.
Exporting Your Invitation
To export the invitation in Pixlr, first, click on the “File” menu in the top left corner. Select “Export” from the dropdown menu.
Users can choose different file formats like PNG or JPEG depending on their needs.
- PNG is great for images with a transparent background, while JPEG is best for high-quality photos.
Make sure to select the appropriate resolution. Higher resolutions work well for print, while lower ones are ideal for digital sharing. After selecting your options, users should click “Download” to save the file to their device.
Digital Sharing Options
Sharing the invitation digitally can be done in several ways. Email is a popular option; users can attach the saved file directly.
Make sure to include a personalized message and a clear subject line for better engagement.
Social media platforms also offer a great way to share the invitation. Users can upload the invitation directly to their profiles or create an event.
Additionally, consider using messaging apps for a more personal touch. Always ensure the file is in a compatible format; PNG or JPEG works best for most platforms.
Printing Tips
When printing the invitations, choosing the right paper can enhance the overall look.
Heavier cardstock is recommended for a professional touch. It’s also wise to consider the finish: glossy for vibrant colors or matte for a more classic look.
Before printing, check the printer settings to ensure the correct dimensions and quality.
Users might also want to print a test page first. This will help avoid any mistakes before printing the final batch.
If printing at a shop, bring the file on a USB drive or send it via email for convenience.