Creating a hanging indent in Canva can add a touch of sophistication to your designs, making them look polished and professional.
This feature is particularly useful when formatting bibliographies, citations, or any text where visual appeal matters.
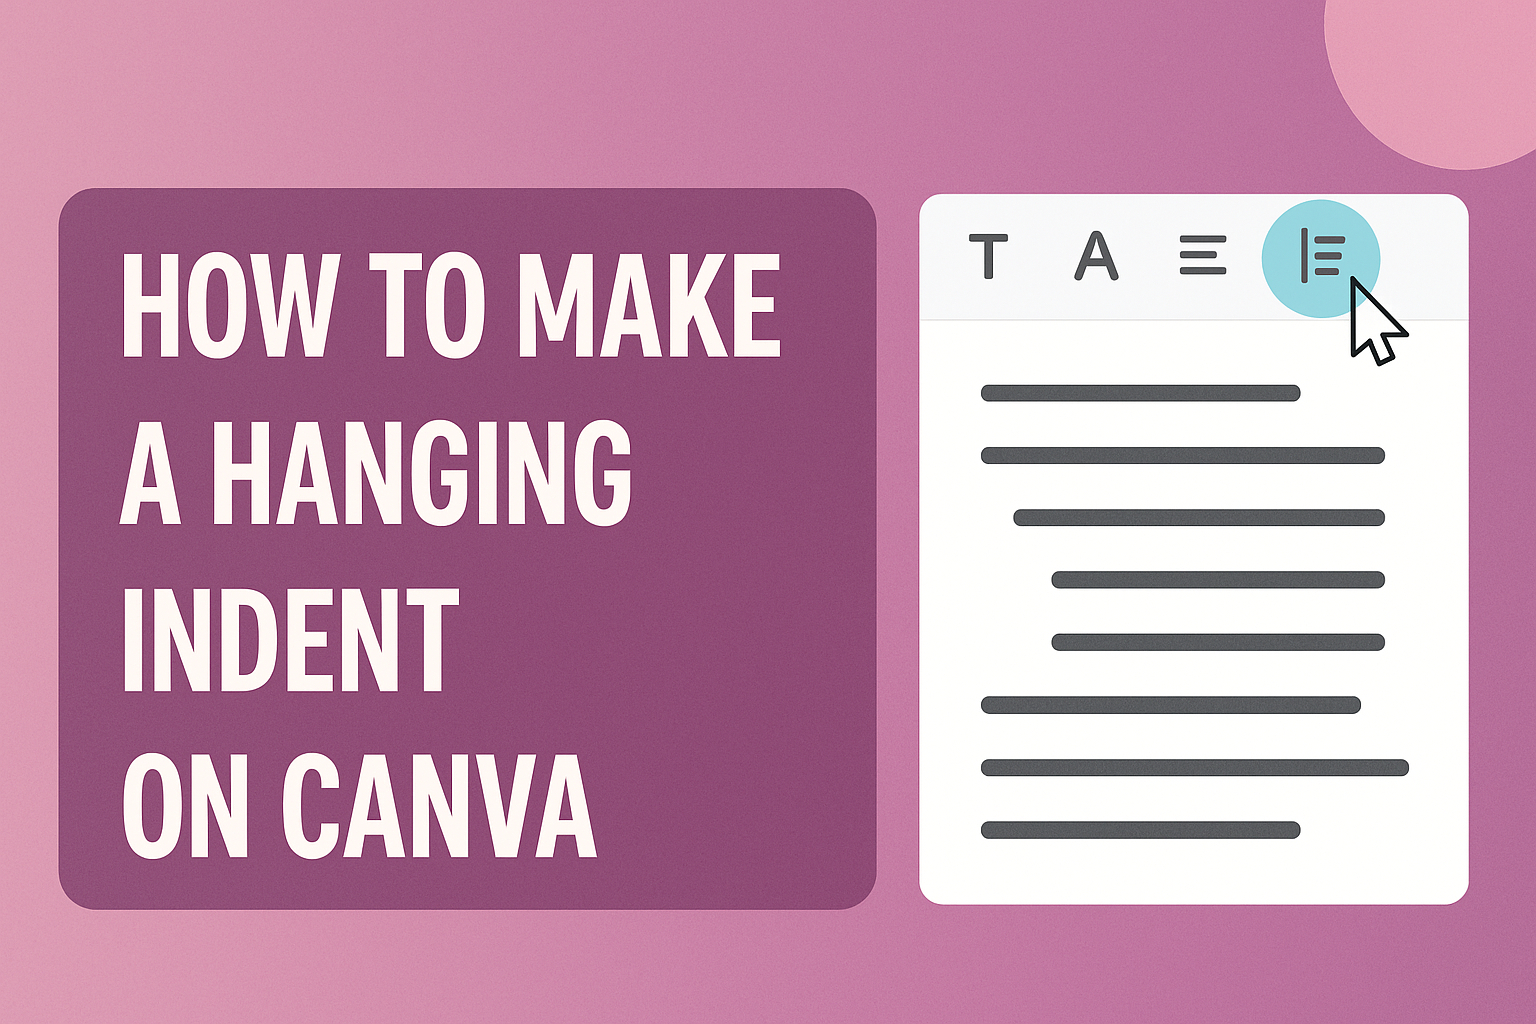
To apply a hanging indent in Canva, select the text box, go to the “Text” tab, and choose the “Hanging” option from the “Indent” button. This simple trick can transform your document’s appearance and help emphasize the content.
Canva’s user-friendly interface allows users to implement these changes seamlessly. Even for those who are new to graphic design, mastering such features can significantly enhance their projects.
With just a few clicks, your text can stand out, offering a clear visual hierarchy and improving readability.
Knowing how to use a hanging indent not only elevates the layout but also streamlines the reading process for viewers. This small adjustment can make lists, quotes, and references easy to follow, ensuring that your audience remains engaged with the content.
Understanding Indentation in Design
Indentation plays a crucial role in design by guiding the reader’s eye and enhancing text clarity. It helps in creating a balanced layout that makes reading more comfortable and the content visually appealing.
The Basics of Text Alignment
Text alignment is key in design. Left, right, centered, and justified are the main types. Each type affects how text is arranged and can impact readability.
For example, left align is often used for its neat appearance, making it easy to read lengthy texts.
Justified text creates clean lines on both margins but can lead to irregular spacing. Designers choose alignment based on the purpose and aesthetics of the piece, ensuring it complements the content.
The Importance of Whitespace
Whitespace, or the space around elements, is crucial for design. It provides breathing room for text and visuals, reducing clutter. This makes it easier for readers to focus on the main content.
In typography, it emphasizes important elements and creates a clean, organized look.
Thoughtfully used whitespace can enhance comprehension. By breaking up dense text, it allows the reader to process information more effectively.
It is a powerful tool that guides the reader through the content smoothly.
Getting Started with Canva
Before diving into creating a hanging indent, users should familiarize themselves with setting up an account on Canva and finding the perfect template for their design. This will help them effectively use Canva’s features.
Creating an Account and Navigating the Interface
To begin using Canva, one must first create an account. Go to the Canva website and sign up with an email address, Google, or Facebook account. Registration is simple and free.
Once the account setup is complete, the user will see the main dashboard. It is organized with easy access to templates, designs, and account settings.
The left sidebar is especially useful for quickly navigating to projects, brand kits, or exploring elements and uploads.
Familiarity with the top menu can also enhance design efficiency. Here, users can change settings, share designs, or download them. Investing a little time to explore Canva’s interface can make the design process smoother.
Selecting the Right Template for Your Design
Choosing the right template is crucial when creating a design in Canva. Canva offers a vast library of templates categorized by need, such as social media posts, flyers, or presentations. These are customizable and tailored for various purposes.
To select a template, browse the categories or use the search bar for specific types.
Templates can be further filtered by style, theme, or color. This ensures that users find one that aligns with their vision.
Once a template is selected, it can be easily edited. Begin by replacing pictures, changing text, and adjusting colors. This flexibility ensures that the final design is unique and meets the desired aesthetic and functional requirements.
Creating a Hanging Indent
Making a hanging indent in Canva involves using the text editor, employing the ruler tool, and adjusting text spacing. These steps are essential for achieving a clean and professional look in your design projects.
Accessing the Text Editor in Canva
To start with hanging indents, users need to log in to Canva and open a design project.
Once inside, they can select the text box they want to modify. This selection is crucial because it enables access to the editing tools.
After selecting the text box, the next step is to click on the “Text” tab located in the top menu.
The text settings panel offers various features. Among them is the “Indent” option, which in some interfaces may even provide a direct “Hanging” option. If such an option is available, choosing it can simplify the process significantly.
Knowing the exact location of this tool and how to use it is key to making swift adjustments.
Using the Ruler to Create Indents
The ruler tool is found in Canva’s toolbar. It helps guide text alignment by placing guidelines that ensure text lines up correctly.
By clicking on the ruler in the toolbar, users can activate it for better text positioning. This small step significantly impacts aligning text neatly.
When users hover the cursor over the ruler, they can click and drag to create guides. These guides help determine where text should begin and how far to offset the hanging indent.
Moving the selected text box to meet these guides keeps everything aligned. This step is vital in maintaining the professional appearance of the design.
Adjusting Text Spacing for Clarity
Spacing adjustments are an important part of designing in Canva. They ensure text is easy to read and visually appealing.
Once the hanging indent is applied, users might need to fine-tune the space between lines.
Canva’s text settings allow users to change the line height, which is the space between lines. They can find this option in the text panel under “Line Height” settings.
Adjusting this spacing ensures that text doesn’t appear too cramped or too spread out.
Proper spacing not only enhances readability but also keeps the overall design consistent. It’s often these small details that contribute to a polished final look.
Customizing the Hanging Indent
Customizing a hanging indent in Canva involves more than just adjusting the text layout. It’s about creating a visually appealing design through careful selection of fonts, colors, and precise indentations to make your text stand out.
Choosing Fonts and Colors
Fonts and colors play a crucial role in enhancing the look of your hanging indent. Canva offers a wide variety of fonts that can suit different styles.
When choosing a font, think about readability. A clean, simple font often works best for large blocks of text.
Colors should complement the overall design. Consider the color scheme of your project and pick a text color that contrasts well with the background.
Highlight important parts by using a different font weight or a bold color. This not only makes the text easy to read but also adds a touch of style to your design.
A well-thought-out font and color choice can enhance your document’s aesthetic, making the information more engaging and easier to digest.
Fine-tuning the Indent for Visual Appeal
Fine-tuning the indent can greatly impact your text’s appearance.
Start by selecting the text box and navigating to Canva’s text settings. Use the “Indent” option to create a hanging indent by choosing “Hanging.”
After that, adjust the size of the indent to suit your needs. If you want a dramatic effect, increase the indent space. For a subtle look, keep it minimal.
The key is to ensure that the indent complements the rest of your design without overpowering it.
Experiment with spacing between lines and paragraphs. This can further refine the text layout, making it more visually balanced and appealing.
Consistency in indentation and spacing creates a polished look that draws the reader’s attention effectively.
Applying Indents to Lists and Paragraphs
Creating hanging indents in Canva adds a professional touch to documents. This involves formatting bullet points properly and ensuring paragraphs have consistent indentation.
Formatting Bullet Points
For bullet points, Canva allows users to adjust indents to make lists clear and organized.
Start by selecting the text box containing your list. Use the “Text” tab at the top. The indent option provides choices to adjust the space between the bullet and text.
Make sure each line aligns neatly by using the ruler tool. Move the guide to set your desired indent width.
Neatness is key, so check that all list items are aligned uniformly. This keeps the list readable and visually appealing. Proper alignment ensures that bullet points stand out.
Indenting Multiple Paragraphs Consistently
To apply hanging indents to several paragraphs, first, select all the text boxes you want to modify.
In the “Text” settings, find the indent button. Choose the “Hanging” option to create an indentation for the second line and beyond in each paragraph.
Use the ruler to set guidelines that help align your paragraphs.
Consistency in indentation is important. Every paragraph should have the same indent level to maintain a clean look.
Adjust text boxes accordingly if any text appears misaligned. Keeping the same indentation makes the document look neat and professional.
With consistent formatting, paragraphs are easier to read and look visually pleasing. This is useful for professional documents and presentations, where clarity and appearance matter.
Saving and Exporting Your Design
After creating a design in Canva, it’s important to save and export it correctly. This ensures it looks good when shared or printed.
To save your work in Canva, click the File menu at the top. Then choose Save. Canva automatically saves your progress, but this ensures everything is secure.
Exporting your design is the next step. Begin by clicking the Share button at the top right. This opens a menu with various options.
If you want to download your design, select the Download button. Choose a file type like PNG, JPEG, or PDF. PNG is good for social media, while PDF is perfect for printing.
Steps for Exporting:
- Click Share.
- Select Download.
- Choose file type: PNG, JPEG, PDF.
- Click Download again to save the file to your computer.
For those looking to share directly, Canva offers links. Click the Share button and then select Copy Link. This creates a link you can send to others.
Remember, choosing the right file type is important for quality. For web use, PNG is sharp and vibrant. For documents, PDF keeps everything in place.
By following these steps, designs stay safe and are ready to go wherever they need to be!
Tips for Effective Use of Indents in Layouts
Make Text Easier to Read: Indents guide the reader’s eyes, helping them follow the flow of text. Especially in long paragraphs, a hanging indent helps in distinguishing lines clearly.
Highlight Key Elements: Use indents to draw attention to important information. For instance, in bullet lists or numbered points, indents separate key points from the rest of the text.
Create Visual Appeal: Properly used indentations enhance the layout by adding uniformity and style. In platforms like Canva, this neatness is easily achievable with tools like the ruler which can help keep your lines neat.
Balance Text and Space: Too many indents can make a layout seem cluttered. It’s crucial to strike a balance between text and white space to maintain readability and aesthetic appeal.
Use Tables or Lists:
- Organize Complex Information: When dealing with lists or structured data, a table can help in visually segregating information, making it easy for readers to scan quickly.
- Align Text Properly: Ensure your text remains aligned. This makes the indent look clean and professional, especially for features like hanging indents in Canva.
Maintain Consistency: Consistent indents create a harmonious visual experience. Set standards for indentation extent and style within your document, ensuring that all similar elements follow the same pattern.
Troubleshooting Common Indentation Issues
Creating a hanging indent in Canva can sometimes get tricky. Common issues include over-indentation and inconsistent formatting.
Both of these can make the text look messy.
When the indent is set too deep, the text can be hard to read. To fix over-indentation, users should adjust the indent level in the text settings panel to make the text easier to follow.
Another frequent problem is inconsistent indent sizing throughout a document. This happens when different text boxes have varying indent levels.
To solve this, ensure all text boxes are formatted consistently using the same indent settings. This helps in creating a uniform appearance.
Steps to Adjust Indentation:
- Select the Text Box: Click on the specific text box that needs fixing.
- Open Text Settings: Go to the “Text” tab in the top menu.
- Choose the Right Indent Option: Click on the “Indent” button.
Select “Hanging” for a two-tier effect or adjust as needed.
Using these techniques can resolve most indentation problems. Regularly checking settings while working helps to maintain a polished and professional look for any project.