Creating a custom YouTube banner is a great way to enhance a channel’s look and feel. Using Pixlr, anyone can design an eye-catching banner in just a few simple steps.
This tool is user-friendly and free, making it perfect for both beginner and experienced designers.
With the right dimensions and some creativity, a personalized YouTube banner can effectively convey a channel’s theme and attract viewers. Many find that a well-designed banner can lead to increased engagement and a professional appearance.
The process is straightforward, allowing users to focus on their content instead of getting lost in complex design software.
In this article, readers will discover how to navigate Pixlr’s features to create a stunning banner that stands out. Whether it’s adding images, text, or unique graphics, Pixlr provides all the tools needed to make a banner that represents their brand.
Getting Started with Pixlr
Pixlr is a powerful tool for designing custom graphics, including YouTube banners. Knowing how to navigate its interface and set up an account is essential for creating a standout banner.
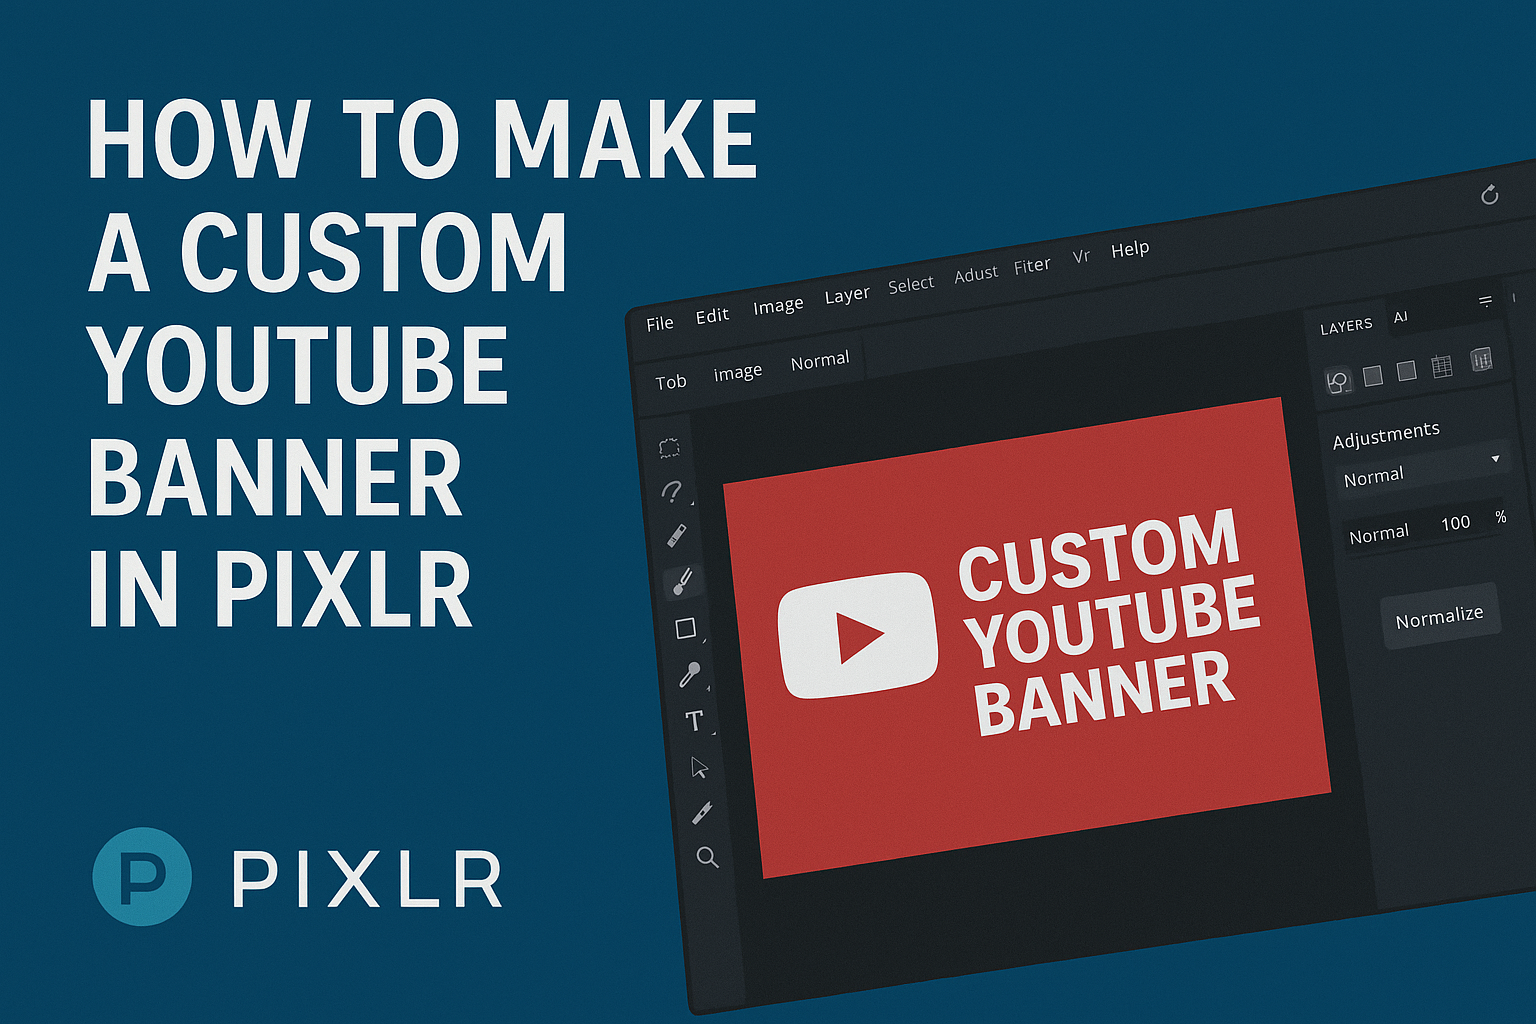
Understanding Pixlr’s Interface
When first opening Pixlr, users are greeted by a clean and intuitive interface. The toolbar is located on the left side, featuring tools like text, shape, and brush options.
The layers panel is on the right, allowing for easy management of different elements in the design.
In the center, the canvas displays the current project. Users can zoom in and out or rotate the canvas for better views.
Each tool has a simple icon, making it user-friendly. Familiarizing oneself with this layout helps speed up the design process and enhance creativity.
Exploring the editing options can also unlock a range of effects to make banners more appealing.
Creating or Logging into Your Pixlr Account
To get started, users can choose to create a free Pixlr account or log in if they already have one. Creating an account is straightforward. A user needs to provide an email address and set a password.
Having an account allows for saving projects online, making it easier to work on designs across different devices. For those who prefer instant access, Pixlr also offers a guest mode, though this limits some features.
Logging in or registering opens up a world of creative possibilities and lets users easily customize their YouTube banners.
Designing Your YouTube Banner
Creating a custom YouTube banner involves some key design elements. Choosing the right dimensions, a fitting background, and adding eye-catching text and graphics are essential steps in the process.
Selecting the Correct Banner Dimensions
The first step in designing a YouTube banner is to choose the right dimensions. YouTube recommends a banner size of 2560 x 1440 pixels for optimal display on all devices.
The safe area for text and logos is 1546 x 423 pixels. This ensures that important elements remain visible on mobile screens.
It’s a good idea to keep the aspect ratio of 16:9 in mind when creating. Using these dimensions helps to avoid any cropping of the banner on different devices.
When using tools like Pixlr, these dimensions are easy to set up, allowing for a hassle-free design experience.
Choosing a Background
The background sets the tone for the entire banner. Choosing a background that aligns with the channel’s theme is key.
Some options include bright colors for energy or darker tones for a more serious vibe.
Using images, gradients, or textures can also enhance the look. Pixlr offers a variety of tools to edit backgrounds, making it easy to customize.
It’s important to ensure that the background does not overpower other elements like text or images.
Adding Text and Graphics
Text and graphics are crucial for conveying the channel’s message. Use clear, bold fonts to make the text legible.
It’s best to limit the amount of text to keep it simple and effective.
Incorporating graphics like logos or icons can strengthen the brand. Make sure these elements are placed within the safe area to avoid any cropping.
Pixlr allows users to layer text and graphics, providing flexibility to design the banner creatively. Using contrasting colors can help the text stand out against the background.
Fine-Tuning Your Design
Fine-tuning a YouTube banner ensures it stands out and truly represents the channel’s brand. Making small adjustments can dramatically enhance the visual appeal and effectiveness of the design.
Utilizing Layers for Complex Compositions
Layers play a crucial role in designing a custom YouTube banner. They allow the designer to work on different elements independently, making adjustments without affecting the entire design.
This is especially useful when combining images, text, and graphics.
In Pixlr, each layer can be reordered, hidden, or edited separately. To add a new layer, users can select the “Add Layer” option from the menu.
Grouping related layers helps keep the workspace organized. For example, text and background imagery can reside on separate layers.
This flexibility allows for detailed adjustments to be made, such as resizing the text or changing the background color without disturbing other elements.
Adjusting Colors and Filters
Adjusting colors and applying filters can significantly enhance the visual impact of the banner.
Pixlr provides various tools to tweak colors, brightness, and contrast, helping to create a more vibrant design.
Users can access the “Adjustment” menu to explore options like Hue, Saturation, and Brightness.
Making subtle changes to these settings can make the banner pop.
Applying filters adds texture and depth. Pixlr offers preset filters that can easily be applied for a professional look.
It’s important to experiment with different combinations to find what best fits the channel’s theme.
By making calculated adjustments, the design can align closely with the channel’s brand, making it more appealing to viewers.