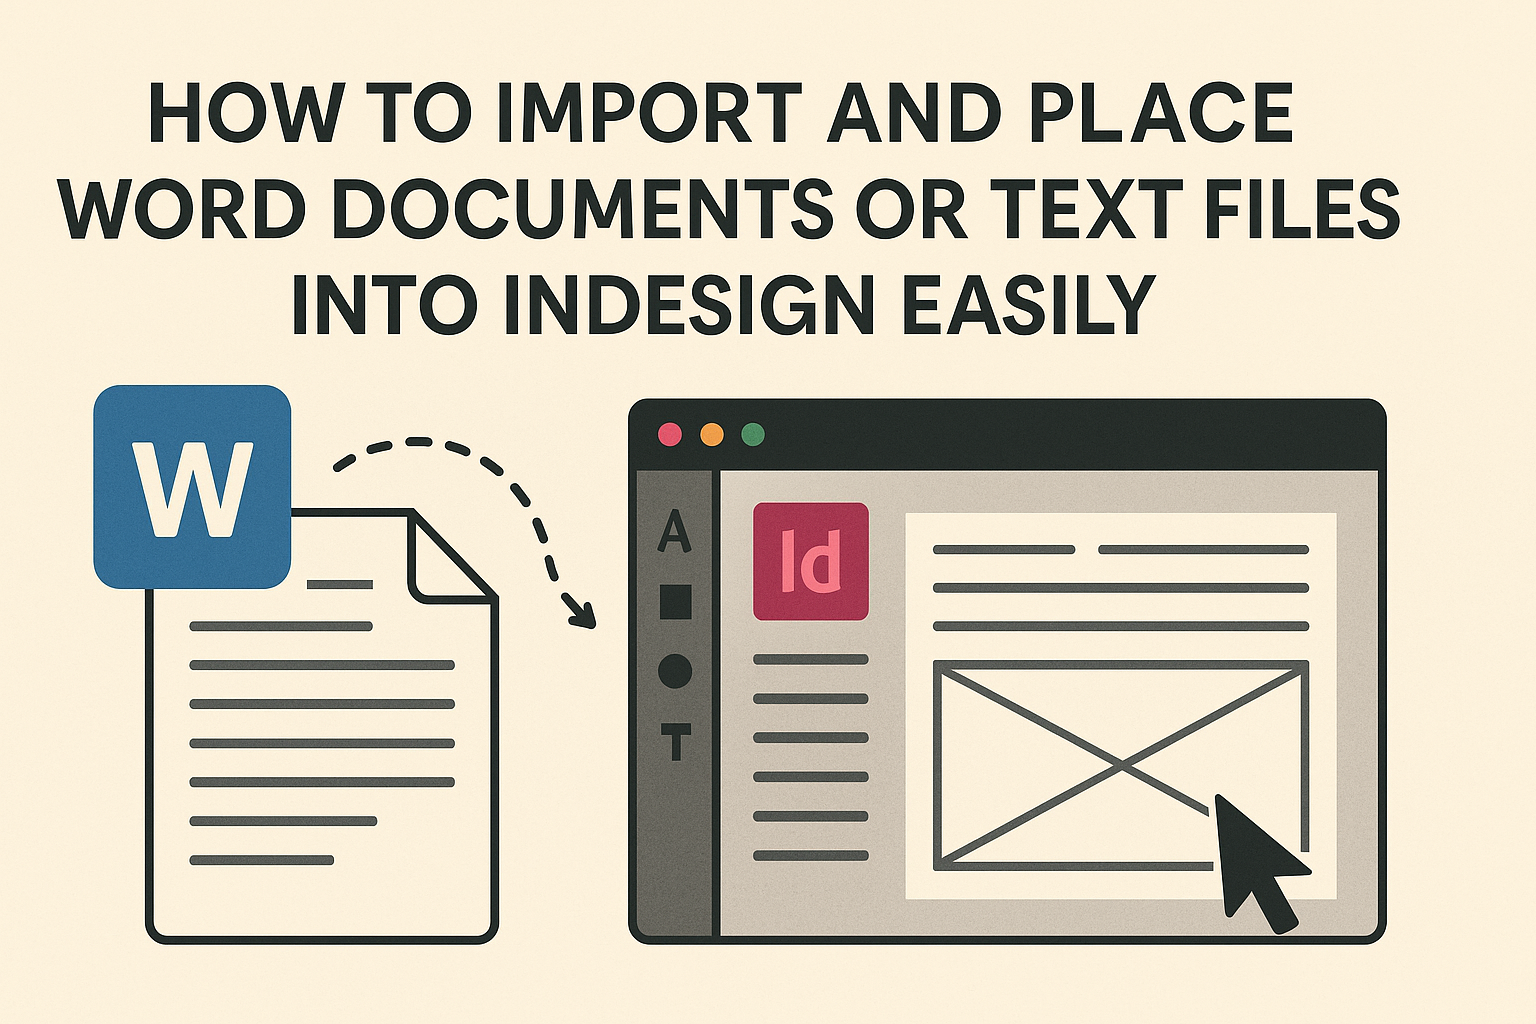
Importing and placing Word documents or text files into Adobe InDesign can be a crucial skill for anyone involved in layout design.
This process allows users to transfer text seamlessly, making it easier to create professional-looking documents without starting from scratch. Understanding the proper steps can help save time and ensure that formatting remains consistent throughout the project.
Many users wonder how to maintain formatting and style when moving content from Word to InDesign. By utilizing features like “Show Import Options,” they can choose which text styles to match, enhancing the workflow.
This not only improves efficiency but also ensures that the final design aligns with their vision.
Whether working on a book layout, newsletter, or marketing materials, knowing how to import and place text effectively is essential. This knowledge empowers designers to focus on creativity while ensuring their documents are polished and professional.
Understanding InDesign’s Workspace
InDesign’s workspace is designed for efficiency and ease of use. Knowing how to navigate the interface and set up a document is essential for anyone getting started with this software.
Navigating the UI
InDesign features a user-friendly interface. The main screen includes several key components. The Application Bar is at the top, providing access to essential tools and menus.
On the left side, the Tools Panel houses tools for selecting, drawing, and editing. Users can customize this panel to keep frequently used tools handy.
Meanwhile, the Control Panel, located at the top after choosing a tool, shows options specific to the selected tool.
The Pages Panel on the right side allows easy navigation through document pages. Users can also organize their pages, add new ones, or rearrange them as needed.
Familiarity with these components helps streamline workflow in InDesign.
Setting Up a Document
Setting up a document in InDesign is straightforward. To begin, users should select File > New > Document. A dialog box will appear, prompting for document settings.
Important options include the Page Size, Margins, and Columns.
Users can choose from preset dimensions or enter custom sizes. Specifying margins and columns before starting helps ensure proper layout alignment.
After setting these options, users can click Create. This action opens a new document ready for text and images.
It’s advisable to save the document early to avoid losing progress. Simple adjustments can be made later in the Document Setup menu.
Importing Text into InDesign
Importing text into InDesign allows for a seamless workflow between Microsoft Word and graphic design. Understanding how to effectively place and format text from various file types is essential for creating polished documents.
Placing Word Documents
To place a Word document into InDesign, users start by selecting File > Place from the menu. This opens a dialog box where the desired Word file can be located.
Before clicking Open, it’s helpful to check the Show Import Options box. This option allows users to control which parts of the document they want to import, such as styles or images.
After importing, text may need some reformatting to align with InDesign’s styles. Be aware that links from Word documents often need to be re-established in InDesign, as they might not transfer automatically.
Working with Text Files
When it comes to other text files, the process is similar. Users can import plain text (.txt) files or other formats just as they do Word documents.
After choosing File > Place, the user selects the text file and proceeds with opening the document.
InDesign will import the text as a block, which can then be manipulated within the layout. Since the imported text will not have formatting, it must be styled directly in InDesign.
Users should also consider the font settings and paragraph styles to ensure the look and feel match the overall design.
Utilizing the ‘Place’ Command
The Place command is the key feature for importing text into InDesign. This command allows for the placement of not just text, but also images and other types of content.
Once the command is activated, users can navigate through folders to find files.
By selecting the desired file, they can easily bring content into their current InDesign project.
Using keyboard shortcuts can speed up this process. For example, pressing Ctrl+D (or Cmd+D on a Mac) opens the Place dialog quickly. This efficiency aids in a smoother workflow, helping designers focus on creativity rather than technical details.
Formatting Text upon Import
When importing text from Word documents into InDesign, maintaining formatting is crucial. This section covers how to keep the source formatting as well as how to apply the styles available in InDesign to ensure a cohesive look in the final product.
Maintaining Source Formatting
To maintain the formatting from a Word document, it’s essential to use the Place command effectively. When you select a Word file, ensure that the Show Import Options checkbox is checked.
This setting opens a dialog box that gives control over what formatting to keep.
Users can choose to preserve character styles, paragraph styles, and other formatting that appears in the original document. By using this feature, InDesign can automatically match styles, which helps retain the visual integrity of the text.
Another tip is to directly choose File > Place and select the desired text file. This method reduces issues like lost formatting by allowing users to control every aspect of the import process.
Applying InDesign Styles
After importing text, applying InDesign styles can enhance the document’s appearance. Users can create or adjust styles to fit the document’s needs.
First, access the Paragraph Styles or Character Styles panels.
Applying styles can be as simple as selecting text and clicking the desired style name. This saves time and ensures consistency throughout the project.
To merge or modify styles, users can double-click on the style in the panel, which opens up a settings dialog.
Here, you can rename the style or adjust its formatting options, like font size and line spacing, ensuring that the imported text matches the overall design effectively.
Managing and Editing Text
Importing text into InDesign opens up great possibilities for effective layout and design. It’s essential to manage and edit this text properly to achieve the desired outcome.
Linking and Unlinking Text Frames
When working with text in InDesign, linking text frames helps create a continuous flow of content. This occurs when two or more frames are connected.
To link frames, select the first frame, then click on the small box in the lower-right corner and drag to the next frame. This action allows text to overflow into the second frame, making it easier to manage larger documents.
If text needs to be separated, unlinking is simple.
Select the linked frame and click the same box while holding down the Alt key (Windows) or Option key (Mac). This creates independent text frames that can be moved and edited separately.
Properly managing linked frames helps maintain the layout and ensures that the text remains organized.
Editing Imported Text
Editing text imported from Word or other documents is straightforward in InDesign. After placing the text, users can modify it directly within the program.
Changes made here won’t affect the original Word document unless the file is linked.
InDesign allows for style mapping, letting users match Word styles to InDesign styles. He or she can adjust font sizes, styles, and colors directly.
If any formatting issues arise, the Show Import Options dialog during the import can help control formatting choices.
Additionally, if the original Word document is updated, InDesign will note the changes in the Links panel. By clicking on the modified link, users can refresh the text with the latest updates while keeping the original layout intact.
This flexibility makes managing and editing text effective and efficient.