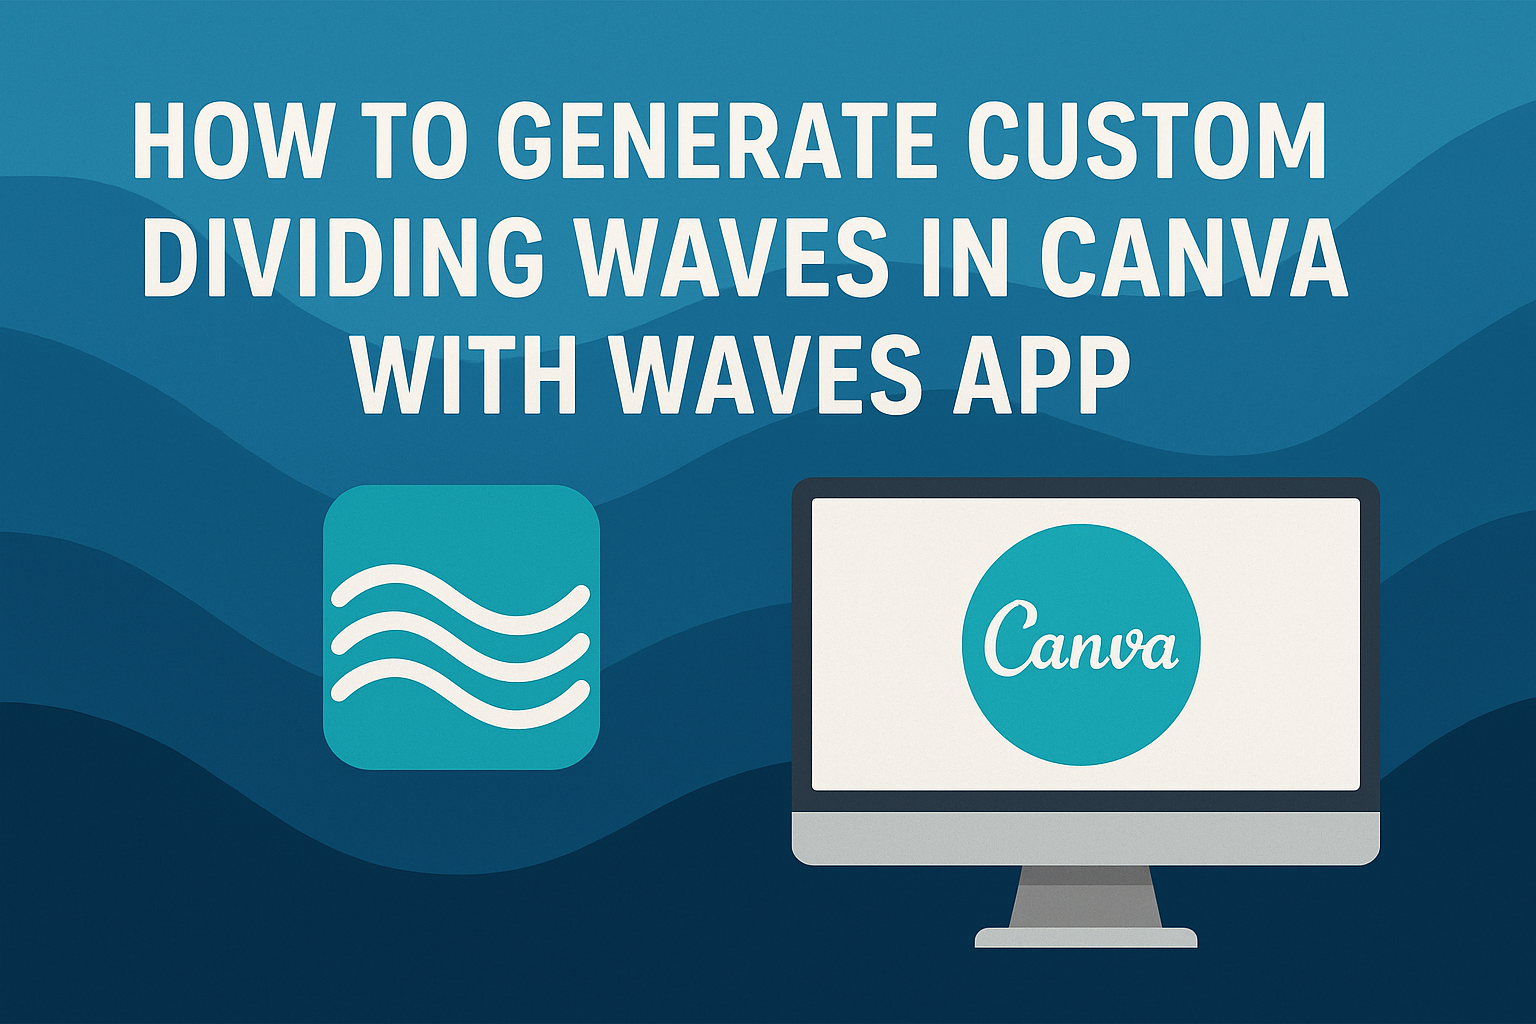
Using the Waves App in Canva opens up a new world of creativity for designers. This tool allows users to easily create custom dividing waves that can enhance any design project.
By following simple steps, anyone can generate unique waveforms that serve as stylish dividers or featured elements in their artwork.
Many people seek ways to make their designs stand out, and adding dynamic waves can achieve just that. Whether it’s for a presentation, social media post, or personal project, utilizing the Waves App can add that perfect touch.
Readers will discover how simple and fun it is to transform their designs with these fresh graphical elements.
With just a few clicks, designers can craft eye-catching waveforms that enhance the flow of their projects. This blog post will guide readers through the process, making it accessible and enjoyable for all skill levels.
Embracing this tool will empower them to take their creativity to the next level.
Getting Started with Canva
Canva is a user-friendly design tool perfect for creating stunning visuals. This section will guide readers through creating a new design and navigating the Canva interface efficiently.
Creating a New Design
To start a new design in Canva, the user needs to log in to their account.
Once logged in, they’ll see the “Create a design” button on the top right corner of the homepage. Clicking this button opens a menu with various options for design types, like social media posts, presentations, and posters.
After selecting a design type, it opens a new tab with a blank canvas. Users can then customize their design by adding elements such as text, images, and graphics.
Canva offers a range of templates to help users get started. They can choose a template that fits their needs and modify it to stand out.
Navigating the Canva Interface
The Canva interface is intuitive, making it easy for any user to navigate.
On the left side, there are several tabs, including “Templates,” “Elements,” and “Uploads.” Users can explore these options to find images, shapes, and fonts.
In the center of the screen is the main design area where all the magic happens. Users can drag and drop elements onto their canvas.
The top toolbar includes tools for editing, undoing actions, and downloading designs. Understanding these features helps users create visually appealing projects with ease.
Adding Waves Using the Waves App
The Waves App in Canva is a great tool for creating unique wave designs. It allows users to easily add and customize wave patterns to enhance their projects. Below are the steps for using the app effectively.
Selecting the Waves App
To begin, open Canva and start a new design. In the apps section, search for the Waves App. Click on it to launch the tool.
Once open, the interface will display various wave options. Users can choose from different wave styles, including curves and steps.
This selection lets them see how each type looks. It’s important to experiment with choices to find the best fit for the design. Clicking on a wave will add it directly to the canvas.
Customizing Wave Patterns
After adding a wave, customization is key. The Waves App allows users to adjust various parameters.
They can modify the amplitude, frequency, and shape of the wave. Each adjustment changes how the wave appears, allowing for a unique look.
For example:
- Increasing amplitude makes the wave taller.
- Adjusting frequency changes how many peaks and valleys the wave has.
This level of customization ensures that the wave fits perfectly with the overall design theme.
Adjusting Colors and Opacity
Color settings help enhance the visual appeal. Users can easily change the color of the wave by selecting it and choosing a new color from the palette.
To make the design more layered, adjusting the opacity is also helpful. Lowering opacity allows for overlaps with other design elements.
This creates a sense of depth and texture in the design. She can simply use the slider to reach the desired transparency level. Combining color adjustments with opacity settings results in unique and eye-catching wave designs.
Integrating Waves into Your Design
Adding waves to a design can create a dynamic look. Knowing how to resize, reposition, and blend them effectively enhances the overall visual experience.
Resizing and Repositioning Waves
Resizing waves is simple in Canva. Users can click on the wave element and drag the corners to adjust its size. This flexibility allows them to fit waves perfectly into various design spaces.
For repositioning, they can click and drag the wave to any part of the canvas. It’s useful to experiment with different placements to see how the wave interacts with other elements.
Using the arrow keys for fine adjustments can help make precise movements. Combining different sizes and positions will add interest and flow to the design.
Layering and Blending Techniques
Layering waves can create depth. Users should place waves behind text or images for a subtle effect. This technique can make the main content stand out.
Blending techniques enhance the visual appeal. Adjusting the transparency of a wave lets it softly interact with background colors.
For more impact, try using multiple wave types together. Combining curves with step waves can create unique, eye-catching designs. Layers can also be organized by dragging them in the layers panel for clarity.
Exporting Your Design
Once the design is complete, it’s important to know how to export it correctly. This ensures that the waves created in Canva look great no matter where they end up.
Choosing the Right File Format
Selecting the correct file format can greatly affect the quality of the final design. Canva offers several options like PNG, JPG, and PDF.
For images that need a transparent background, PNG is the best choice. If the design includes a lot of colors, JPG can be useful for smaller file sizes.
For print projects, choosing PDF ensures high quality and proper formatting. Users should also consider their specific needs, such as online use versus print, to make the right decision.
Downloading Your Finished Design
After selecting the desired file format, the next step is downloading the design.
To do this, the user should click on the “Download” button in the top right corner of Canva. Then, they will see a menu where they can confirm their format choice.
Once everything is set, clicking “Download” will save the file to the computer.
This process is quick and easy, allowing users to get their designs ready for any project in no time.