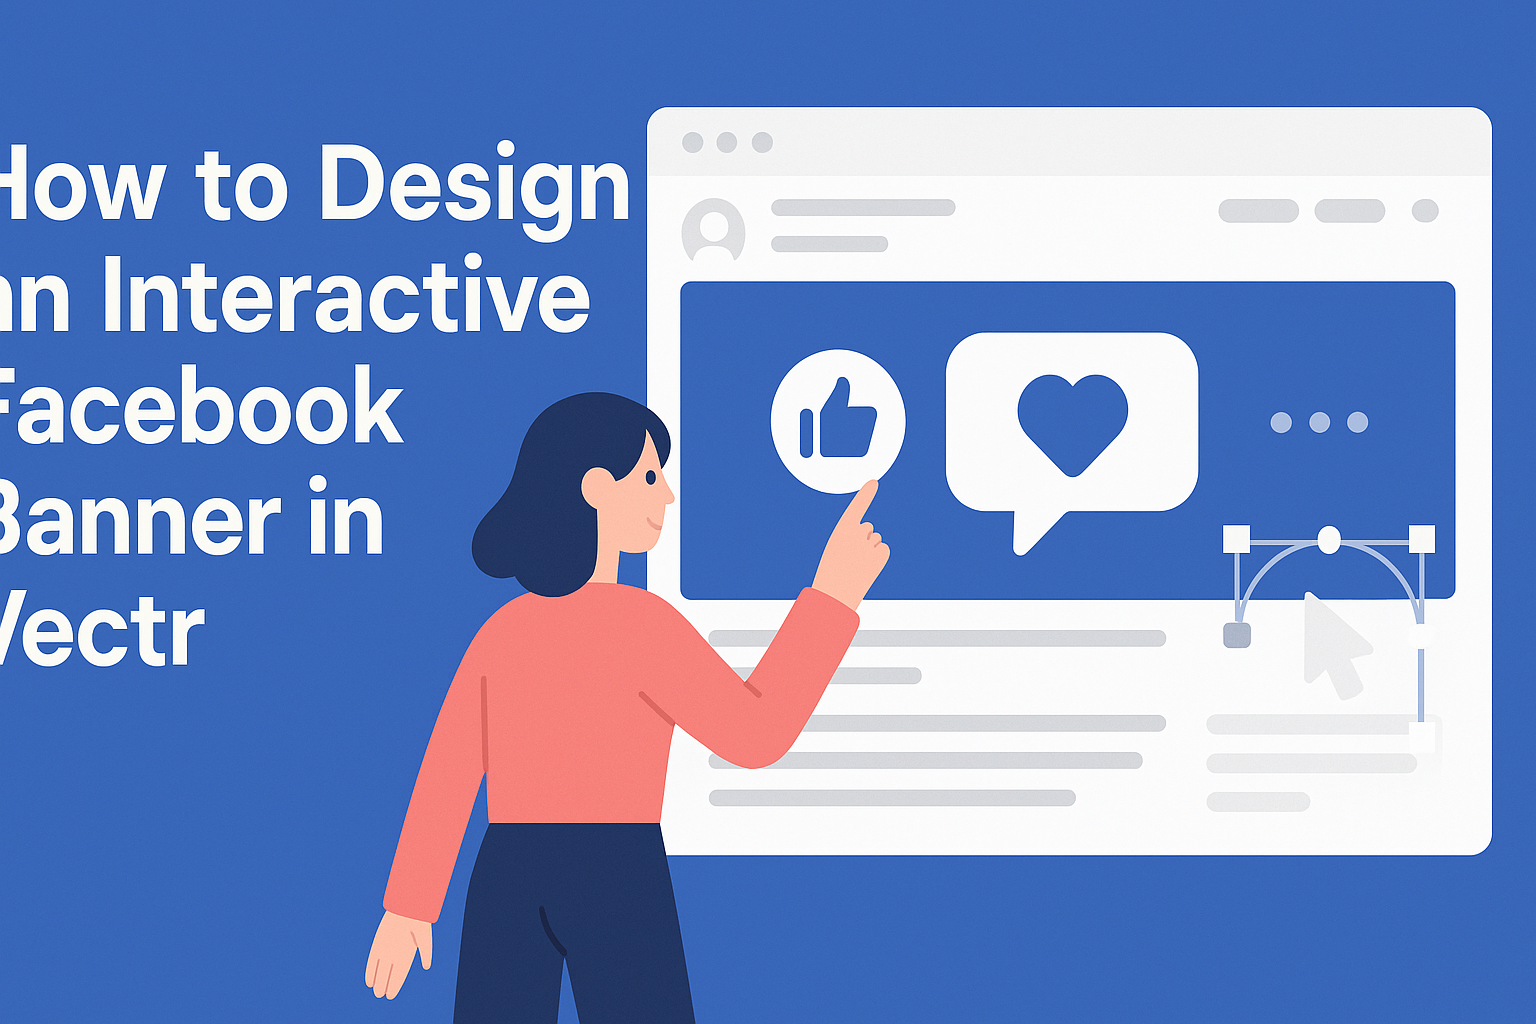
Creating an engaging Facebook banner can capture attention and promote interaction with the audience. With Vectr, it is easy to design an interactive banner that stands out and attracts viewers. This powerful tool allows anyone to create stunning graphics with minimal effort and no steep learning curve.
Whether it’s adding clickable elements or dynamic visuals, Vectr provides various features that make the design process enjoyable.
With its simple interface and helpful resources, designers can unleash their creativity and make banners that resonate with their brand’s message.
As Facebook continues to be a key platform for businesses, knowing how to craft an interactive banner can elevate profiles significantly. Learning the ways to leverage Vectr for this purpose can lead to better engagement and a stronger online presence.
Getting Started with Vectr
Vectr is a user-friendly tool for creating beautiful vector graphics. Understanding its workspace and project setup is essential for new users to start designing effectively.
Understanding the Workspace
When first launching Vectr, users will see the main dashboard. This includes the menu bar, side panel, and the canvas area where designs are created.
The menu bar at the top has options for file management, editing, and view settings.
The side panel contains useful tools like shape creation, text addition, and color selection. Users can click on these icons to access various features.
The canvas, located in the center, is where all the design actions happen.
By familiarizing themselves with this layout, users can easily navigate Vectr and utilize its powerful features.
Setting Up a New Project
Starting a new project in Vectr is quick and straightforward. After logging in, users should click on Create File in the top left corner. This action opens the workspace for their new project.
Next, users can set the page size by selecting from preset dimensions or entering custom values. Choosing the right size is crucial for designs, especially for specific platforms like Facebook banners.
Once the project is set up, users can start working on their banner. They can add shapes, text, and images to craft an appealing design.
With Vectr’s intuitive tools, users will find it easy to express their creativity and bring their ideas to life.
Designing the Banner
Creating an engaging Facebook banner involves careful consideration of size, layout, text, and images. Each element plays a role in how the banner looks and how it attracts attention.
Choosing a Size and Layout
When designing a Facebook banner, it’s essential to start with the right size. The recommended dimensions for a Facebook banner are 820 pixels wide by 312 pixels tall on desktop. For mobile devices, the size is typically 640 pixels wide by 360 pixels tall.
He or she should choose a layout that fits these dimensions well. A grid system can help guide the placement of elements like text and images. This keeps the design balanced.
Utilizing sections within the layout can also help the viewer’s eye move naturally across the banner.
By sticking to the right size and layout, the banner will look great on different devices.
Working with Text and Typography
Text is a key part of any banner design. It should be clear and easy to read. Choosing the right fonts can make a big difference.
It’s best to pick two to three complementary fonts to maintain a cohesive look.
Use bold text for headings and lighter styles for body text. This contrast draws attention.
The size of the text is also important. Larger text works well for messages that need emphasis, while smaller text can be used for details.
Keeping text aligned can create a clean, organized appearance, making it more appealing.
Incorporating Images and Logos
Images and logos add personality to the banner. Selecting high-quality images is crucial as they capture attention quickly. Stock photos can serve as excellent backgrounds.
He or she should place logos prominently, but ensure they do not overpower other elements.
A common technique is to position the logo in a corner or center it for visibility. Layering images can also create depth.
Using transparent overlays can help text stand out against busy backgrounds.
By considering these aspects, the banner will appear professional and inviting.
Adding Interactivity
Interactivity makes a Facebook banner engaging and can encourage user participation. This section will explore how to create clickable areas and integrate links to Facebook features effectively.
Creating Clickable Areas
Clickable areas are essential in making an interactive banner. They allow users to engage with the banner directly.
To create these areas in Vectr, select the shape or element you want to be clickable. Then, add a link by using the properties panel.
It’s important to ensure that these areas are large enough for easy clicks but not so large that they overwhelm the design.
Consider using bright colors or bold outlines to make clickable areas stand out. This helps grab attention and invites users to interact.
When planning the placement, think about the flow of the design. Position clickable areas near essential content to encourage user engagement effectively.
Linking to Facebook Features
Linking to Facebook features enhances the functionality of the banner. Incorporating elements like Facebook events or pages helps drive traffic and interaction.
To add links effectively, use specific URLs from your Facebook page. These can include links to events, promotions, or product pages.
When creating links, always test them to ensure they direct users to the correct location.
Using call-to-action phrases, such as “Join Our Event” or “Explore Our Products,” encourages users to click. This can significantly increase engagement and boost visibility for promotions or announcements.
Linking back to features helps create a cohesive user experience, encouraging visitors to stay connected with the brand on Facebook.
Exporting and Publishing
Once the design is complete, the next step is to export and publish the Facebook banner. It’s crucial to choose the right format and optimize the image for web use. This ensures that it looks great on various devices and doesn’t slow down the loading time.
Optimizing for Web
When exporting the banner, selecting the correct file format is key. JPEG and PNG are popular choices for web images.
JPEG is ideal for photos, while PNG works best for graphics with transparency.
Considerations for optimization:
- Resolution: Aim for 720 pixels wide by 312 pixels high for the best display.
- File Size: Keep the file size under 100 KB to ensure quick loading.
- Color Space: Use sRGB color space for vibrant colors on the web.
After exporting, test the banner by uploading it to Facebook. View it on different devices to check how it appears.
This step helps ensure the banner is visually appealing and meets Facebook’s requirements.