Designing a wedding invitation suite can seem overwhelming, but it doesn’t have to be. Using Pixlr, anyone can create a polished and professional invitation suite that perfectly captures the couple’s style and theme.
With easy-to-use tools and templates, it becomes simple to craft everything from save-the-dates to thank-you notes.
He or she can explore various design options to find the perfect look. Pixlr offers customizable features that allow users to add their own touch while ensuring a seamless, cohesive design.
This means every piece, from the main invitation to the RSVP cards, can match beautifully.
Whether it’s the couple’s favorite colors or a unique logo, Pixlr makes it easy to infuse personal details into the wedding suite. With just a few clicks, they can transform their ideas into beautiful invites that impress guests and set the tone for their special day.
Getting Started with Pixlr
Starting with Pixlr is both exciting and straightforward. It provides an intuitive interface and various tools to help create stunning wedding invitations.
Here’s how to navigate the interface and set up a workspace that suits individual preferences.
Understanding the Pixlr Interface
The Pixlr interface is designed for ease of use. On the left side, users will find the toolbar with essential tools like the Cutout/Mask Tool, Text Tool, and Adjustment options.
At the top, there’s the menu bar that includes options for File, Edit, and View, making it easy to access different functions.
The right panel features layers and properties, allowing users to manipulate elements easily. Navigating through these areas will help users get comfortable and find tools quickly.
Setting Up Your Workspace
Setting up a personalized workspace in Pixlr enhances the design experience. Users can start by adjusting the canvas size to fit their invitation needs. This option can be found in the File menu under New Image.
Next, consider arranging panels by clicking and dragging them to preferred locations. It’s helpful to keep the layers panel visible for easy access while designing.
Customizing tool options is also key. For instance, adjust the opacity or color settings directly in the properties panel as designs evolve.
This setup will make the design process smoother and more efficient.
Design Elements of a Wedding Invitation Suite
Creating a wedding invitation suite requires attention to detail in key design elements. Focusing on color schemes, fonts, and graphics helps to create a beautiful and cohesive look.
Choosing a Color Scheme
The color scheme sets the mood for the entire invitation suite. It is essential to choose colors that reflect the couple’s personal style and the wedding theme.
Common choices include soft pastels for a romantic feel or vibrant hues for a modern touch.
When selecting colors, consider the season of the wedding. For example, warm tones work well in the fall, while cooler shades suit winter events.
It can also help to use a color wheel to find complementary colors. Limiting the palette to three or four colors ensures a cohesive look throughout the suite.
Selecting Fonts and Typography
Fonts play a crucial role in conveying the tone of the wedding invitation suite. Couples should select fonts that match their personalities and the overall theme of the event.
A mix of a decorative font for the names and a simple font for the details can create an elegant balance.
It’s important to choose legible fonts, especially for the main invitation text.
Using different font sizes can help guide the reader’s attention to important details. For instance, the couple’s names can be larger, while the date and venue details are smaller but clear.
Incorporating Graphics and Images
Graphics and images can enhance the wedding invitation suite’s appeal. Couples can use floral designs, geometric shapes, or custom illustrations that reflect their story or interests.
Images should be chosen carefully to avoid overwhelming the text. They should complement the overall design without distracting from the invitation’s essential information.
Using a graphic element like a border can tie the suite together. Adding personal touches, such as a favorite quote or a meaningful symbol, can also make the invitation more special.
Assembling Your Invitation Suite
Assembling an invitation suite is an exciting step in wedding planning. It involves putting together various components to create a cohesive look that reflects the couple’s style. Here are the key elements to consider during the assembly process.
Creating the Main Invitation
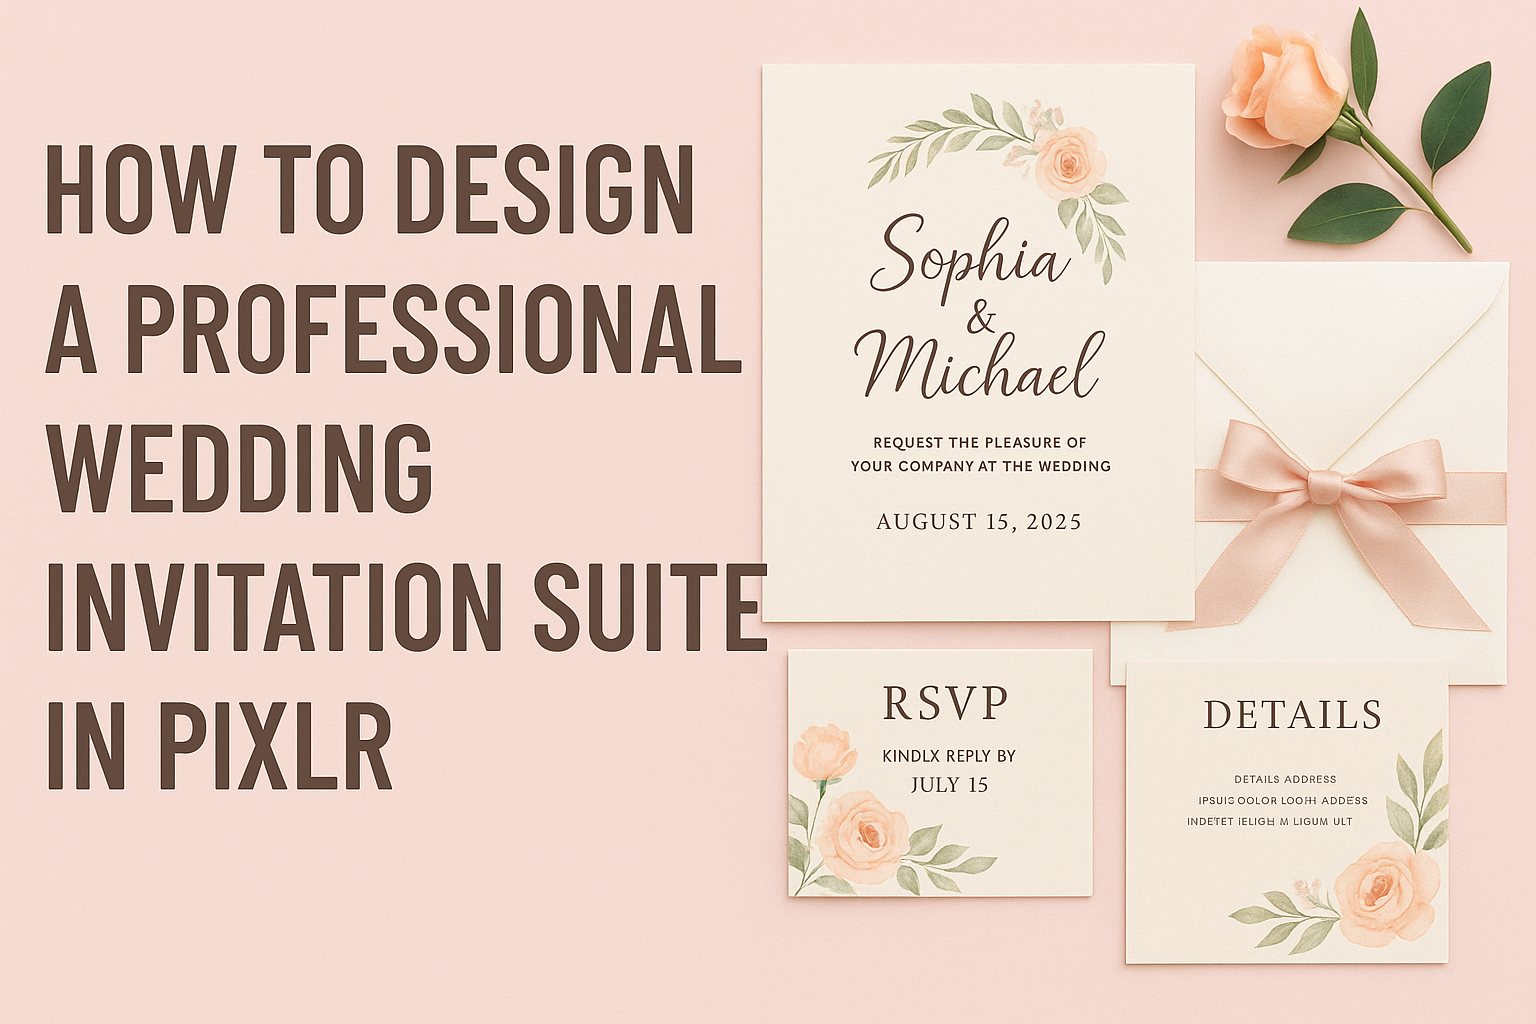
The main invitation is the centerpiece of the suite. It should clearly display the couple’s names, wedding date, and venue. Traditionally, the full names are used for formality, while first names can work for a casual affair.
Using a clean layout is vital. Choose a font that is easy to read and complements the overall design. Colors should match the wedding theme for a unified look.
Include a space for the details about the ceremony and reception. This helps guests to prepare for the special day. Be concise, yet informative.
Designing RSVP Cards
RSVP cards play a crucial role in managing guest attendance. They should contain the wedding date and a clear request for a response. A simple yes or no option is often best.
Provide space for guests to write their names. This will help in tracking responses easily.
Including a meal choice option can be beneficial for planning.
Don’t forget to add the return address. This makes it easier for guests to send back their responses. A matching design with the main invitation creates a beautiful and coordinated suite.
Information Cards and Extras
Information cards provide additional details guests may need. This could include accommodations, directions, or wedding registry information. It ensures guests feel informed and welcomed.
Using a consistent design with the main invitation is important. This keeps everything looking polished and planned.
Extras like thank-you cards or save-the-date notes can also be included. These elements add a personal touch to the suite and show appreciation to guests. A well-assembled suite reflects the couple’s personality and style.
Finalizing and Exporting
Before finishing a wedding invitation suite in Pixlr, it is important for the designer to carefully review and export their work properly. This ensures that everything looks polished and is ready for printing or digital sharing.
Review and Proofread
After finalizing the design, a thorough review is essential. The designer should check for any spelling errors, typos, or incorrect details, such as dates or locations.
They can print a sample or use Pixlr’s preview feature to see how the design appears in a different format.
It’s helpful to have someone else look over the work too, as a fresh set of eyes can catch mistakes that the original creator might miss.
Designers should also ensure that all visual elements are aligned correctly and that the color scheme is consistent. Ensuring that the invitation looks cohesive enhances its professional appearance.
Exporting Your Designs
Once the designer is satisfied with the final design, it’s time to export the project. In Pixlr, the design can be saved in various formats, such as JPEG, PNG, or PDF.
Choosing the right format is crucial. For printing, opting for a PDF with high resolution is ideal, while PNG works well for digital invitations.
To export, the user should go to the “File” menu and select “Export.”
After selecting the format, they can adjust settings, including quality and resolution. Ensuring the right specifications helps achieve the best results for either print or digital use.