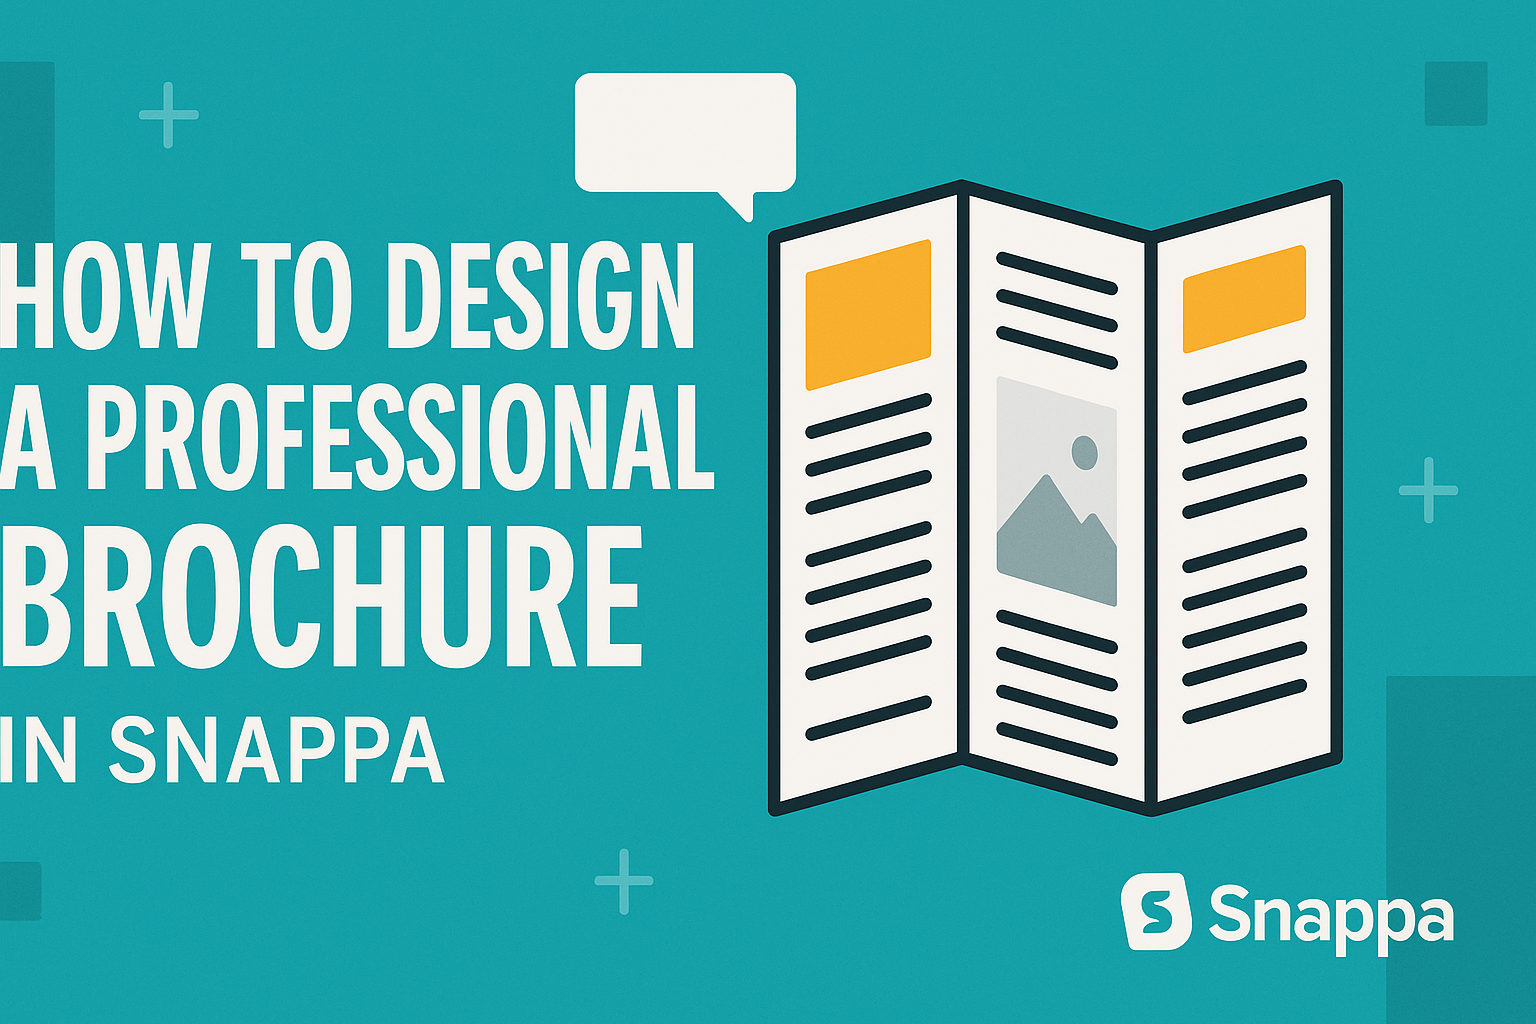
Creating a professional brochure can seem daunting, but it doesn’t have to be.
With Snappa, anyone can design stunning brochures quickly and easily, even without prior design experience. This user-friendly tool provides a range of templates and customization options that make the design process simple and enjoyable.
In this guide, readers will learn step-by-step how to utilize Snappa’s features to produce eye-catching brochures.
From choosing the right templates to adding images and text, each step is designed to help users create a polished end product.
Whether it’s for a business event, a marketing campaign, or a community project, a well-designed brochure can make a lasting impression. Readers will discover how Snappa makes this possible with its accessible tools and resources.
Understanding Brochure Design Basics
Creating a professional brochure starts with understanding its key elements. The design should clearly meet its intended purpose while appealing to the right audience.
Choosing the format and size wisely will enhance its effectiveness.
The Purpose of a Brochure
The primary goal of a brochure is to inform and persuade. It serves as a marketing tool that showcases products, services, or an organization’s mission. Brochures can target potential customers, share important information, or promote events.
A well-designed brochure can leave a lasting impression. It should grab attention, provide valuable information, and encourage the reader to take action. Keeping the message clear and concise is essential for engaging the audience effectively.
Target Audience Analysis
Understanding the target audience helps in tailoring the brochure’s content and design. She or he should consider factors like age, interests, and needs.
This will guide the tone, language, and visuals used in the brochure.
Creating a buyer persona can be beneficial. A persona includes details about the audience’s preferences, pain points, and behaviors.
By focusing on these aspects, the brochure can resonate with its audience, making it more impactful.
Choosing the Right Format and Size
Selecting the appropriate format and size is crucial. Common brochure formats include bi-fold, tri-fold, and z-fold. Each format offers a unique way to present information and must align with the brochure’s purpose.
Size matters too. Standard sizes like 8.5″ x 11″ are popular, but unique dimensions can set a brochure apart.
Making a choice based on distribution methods is important, as some sizes are easier to pocket or hand out.
Getting Started with Snappa
Getting started with Snappa is simple and user-friendly. Users will create an account, explore the interface, and choose a brochure template to begin designing a professional-looking brochure easily.
Creating a Snappa Account
To start using Snappa, users must first create an account. This process is easy and can be done through their website.
They can sign up for a free account with an email address or use their Google or Facebook login for convenience.
Once registered, users may encounter different plan options. The free plan allows basic features, which are great for beginners. To unlock additional templates and tools, users can consider the paid plans later on.
After creating an account, users will receive a welcome email with helpful tips on how to begin.
Navigating the Interface
After signing in, users will see Snappa’s clean and straightforward interface. The main dashboard displays various options for creating designs. It includes quick links to saved designs and available templates.
On the left side, users will find a menu to select different categories like social media, blogs, and brochures. The center workspace is where users design their brochures, with options to add text, images, and graphics easily.
At the top, there’s a toolbar with tools for saving, resizing, and exporting designs.
Knowing where everything is will help users work more efficiently and create professional designs faster.
Selecting a Brochure Template
Choosing the right template is essential for creating an effective brochure. Users can start by exploring a variety of brochure templates available in Snappa.
The templates are professionally designed and cover numerous styles, colors, and layouts to suit different needs.
To find a suitable template, users can browse categories or use the search bar for specific themes or keywords. Once a template catches their eye, clicking on it will bring them to the editing workspace.
Users can customize the template by modifying text, colors, and images to match their brand identity. This feature helps individuals create brochures that not only look good but also convey the right message.
Designing Your Brochure
Creating a professional brochure in Snappa involves several key steps. These include customizing templates, working with images and graphics, using engaging text, and applying branding elements effectively. Each step plays a crucial role in making the brochure appealing and informative.
Customizing the Template
Snappa offers a wide range of templates to start with. Choose one that fits the purpose of the brochure. A template provides a structured layout, saving time while allowing customization.
Users can easily change colors, fonts, and images. Make the design unique by incorporating specific themes or colors that align with the brand.
Adjust the layout to suit the content.
Snappa allows users to drag and drop elements, making it user-friendly. This flexibility gives control over the design without requiring advanced skills.
Working with Images and Graphics
Images are vital in brochures as they attract attention. Snappa provides access to a library filled with stock photos and graphics.
Users can search and choose images that enhance the brochure’s message.
When selecting images, consider quality and relevance. High-resolution images look more professional.
Placing visuals strategically can guide readers through the content. Adding icons or shapes helps in emphasizing key points. Users can also adjust image size and position easily within the template.
Incorporating Engaging Text Content
Text must be clear and engaging. Snappa allows users to insert headings, subheadings, and body text effortlessly.
It’s important to keep sentences short and to the point.
Using bullet points can break down information and make it easier to read. Highlighting key phrases in bold or italic helps draw attention to important information.
Users should also pay attention to font choices. Select fonts that are easy to read while aligning with the brand’s identity.
Using contrasting colors for text makes it stand out against the background.
Applying Branding Elements
Consistency in branding is essential for recognition. Users should incorporate logos, brand colors, and specific fonts that represent their company.
Snappa makes it easy to upload logos and customize other brand elements.
Maintain a balance between design and branding. Too much branding can overwhelm the content, while too little can dilute the brand identity.
Make sure that all design elements work together harmoniously. This creates a cohesive look that enhances professionalism.
Finalizing and Exporting Your Brochure
Before sending a brochure to print or sharing it online, it is essential to make sure everything is polished and ready. This includes proofreading the content and preparing the design for its intended use.
Proofreading and Editing
Before finalizing the brochure, she should carefully proofread all text. This step helps catch any spelling, grammar, or punctuation errors that might have slipped through.
Tips for Effective Proofreading:
- Read the text aloud to hear how it sounds.
- Use digital tools for grammar checks, but don’t rely solely on them.
- Check facts and figures to ensure accuracy.
After the initial proofreading, it’s helpful to have someone else review the brochure. A fresh set of eyes can often spot mistakes that the designer might miss.
Ensuring clarity and professionalism in the text will reflect positively on the brand.
Preparing for Print and Digital Use
Once the text is polished, it is time to prepare the brochure for its final format.
For print, keep in mind the following points:
- Use high-resolution images (300 DPI) to maintain quality.
- Ensure the colors are set to CMYK for accurate printing.
For digital formats:
- Save the brochure as a PDF for easy sharing.
- Optimize images for faster load times without losing quality.
She can also explore settings like crop marks and bleeds if printing.
Considering these aspects will help achieve a polished final product ready for distribution.