Creating a compelling book cover is essential for attracting readers and making a good first impression.
With Pixlr, anyone can design a professional-looking book cover in just a few simple steps. This online tool offers a range of features that make it easy to customize designs and showcase creativity.
In a crowded marketplace, a standout cover can make all the difference. Pixlr provides various templates and design elements to help users craft unique and engaging visuals for their ebooks.
Readers will find that using Pixlr not only saves time but also enhances their overall design experience.
Whether an author is launching their first book or rebranding an existing title, understanding how to use Pixlr effectively is key. This guide will walk through each step, ensuring that anyone can create a stunning cover that truly represents their work.
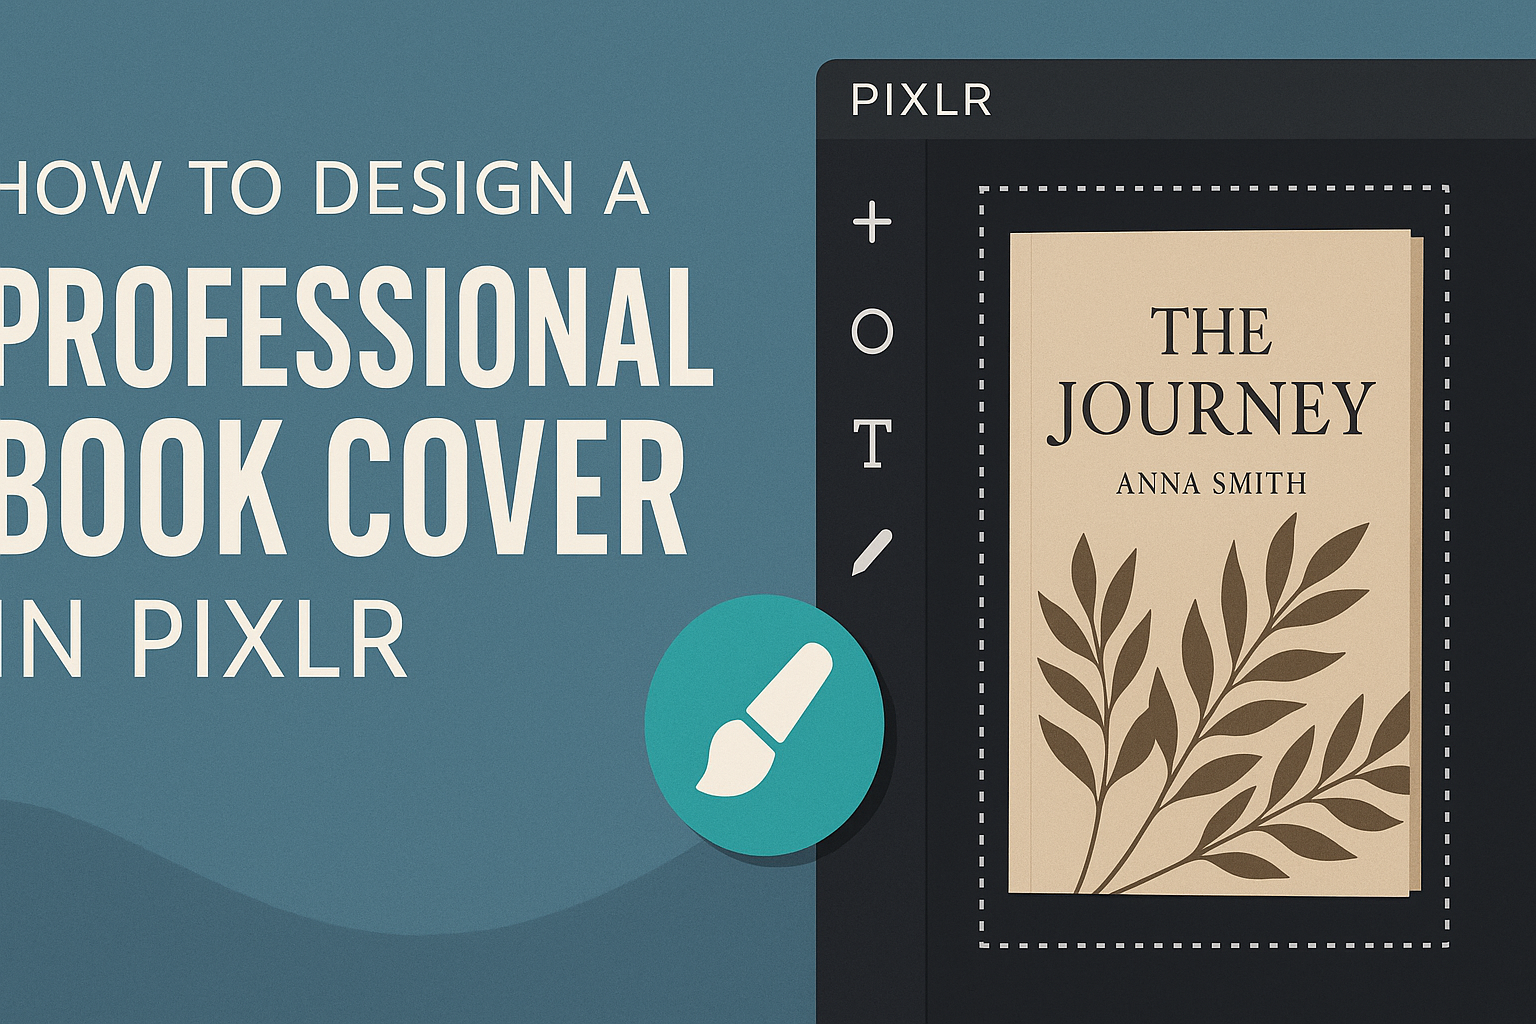
Getting Started with Pixlr
Pixlr is a user-friendly tool for designing book covers. Understanding its interface and knowing how to set up a project can help create stunning visuals easily.
Understanding Pixlr Interface
When using Pixlr, the interface is designed for simplicity.
Users will find essential tools on the left toolbar, which includes options for cropping, layering, and adding text.
The top menu also provides quick access to features like “File,” “Edit,” and “Image.” Each section contains additional options that help in editing and designing.
On the right side, the layers panel allows users to manage different elements of their design. Understanding these components will make navigating the platform much easier and more enjoyable.
Setting Up Your Project
To start a project in Pixlr, visitors can choose between Pixlr X and Pixlr E. Pixlr X is great for quick edits, while Pixlr E offers more advanced tools.
Begin by selecting “Create New” on the homepage. Users will see various preset sizes, including options for eBook covers.
After selecting a size, users can name their project to keep everything organized.
Adding images or choosing templates can be done quickly by clicking on the “Add Image” button. Customization options will make it easy to fit any theme or genre, ensuring the book cover looks professional and eye-catching.
Design Fundamentals
When creating a book cover in Pixlr, understanding design fundamentals is important. Key elements like color schemes, typography, and images play a huge role in making a cover appealing and professional.
Choosing a Color Scheme
Color schemes can set the mood of a book. They should align with the genre and theme. For example, bright colors may suit a children’s book, while darker shades might fit a thriller.
Using tools like the color wheel can help in selecting complementary colors. A common method is to use one dominant color and two accent colors. This creates balance while drawing attention to important areas on the cover.
It’s also essential to consider color psychology. Different colors evoke different emotions. For instance, blue often represents trust, while red can symbolize excitement. Understanding these concepts will help in creating a visually striking cover.
Working with Typography
Typography involves choosing fonts and arranging text on the cover.
Fonts should be easy to read, even at small sizes. It’s helpful to limit the number of fonts to two or three—one for the title and another for the author’s name.
Font styles should reflect the book’s tone. A whimsical font may work for a romance novel, while a bold, modern font suits a sci-fi story. Contrast between the background and text color enhances legibility.
Also, pay attention to spacing. Proper spacing between letters and lines improves readability. Tools in Pixlr allow easy adjustments to text size and alignment, ensuring a polished look.
Incorporating Images and Illustrations
Images and illustrations grab attention and can symbolize the book’s content. They should be high-quality and relevant to the story. Choosing images that resonate with the target audience is crucial.
When using images, consider their positioning. They can be centered, off to the side, or even act as a background. Layering effects in Pixlr add depth to covers and can make elements pop.
Additionally, incorporating illustrations can offer a unique touch. Custom illustrations can make a cover stand out. It’s essential to ensure that any image fits the overall design and color scheme.
Creating Your Book Cover
Designing a book cover involves several key aspects to make it visually appealing. From understanding layer basics to focusing on the front, spine, and back cover, each part plays a distinct role in the final product. Here’s how to approach it step by step.
Layer Basics
Layers are essential in Pixlr for creating a polished book cover. Each element, like images and text, should reside on its own layer. This separation allows for easy editing and adjustments.
To manage layers effectively, use the Layers panel. Here, users can rename, hide, or adjust the opacity of layers.
Also, grouping related layers can help in organizing the design. For example, all text layers could be grouped together. This structure makes editing simpler and keeps the workspace tidy.
Designing the Front Cover
The front cover is the first impression a reader will have.
Start by selecting a background image or color that captures the book’s theme. Use appealing, high-resolution images to attract attention.
Next, incorporate the title and author’s name. Choose fonts that are easy to read and align with the book’s genre. Fonts can be customized in size and color to stand out effectively against the background.
Consider adding additional design elements, like graphics or patterns, but keep it balanced. Too many components can make the cover look cluttered. Use negative space wisely to enhance focal points and maintain interest.
Designing the Spine and Back Cover
The spine is vital for visibility on shelves. It should include the book title and the author’s name. Font size here should be smaller than the front cover, but still legible.
The back cover often contains a blurb or summary. Keep this text concise yet captivating to entice potential readers. It can also include space for reviews or a barcode.
Consider visually connecting the front and back covers through colors or graphics. This consistency helps make the book easily recognizable. Add any additional graphics that relate to the book’s theme to make the back equally inviting.
Final Touches and Exporting
At this stage, it’s important to focus on the details. By reviewing and refining the design, one can ensure that the book cover looks polished. Additionally, knowing how to save and export the file properly will prepare it for publishing.
Reviewing and Refining the Design
Before finishing, it’s essential to review the entire book cover. Look at all the elements, such as images, colors, and text. Each part should work together seamlessly to create an appealing look.
Zoom in to catch any small mistakes or misalignments.
It’s useful to ask for feedback from others. Fresh eyes can spot issues that might have been overlooked.
Consider adjusting fonts and colors. A well-chosen font adds character. Ensure that the color scheme reflects the book’s theme. Refining these aspects makes a significant difference in the final product.
Saving and Exporting your Book Cover
Once satisfied with the design, it’s time to save and export the cover.
Go to the file menu and choose the export option.
Pixlr allows saving in different formats like JPEG or PNG.
For print, saving as a high-resolution PDF is ideal. This option maintains quality for printing.
Always remember to save a copy of the project file before exporting. This step allows for future edits if needed.
Setting the dimensions correctly is crucial. Ensure that the cover fits the intended size for printing or digital use.