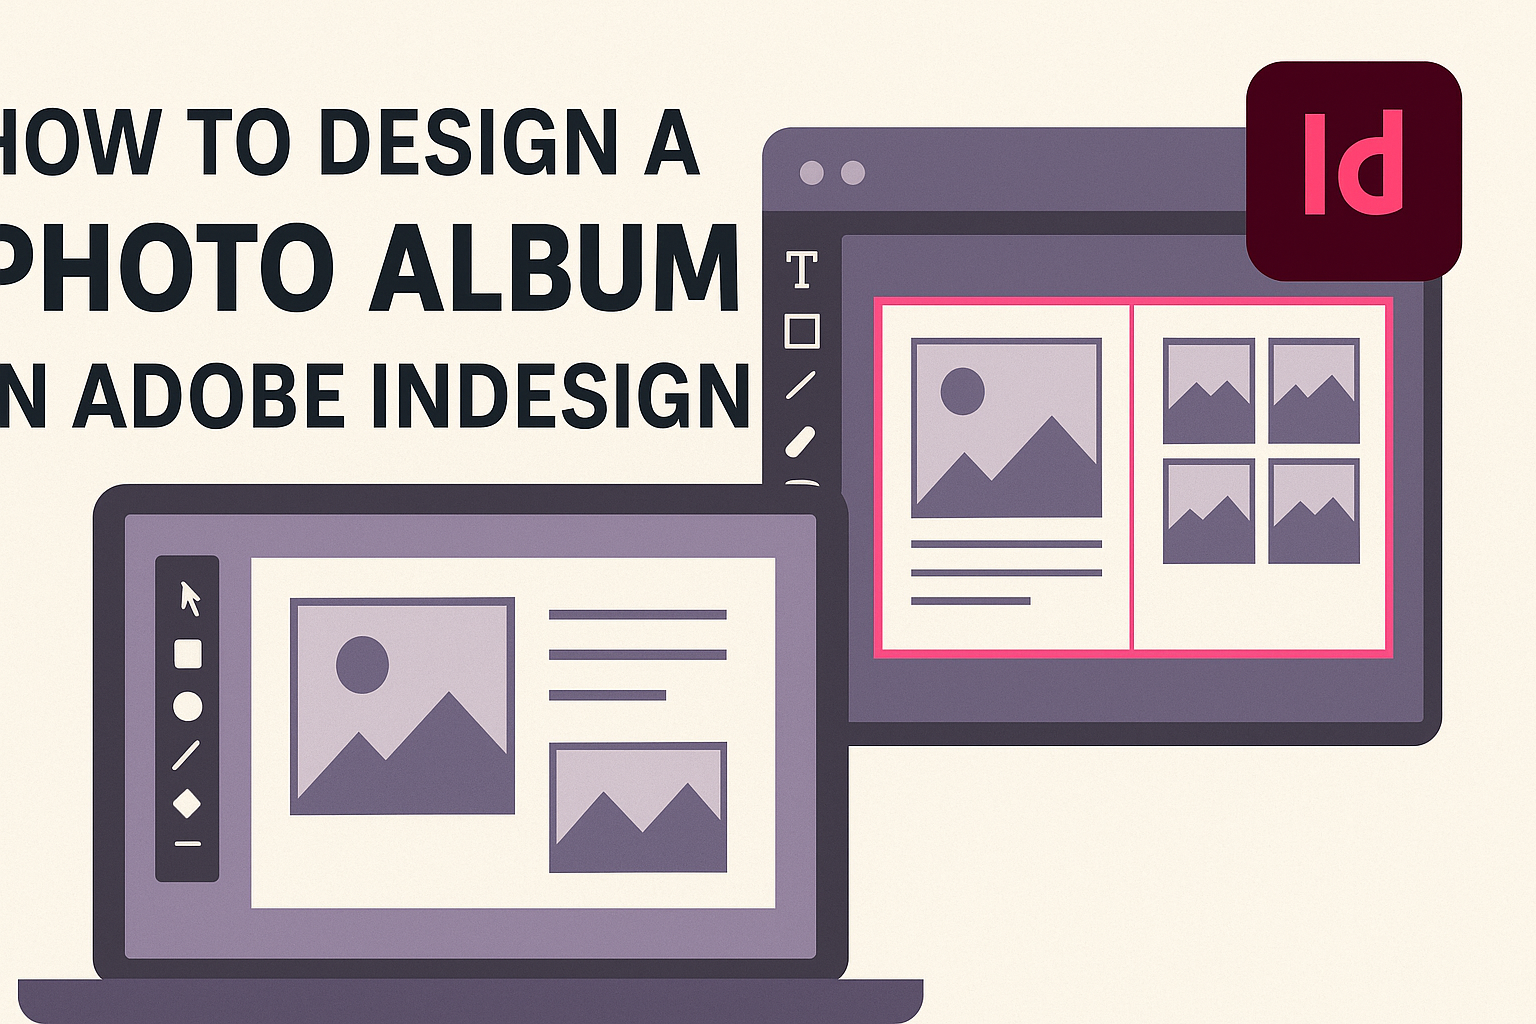
Creating a photo album in Adobe InDesign offers a chance to transform your memories into a beautiful keepsake. Adobe InDesign stands out as an industry favorite for designing photo books because it provides a range of versatile tools and templates. Whether it’s a wedding album or a vacation scrapbook, using InDesign can make the process both fun and professional.
The software’s layouts let users experiment with text, images, and backgrounds to achieve the perfect look. With a few clicks and some creativity, stunning designs come to life. For newcomers and seasoned designers alike, learning how to use these tools is both rewarding and engaging.
For those who need a jumpstart, there are plenty of resources, like InDesign templates, which can simplify the creation process. These templates offer an easy way to get started by providing ready-made layouts, saving time and sparking inspiration. With the right guidance, anyone can turn their photos into a sleek and polished album.
Getting Started with Adobe InDesign
Adobe InDesign is a powerful tool for creating photo albums. Users can become familiar with its interface, set up projects efficiently, and manage pages with ease. This guide covers key steps to help users get started quickly and effectively.
Understanding the Workspace
Adobe InDesign’s workspace is designed for flexibility and ease of use. It includes panels, menus, and a toolbar that can be customized to suit different needs. The main workspace shows the document area where users can design their photo albums.
The Control Panel at the top gives quick access to options related to the selected tool. On the right, panels such as Layers, Swatches, and Paragraph Styles provide control over different aspects of the design. Users can rearrange and save these panels into custom workspaces.
Familiarity with the workspace allows users to access tools and settings efficiently, helping them create stunning designs with minimal hassle.
Setting Up Your Project
Before starting a photo album, setting up the project correctly ensures smooth progress. Users should begin by creating a new document. They can set the dimensions, orientation, and number of pages to match their album’s requirements.
InDesign offers presets for standard sizes, but custom dimensions are also an option. Adjusting margins and bleeds is important for print projects to prevent unwanted trimming. The Intent selection helps determine if the project is for print or digital use, setting defaults for color modes and resolution.
Establishing a solid foundation with these settings allows users to focus on design without technical setbacks later.
Working with Pages and Master Pages
Managing pages in Adobe InDesign is straightforward with the help of master pages. Master pages allow for consistent design elements across multiple pages, such as headers, footers, or backgrounds.
Users can create and edit master pages by accessing the Pages Panel on the right. Applying a master page to document pages saves time and ensures uniformity. Changes made to a master page automatically update all linked pages.
Additionally, users can add, delete, and rearrange pages easily using the Pages Panel. This flexibility makes it simple to organize the photo album’s layout.
Designing Your Photo Album Layout
Creating a great photo album layout involves selecting a theme, using layout grids effectively, and blending text beautifully. Each part shapes the final look of your album. Explore these elements to make your photo book stand out.
Choosing a Theme and Style
When designing a photo album, begin by picking a theme that matches the story or event. Themes guide the photo selection and layout arrangements, ensuring everything feels cohesive. Whether it’s a wedding, vacation, or family event, the theme sets the tone for the entire album.
Styles vary widely from modern and minimal to vintage and intricate. Consider what will best complement your photos. For instance, a wedding album might benefit from soft pastels, while a travel album can pop with vibrant colors. Coordinating your theme and style helps unify the album’s overall aesthetic, making for a more engaging experience.
Utilizing Layout Grids and Guides
Grids and guides are essential tools in Adobe InDesign to create balanced and organized photo albums. These invisible lines help place images and text evenly, maintaining consistency across pages. They ensure that all elements are aligned properly, making the layout visually pleasing.
A good practice is to use a grid of thirds or quarters, which can help in positioning photos efficiently. When deciding on the grid style, consider how many images per page you’ll have. Keep in mind the white space that surrounds these elements too, as it affects how the eyes travel across the page.
Incorporating Typography and Text
Text plays a key role in enhancing the narrative of your photo book. Choosing the right fonts and size is vital. Select a font that matches the theme, like a classic serif for traditional albums or a sleek sans-serif for modern ones.
Typography doesn’t only mean choosing fonts. It includes how text is placed on the page. Ensure titles stand out while captions complement the photos without overwhelming them. Maintaining a balance between text and imagery is vital for a seamless reading experience. Use Adobe InDesign’s text tools to effortlessly adjust spacing, alignment, and more.
Importing and Organizing Images
Designing a photo album in Adobe InDesign involves more than just adding pictures. It requires setting up image frames, adjusting photo settings, and arranging layers for a neat look. These tasks help make the album attractive and easy to navigate.
Working with Image Frames
Image frames in Adobe InDesign are essential for placing images accurately. Users can create a frame by selecting the “Frame” tool and drawing it on the page. It’s important to adjust the frame size to match the image dimensions for better visual appeal.
InDesign offers fitting options such as “Fill Frame Proportionally” and “Fit Content to Frame” to ensure images fit perfectly. Aligning images within these frames helps maintain a consistent look throughout the album.
Master pages are useful for repeating image frames on multiple pages. They allow users to duplicate frame layouts quickly, which is great for albums with many pages. Creating consistent frames helps streamline the photo placement process.
Editing and Adjusting Images
Once images are placed, editing them for quality improvement is vital. Adobe InDesign provides basic adjustments, while more advanced edits might require Adobe Photoshop. Users can open images directly in Photoshop by right-clicking and selecting “Edit With.”
It’s important to ensure the images in InDesign have the correct resolution. 300 DPI (dots per inch) is recommended for high-quality prints. Users can check and adjust resolution settings in the “Links” panel.
Cropping and resizing images can be done directly in InDesign. By using the “Direct Selection” tool, users can drag the image inside the frame to get the desired composition. Keeping photos aligned and well-cropped improves the overall album aesthetics.
Layering and Arranging Elements
Layering helps manage the order of elements on a page. InDesign’s “Layers” panel allows users to stack images, text, and shapes. This can help keep the workspace organized and make it easier to make changes later.
Arranging elements correctly is key to a balanced layout. Users can move elements forward or backward to achieve the right design. Locking layers prevents accidental changes, keeping the design intact.
Grouping elements simplifies moving and adjusting multiple items at once. This feature is helpful when the same arrangement is repeated across pages, maintaining continuity throughout the album. Proper use of layers and grouping makes adjustments easier and more efficient.
Enhancing Your Album with Graphics and Color
Creating a photo album in Adobe InDesign allows for a lot of creative freedom. By using custom graphics, understanding color theory, and utilizing swatches and gradients, designers can take their albums to the next level.
Creating Custom Graphics
Custom graphics help to add a personal touch to any photo album. They can be made using vector shapes and the drawing tools available in Adobe InDesign. By designing unique icons or patterns, users can create a theme that resonates throughout their album.
Moreover, custom graphics can be imported from other software like Adobe Illustrator, allowing even more flexibility. When creating these elements, it’s important to ensure they complement the photos and do not overshadow them. Keeping graphics simple and consistent helps maintain focus on the photos.
Another tip is to use layers effectively. Placing graphics on separate layers makes it easy to edit them without affecting the main content. This approach can give the design a cohesive and organized look.
Applying Color Theory
Color theory is crucial in designing a visually appealing photo album. It involves understanding how colors interact and the emotions they convey. For example, warm colors like red and orange can evoke feelings of excitement, while cool colors like blue and green can create a calming effect.
Using a color wheel can help in choosing complementary colors that work well together. Adobe InDesign offers tools that facilitate experimenting with different color schemes. This ensures that each page looks balanced.
When applying color, consider the emotion and story you want the album to tell. It can help to use a consistent color palette throughout the album for a unified look. While using color, remember that less is often more. Avoid overwhelming the viewer with too many colors, which can make the design feel chaotic.
Using Swatches and Gradients
Swatches in Adobe InDesign allow designers to save specific colors and patterns for easy access. This helps maintain consistency throughout the album. Users can create a library of swatches that match the theme of their photo album.
Gradients can add depth and interest to designs. Adobe InDesign allows for creating custom gradients that can transition subtly between colors. These can be used as backgrounds or to highlight certain areas of a page.
Experiment with different gradient types, such as linear or radial, to find the effect that best enhances the photos. Use gradients sparingly to avoid making the design too busy. By balancing these elements, users can create an engaging and professional-looking photo album.
Interactive Elements and Multimedia
Adobe InDesign offers a range of options to enhance photo albums with interactive features. By adding hyperlinks and buttons, users can navigate through the album easily. Additionally, incorporating audio and video can make the presentation more engaging.
Adding Hyperlinks and Buttons
Hyperlinks and buttons transform a static photo album into a dynamic experience. Users can connect photos to webpages, external resources, or other pages in the document. To add a hyperlink, select the text or object and use the “Hyperlinks” panel to enter the URL.
Buttons can make navigation simpler. By setting up buttons to move forward or backward, users create a seamless browsing experience. It’s as simple as creating a shape, then using the “Buttons and Forms” panel to choose the action. For a neat look, use standardized icons or labels. These interactive elements make the album visually appealing and functional.
Incorporating Audio and Video
InDesign allows the inclusion of multimedia elements such as audio clips and video, enhancing the storytelling aspect of a photo album. Users can add background music or narrations by importing audio files through the “Media” panel. This creates an immersive atmosphere for anyone viewing the album.
Videos can give life to still images. Import videos by selecting “File,” then “Place,” and choosing the desired video file. Adjust playback settings by using the “Media” panel to control how and when the video plays. These features allow for a creative and interactive album, offering a personalized touch that is both informative and engaging.
Preparing for Print and Digital Distribution
When getting ready to distribute a photo album, it’s crucial to ensure it’s set up correctly for both print and digital formats. This involves checking for any design issues, exporting in suitable file types, and adjusting for online publishing needs.
Preflight and Packaging
Before sending a project to print, the preflight process is essential. InDesign’s preflight tool helps catch potential issues, such as missing fonts or low-resolution images. Ensuring all these elements are correct helps avoid problems during printing.
Packaging consolidates all necessary files, including fonts and linked images, into a single folder. This step guarantees that nothing is left out when the project is sent to a printer or another designer. It’s a way to keep everything organized and easily accessible.
Exporting to PDF and Other Formats
Exporting the photo album to a PDF is a common step for both print and digital distribution. InDesign allows customization of PDF settings to optimize for print, ensuring correct color profiles and including necessary bleed settings.
Other formats may be needed for different digital platforms. Exporting to ePub or JPG can make the album compatible with e-readers or websites. Each format has specific benefits regarding quality and compatibility, so choosing the right one depends on the intended distribution method.
Considerations for Digital Publishing
For digital publishing, consider the needs of the platform where the album will be displayed. Websites may require different resolution settings compared to eBooks. Adapting the design to mobile devices ensures a good viewing experience on smaller screens.
Interactive features, like links or embedded videos, enhance the digital version. InDesign supports these interactive elements, allowing users to create more engaging albums. It’s important to check that these additions function correctly across various devices and platforms.
Tips and Best Practices
Designing a photo album in Adobe InDesign can be a fun and creative process. Here are some handy tips and best practices to help make the most out of it.
Plan Your Layout: Before diving in, think about the overall look. A simple design is often more appealing and easier to manage.
Use Templates: Save time by starting with available templates. The best InDesign photo album templates offer a strong foundation that can be easily customized.
Organize Your Photos: Gather and sort your images beforehand. This helps in deciding how and where to place them, making the process smoother.
Add Captions and Text: Use short captions to add context to the photos. Adjust font size and style for readability and to match the album’s theme.
Incorporate Graphic Elements: Consider using shapes and lines for added flair. This breaks up content and adds visual interest without overwhelming the viewer.
Use Content-Aware Fit: This feature allows images to fit nicely into frames, focusing on the best parts without manually resizing. Learn more with these tips from Adobe.
Proofread and Print: Always double-check text for typos or errors before printing. A test print helps spot any layout issues.
Troubleshooting Common Issues
Adobe InDesign is a powerful tool, but sometimes things go wrong. One common problem is when the Frame grid size adjusts incorrectly if you change the page size. To fix this, make sure “Adjust Font Size” is enabled.
Another issue is when InDesign files crash or become corrupted. It’s a good idea to check if third-party plug-ins are causing problems. Disabling them might help if files don’t open properly.
When elements don’t display as expected, it might be because of a specific file issue. Try opening the file on a different computer to see if the issue persists. This can help identify if the problem is with the file or the software.
For easier photo management, use the InDesign CC Library panel. Drag and drop images from Adobe Bridge, or use the File > Place command to add multiple images at once as described here.
If none of these solutions work, consider contacting Adobe support or visiting community forums for more ideas. These platforms are great for finding help from both experts and other users.