Learning how to cut out an image in Canva can transform your design projects. Whether it’s removing an unwanted background or highlighting a key element of a photo, mastering this skill opens new creative possibilities.
Cutting out images in Canva is simple and quick, using built-in tools that anyone can use.
A lot of people are exploring Canva for its ease of use, making it a popular choice for both beginners and professionals. From social media posts to marketing materials, knowing how to effectively manipulate images offers a competitive edge.
By using Canva’s tools and features, you can remove backgrounds, crop images to specific shapes, or erase portions to enhance your visuals.
Even without advanced software like Photoshop, Canva provides powerful features to achieve precise image editing. This makes photo manipulation accessible to everyone.
This guide will walk readers through the process, providing straightforward tips and tricks to make images truly stand out.
Getting Started with Canva
To begin using Canva effectively, it’s important to set up an account, understand its interface, and choose the right canvas size. Each step helps ensure that the user can navigate the platform smoothly and create designs efficiently.
Creating a Canva Account
Getting started on Canva involves a simple process of creating an account. Users can sign up using their email address or connect through platforms like Google or Facebook.
By doing so, they can access a wide range of templates and images.
New users might be excited about the free plan, which offers many features. Those who need advanced functionalities can explore Canva Pro, which includes perks like a larger media library and more design tools.
Once the account is set up, users can save their projects and return to them later. This makes it easy to manage multiple design projects. Importantly, designing and sharing graphics becomes seamless, especially for team collaborations.
Overview of Canva Interface
The Canva interface is user-friendly and designed to help both beginners and experienced users.
Upon logging in, users reach the dashboard where they can view existing projects and start new designs.
On the left side, a vertical menu allows access to templates, uploads, photos, elements, text, and more. Each option leads to specific tools useful for creating detailed designs. For those interested in cutting out images, the “Effects” tool is particularly significant.
The main workspace is located in the center, where users can drag and drop elements. Above this area, there’s a toolbar for adjusting settings like fonts, colors, and layers, enabling users to customize their designs.
Choosing the Right Canvas Size
Choosing the correct canvas size is crucial for any project. Canva offers pre-set dimensions for various platforms, including social media posts, presentations, and printed materials. This helps users maintain consistency and ensure visuals look perfect once published or printed.
When starting from scratch, users can select from custom dimensions to fit their unique requirements.
Knowing the final destination of the design, like a Facebook post or an Instagram story, helps in selecting the appropriate size. This consideration ensures that designs appear clear and professional.
By paying attention to canvas dimensions, users can ensure their projects meet specific needs and stand out.
Basics of Image Editing
Image editing in Canva is a straightforward process. It involves selecting an image, managing layers, and utilizing the photo library effectively. Understanding these basic steps makes it easier to produce high-quality visuals.
Selecting the Image to Edit
Choosing the right image is the first step in editing. In Canva, users begin by browsing through their uploads or the Canva photo library.
Once an image is chosen, they can click on it to bring it to the editor workspace. It’s essential to consider the resolution and quality of the photo because it affects the final output significantly.
Next, the image should be positioned correctly within the canvas area. This helps in making sure that all desired parts are visible and nothing important is cut off.
Adjusting the size and alignment is also crucial for composition balance. Canva offers easy-to-use tools for resizing and rotating images, allowing for quick adjustments.
Understanding Layers in Canva
Layers are a fundamental part of image editing in Canva. They dictate the stacking order of elements, like text, images, or shapes.
In the Canva editor, layers are managed by selecting elements and using the “Position” tool to bring items forward or send them back.
Understanding how to use layers helps in adding depth and structure to designs. For example, placing an image layer below a text layer ensures that the text remains readable.
It’s also helpful when users want to create effects such as shadows or overlays. By using layers, users can adjust each element independently, offering more control and precision.
Utilizing the Photo Library
The photo library in Canva is a rich resource that helps users find additional images to enhance their designs. To access it, they can click on the “Photos” tab within the Canva editor.
The library includes both free and premium images, offering a wide range of high-quality visuals.
Users can search for images using keywords related to their theme or concept. Once found, images can be dragged directly into the workspace.
Using Canva’s library helps users add visual variety and supports creativity in their projects. It also ensures that there is always access to high-resolution images to maintain visual appeal.
Cutting Out Images
Cutting out images in Canva is a user-friendly process using built-in tools. This process involves removing backgrounds, adjusting frames, and fine-tuning details. Each task can be accomplished with simple steps, making it easy even for beginners.
Using Canva’s Background Remover
Canva’s Background Remover is a great feature that makes isolating subjects simple.
To start, users upload their image and select it by clicking. Then, under the “Effects” tab, they choose “Background Remover.” In seconds, the tool erases the background, leaving just the subject.
This tool is efficient, but sometimes it requires extra touches for perfect results. It’s ideal for images with clear edges and distinct subjects.
Users get a quick preview of the result and can make further adjustments as needed.
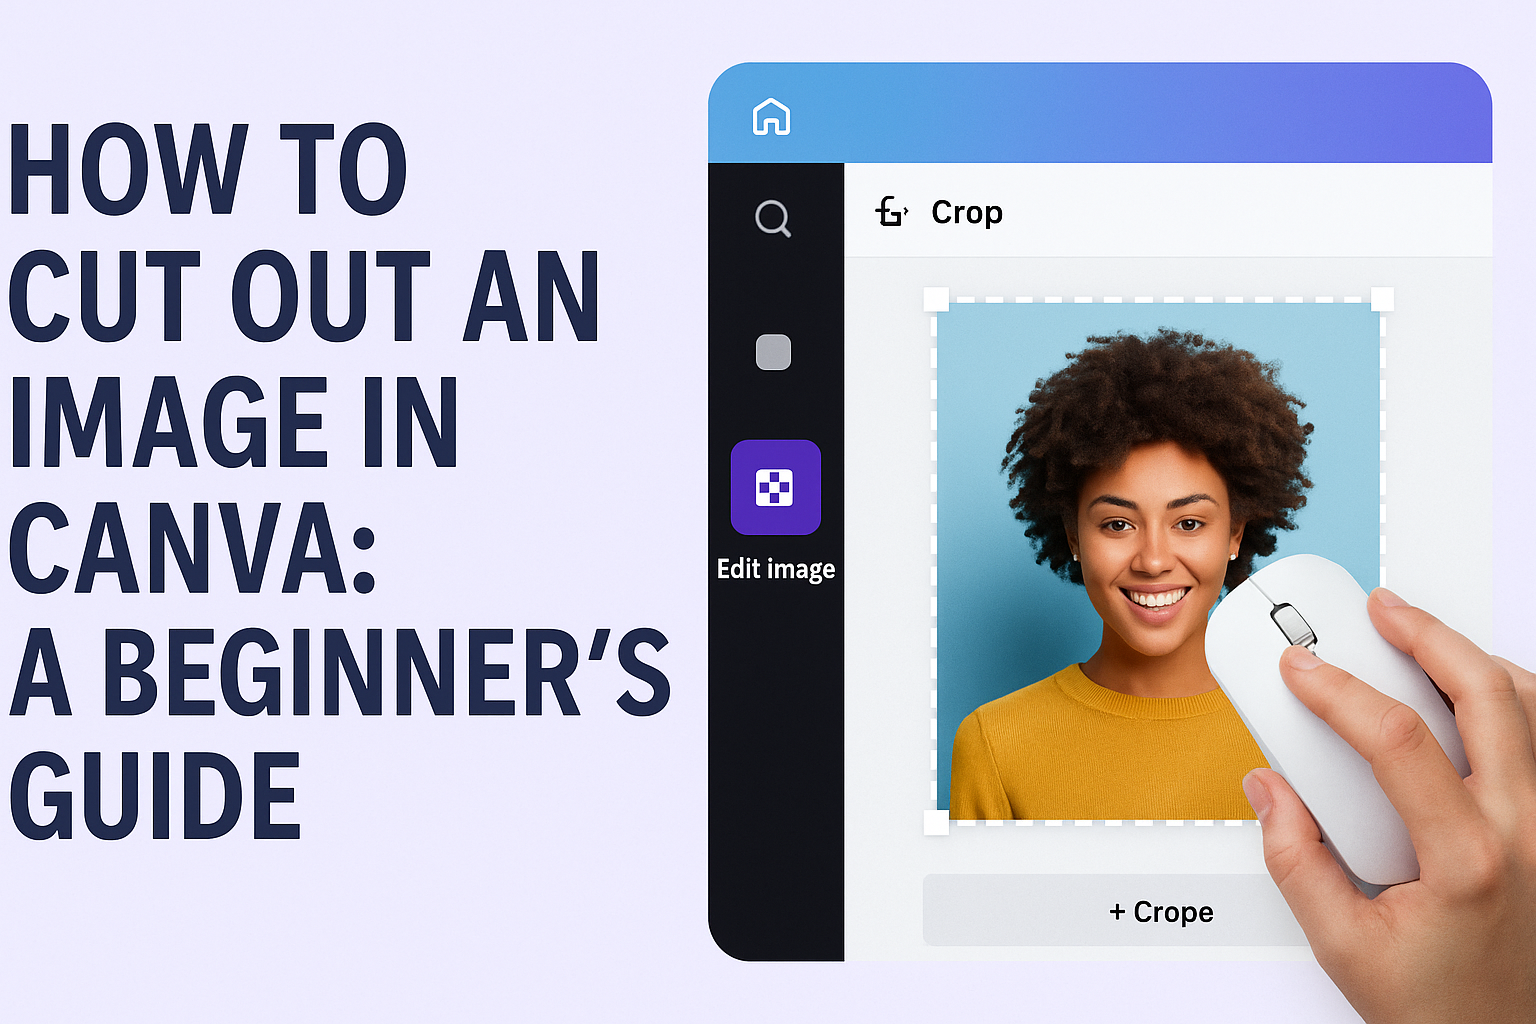
Adjusting the Crop Frame
Once the background is removed, adjusting the crop frame helps focus on the subject effectively.
Users can click and drag the corners of the crop box to include only the desired parts of the image. Adjusting this frame enhances the subject’s positioning and ensures the composition looks polished.
Paying attention to balance and alignment is crucial. Keeping the subject centered or following the rule of thirds can make a significant difference.
Experimenting with the crop can lead to more engaging visuals.
Fine-Tuning with Eraser and Restore
For more precise control, the Eraser and Restore tools come in handy.
Users can manually erase areas that the automatic remover missed by selecting the eraser tool under effects. This allows them to clean edges and remove unwanted pixels carefully.
If too much is erased, the restore tool fixes mistakes quickly. This tool ensures the image looks natural by bringing back parts of the image accurately.
Using these tools carefully helps achieve a professional look. Paying attention during this step can enhance how polished and complete the final image appears.
Advanced Techniques
When cutting out images in Canva, users can explore more complex features like adjusting transparency and adding shadows or effects. These techniques help create engaging visuals and give a professional touch to designs.
Working with Transparency
Adjusting transparency can add depth and help blend images with other elements.
To change transparency, select the image and click the transparency icon on the toolbar. Move the slider to the desired level.
Different levels of transparency can create layered effects, making some parts of the image more subtle.
This technique is helpful when trying to create watermarks or overlaying text on images without making the text hard to read.
Using transparency wisely, designers can bring focus to specific elements and create compelling visuals.
Adding Shadows and Effects
Shadows and effects can make images pop and appear more three-dimensional.
To add these, go to the “Effects” menu after selecting an image. Here, you can find options like shadow, glow, and blur.
Adding a shadow can give your image depth. Adjust the shadow’s angle, distance, and blur to get just the right look.
Glows can also be used to highlight or accentuate parts of the image. Effect settings can be fine-tuned to match the overall design theme, helping your images look polished and cohesive.
These enhancements make the design more eye-catching and professional.
Design Tips and Tricks
Creating compelling designs in Canva involves more than just cutting out images. Understanding how to combine images with text and the best practices for image composition can elevate your designs, making them more impactful and professional.
Incorporating Text with Images
When adding text to an image, choosing the right font style and size is crucial.
He should balance the text with the image’s background to ensure readability. Using contrasting colors can help the text stand out, while keeping it complementary to the image.
Placement is also important. Text can be placed in areas of the image where there is less visual distraction, which helps maintain focus. They can use Canva’s alignment tools to center the text or position it strategically, depending on the design’s purpose.
Layering is another technique. Sometimes layering text over semi-transparent shapes or elements can make the text more readable without overpowering the image. Playing with opacity allows the image behind to remain visible while the text stays clear.
Best Practices for Image Composition
Proper image composition involves more than just selecting beautiful images. It’s about ensuring images work well with the design’s layout and objectives.
The rule of thirds is a helpful guide; he can place key elements along imaginary lines dividing the image into three parts.
Using negative space effectively can help highlight focal points without making the design feel cluttered.
Canva offers grid tools that assist in aligning images and maintaining proportionate spacing, creating a balanced look.
She should also consider image consistency. Keeping the style, color tone, and lighting similar across multiple images helps in maintaining a cohesive design. This consistency supports the branding or thematic focus of the design, making it more visually appealing.
Saving and Exporting
Once you’ve cut out your image in Canva, saving and exporting the design becomes essential. Understanding the file formats and quality settings, as well as how to download your final design, ensures you get the best results for your project.
File Formats and Quality Settings
Choosing the right file format and quality setting is crucial for your design’s purpose.
Canva provides several options for exporting, including PNG, JPG, PDF, and more. PNG is ideal for images with transparent backgrounds, making it great for web graphics. JPG is a good choice for smaller file sizes, commonly used for photos.
When export quality is important, Canva gives options like selecting DPI (dots per inch) for prints. For web use, selecting a higher resolution might not be necessary and helps in keeping file sizes manageable.
You can also choose to export with or without the background depending on what suits your needs. Canva’s flexibility in these settings makes it easy to tailor files for different platforms and uses.
Downloading Your Design
Downloading your design in Canva is straightforward.
After you finish your edits, click the Download button located in the top-right corner. Canva provides a prompt to choose your preferred file format and quality settings before you start downloading.
If using Canva Pro, additional settings allow for transparent backgrounds, which is useful for creating logos or layered designs.
It’s important to double-check these options to ensure your design is downloaded exactly as intended.
Once settings are selected, downloading begins with a click.
Make sure your downloads folder is easily accessible to find your design quickly. Keep your final file organized so you can locate it without issues later.