CapCut has become a popular tool for video editing, especially among social media users. Learning how to crop, resize, and adjust aspect ratios in CapCut can enhance any video dramatically, making it perfect for different platforms like TikTok and Instagram. Whether someone is looking to eliminate unwanted parts of a video or adapt it for a specific screen, mastering these techniques is essential.
In this guide, the reader will find easy steps to transform their videos, ensuring they look great regardless of where they are shared. With helpful tips and tricks, anyone can create eye-catching content without any hassle. CapCut’s user-friendly interface makes these modifications simple, allowing for creativity to shine.
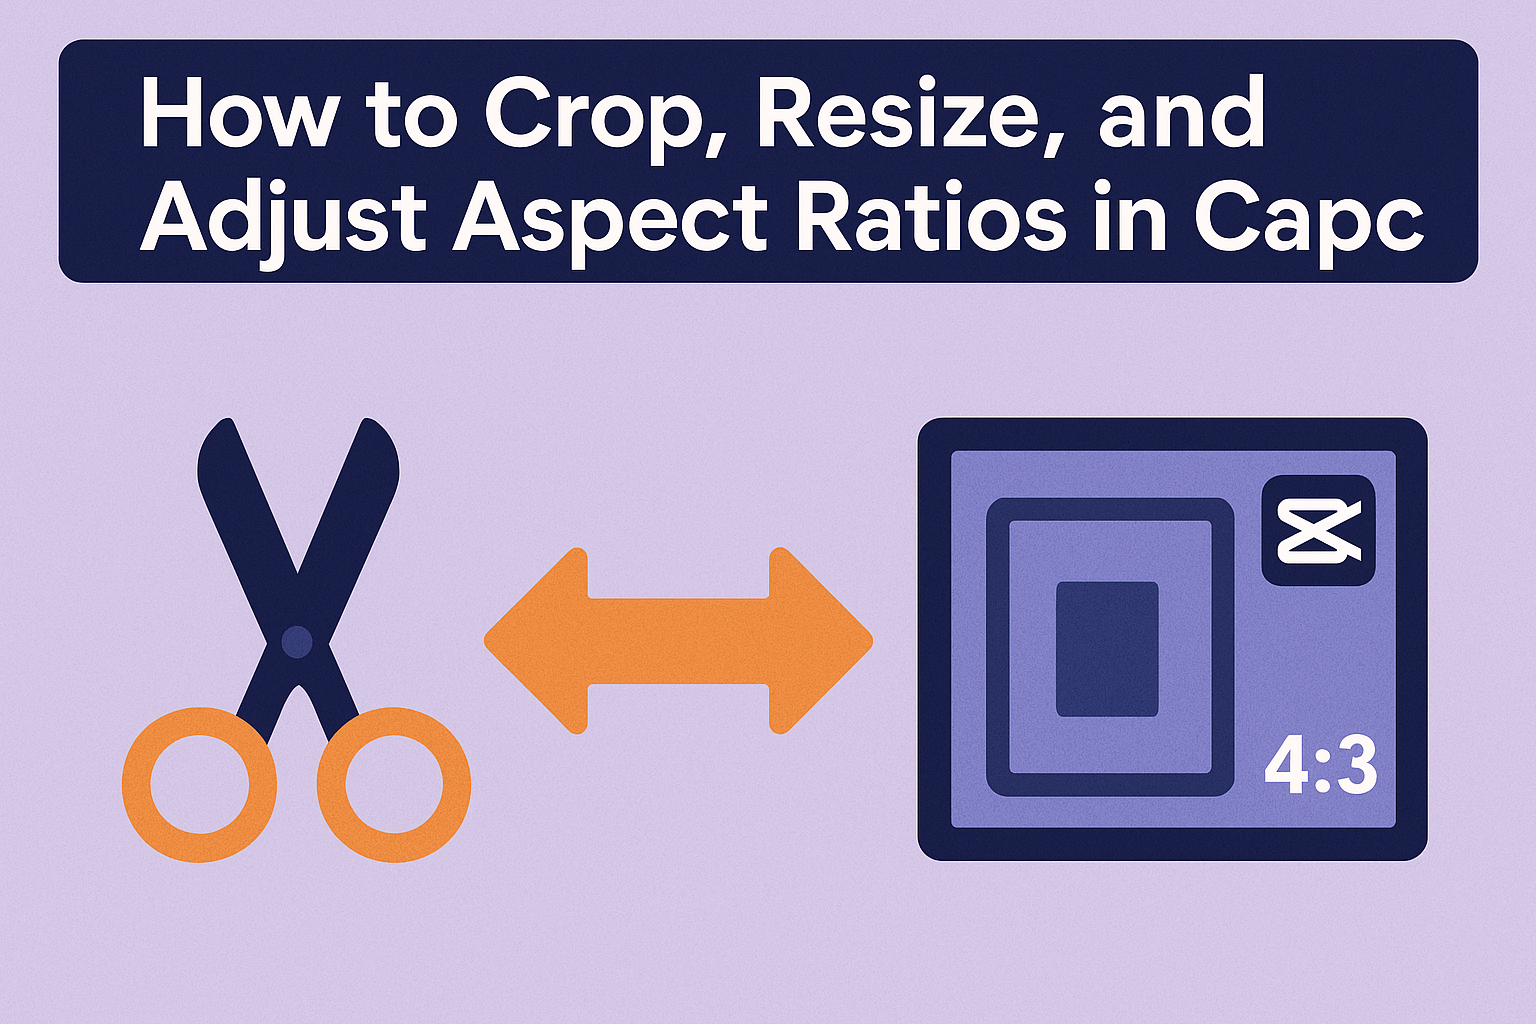
Getting Started with CapCut
CapCut is a user-friendly video editing app. To begin, users need to download the app from their device’s app store. It is available for both mobile and desktop platforms.
Once installed, they can open the app and create a new project. Users can start by importing videos directly from their device or cloud storage.
To import a video, they can click on the upload button. After that, they can drag and drop the video onto the editing timeline for easy access.
CapCut offers various tools to enhance videos. Among these tools, the crop and resize feature is essential for adjusting the video’s framing.
Users should take a moment to explore the interface. Familiarizing themselves with the layout will make the editing process smoother.
CapCut also provides tutorials within the app. These tutorials help new users navigate the basic functions.
For additional learning, there are many online resources available. YouTube tutorials, such as this one, offer step-by-step guides on using CapCut.
With a little practice, anyone can create engaging videos. Using CapCut can be fun and rewarding for beginners and seasoned editors alike.
Basic Editing Techniques
CapCut makes editing videos straightforward with its user-friendly tools. Knowing how to open a project and navigate the timeline is essential for effective editing.
Opening Your Project
To start, the user should launch CapCut and select “New Project.” Next, they can choose video clips or images from their device. Once selected, they easily click on “Add” to import them into the editing workspace.
After that, the project will appear on the timeline at the bottom of the screen. This timeline displays all media in the chosen order. It’s important to ensure that all necessary clips are present before beginning edits.
Navigating the Timeline
The timeline is a crucial part of the editing process. Each item on the timeline represents a video clip or audio track. Users can click and drag clips to rearrange them.
Zooming in and out on the timeline helps in making precise adjustments. This feature also allows users to see the details of each clip clearly.
Additionally, by clicking on a clip, a menu appears with options for trimming, splitting, or adjusting speed. These tools make it easy to refine the video to match the user’s vision.
Cropping Your Video
Cropping a video in CapCut allows users to focus on important elements, remove unwanted areas, and enhance the overall visual appeal. This process involves selecting the crop tool, adjusting the crop area, and applying specific crop settings to achieve the desired result.
Selecting the Crop Tool
To start cropping a video, the user first needs to select the Crop Tool in CapCut. This tool is usually located in the editing menu after a video clip has been uploaded. By tapping on the Crop option, a variety of aspect ratios are presented. Users can select from presets optimized for different social media platforms or create a custom crop size.
Once the Crop Tool is activated, the video will display a box around the content. This box can be adjusted to include only the desired portion. It’s a simple step, but it’s essential for making sure other unwanted parts of the video are excluded.
Adjusting Crop Area
After selecting the Crop Tool, the user can adjust the crop area. This involves dragging the edges of the crop box to resize it. By sliding the box inwards, the video will highlight only the parts they want to keep.
The adjustments can be made by moving the corners of the box or dragging the sides. Users can also reposition the entire crop box to focus on different areas of the video. This flexibility allows for creative freedom in framing shots.
Applying Crop Settings
Once the user is satisfied with the crop area, applying the crop settings is the next step. This is done by clicking the checkmark icon. If the adjustments don’t look right, they can easily reset the crop settings and try again.
It’s crucial to preview the cropped video before finalizing. This helps ensure no essential elements are cut out. With these steps, users will have a well-cropped video, perfect for sharing or further editing.
Resizing for Different Platforms
Resizing videos for different platforms is essential for getting the best presentation. Different social media platforms have specific aspect ratios that users should follow for optimal viewing experience.
Understanding Aspect Ratios
Aspect ratios are key to making videos look good on various platforms. Common ratios include:
- 16:9 for YouTube
- 1:1 for Instagram
- 9:16 for TikTok
Knowing these ratios helps ensure that videos fill the screen and don’t leave awkward black bars. It’s important to choose the right ratio based on where the video will be shared. This understanding allows creators to maximize their content’s impact and visibility across platforms.
Custom Resizing Options
CapCut offers custom resizing options tailored for different needs. Users can crop and adjust the size of their videos directly in the app.
To resize a video:
- Select the video in the timeline.
- Click on Edit.
- Choose Crop.
- Pick the desired aspect ratio.
This flexibility allows users to make swift adjustments without losing quality. For those needing specific sizes, the Format settings
Aspect Ratio Fine-Tuning
Fine-tuning aspect ratios is essential for creating visually appealing videos. Making small adjustments can greatly improve the overall composition and focus of key elements.
Aspect Ratio and Composition
Aspect ratio affects how a viewer perceives a video. Different ratios like 16:9 or 1:1 create distinct viewing experiences. For example, a 16:9 ratio is ideal for widescreen formats, while a 1:1 ratio is perfect for social media posts.
When fine-tuning, it’s important to consider what matters in the frame. Key subjects should remain in focus, while unnecessary elements can be cropped out. This helps keep the audience’s attention where it matters most.
CapCut allows users to see how adjustments impact the overall look in real time. This feature is useful for maintaining balance and harmony in the composition.
Changing Aspect Ratios
Changing the aspect ratio in CapCut is straightforward. Users can select the desired ratio from preset options. Common choices include 16:9 for YouTube videos, 9:16 for TikTok, and 1:1 for Instagram.
To change ratios, he or she can click on the clip, select the resize tool, and then choose the new ratio. This process makes it easy to adapt videos for different platforms.
It is crucial to preview the changes before finalizing. This ensures that critical details are not cut off incorrectly. Adjustments can be made as needed to achieve the best visual impact.
Exporting Your Edited Video
After completing edits in CapCut, exporting the video correctly is essential. This process involves choosing the right file format, adjusting resolution and quality settings, and ensuring the video is saved and shared efficiently.
Choosing File Format
When exporting a video, selecting the appropriate file format is crucial for compatibility and quality. CapCut offers several formats, with the most common being MP4, which is widely supported across platforms.
Users can also consider MOV for higher quality or GIFs for short animations. The choice depends on where the video will be shared or viewed. For social media, MP4 is often the best choice due to its balance of quality and size.
It is important to check the specific requirements of the platform to ensure the video displays correctly.
Resolution and Quality Settings
Resolution affects how clear and detailed the video appears. CapCut allows users to choose from various resolutions, including 480p, 720p, 1080p, and even 4K. Higher resolutions provide better quality but result in larger file sizes.
Users should consider the intended audience and platform for their video when selecting resolution. If the video is primarily for mobile viewing, 720p may be sufficient. For larger screens or professional use, higher resolutions like 1080p or 4K are advisable.
Quality settings can also be adjusted. Higher bitrate settings improve video quality but increase export time and file size. Balancing quality and size is key for a polished final product.
Saving and Sharing
Once the video is exported, saving it properly ensures easy access. Users should select a destination folder that is easy to remember. A clear naming convention can help identify the video later.
To share the video, CapCut provides options to upload directly to social media or export it to the device. Users can choose platforms like Instagram, TikTok, or YouTube for immediate sharing.
By selecting the right options during the export process, users can ensure their edited videos are ready for any audience.